Along waited update on what has happen in the last four months. Somewhere this summer we decided that we wanted to enter the truck into the Battle of the Builder for SEMA. That is one of the reason I haven't had time to do any updates in awhile. We worked hard and long days all month of September and October to be ready for the trip to Las Vegas. We had lots of help from friends and family trying to make this dream come true. Unfortunately we were unable to make it to the show due to some problems with the rear air bags. I'll try and go a little more into the details with the captions under the pictures.

Had Eric Black create a rendering of the truck so we could send it in with our entry to the Battle of the Builder contest. We sent him around twenty pictures of different parts of the truck build and he put them together to come up with this beautiful rendering.

We got the call from Rick that the upholstery was finished so we jumped in the truck and made the six hour trip to Idaho.

Back at Chris all safe and sound with a few unwanted bugs that we pickup on the way home.

Little photo shoot before we get the cab onto the frame.

This part is always a little nerve racking.

Luckily we have done this before so we felt pretty confident that it would go well.


The cab resting in its new home.

Unfortunately this is the only shot that I have right now of the interior. I will post some better ones in my next post.
Video will give you a better look at the wonderful interior done by Rick at StitchWurx.

Rick sent me some cool gifts to go with the pizza truck. He made us a nice leather computer bag and two aprons that match the trucks interior. I should have pick a better model to show off his work though.


This was the first time that the truck got to see fresh air and sun light. This was when we were mounting the cab to the frame.

A lot of work to put the front all back together. All bolted from the back side with very very tight space. No pictures of the final wiring done from the cab to box, but I assure you it is done. I wish I could say it was just plug and play, but had about a week or more tracing some problems that we had.. With Chris help we found the problems and got them all worked out.

We have been waiting to see this grill go in for a very long time, however after taking some measurements we found out the grill grew about a quarter of a inch while at the chrome shop. We give our shelf 1/8" all away around the opening just in case we need it well that wasn't enough. The chrome shop had a hard time getting the chrome to all the hard spots on the grill. They had tried at least three times to make it work but were unable to get a quality part. We decided to go with just nickle plating instead, but the problem was that they didn't strip off the chrome before the nickle. So now we had a grill with at least three coats of copper and chrome and a coat of nickle. Our fix for the problem was to sand the top, bottom, and sides of the grill so that it would fit in the opening and then paint the sides black to match the truck. That is easier said then done it took a week of sanding to get through the chrome. Chrome is not the easiest thing to sand.

The test fit before it had to go to the painter.

Got all the pretty stuff on one of the rims. The trim rings are being a bear to put on. The rims are 19.5" and the clips on the rings are a pain in the butt to clip onto the rim. We still have three more to go.

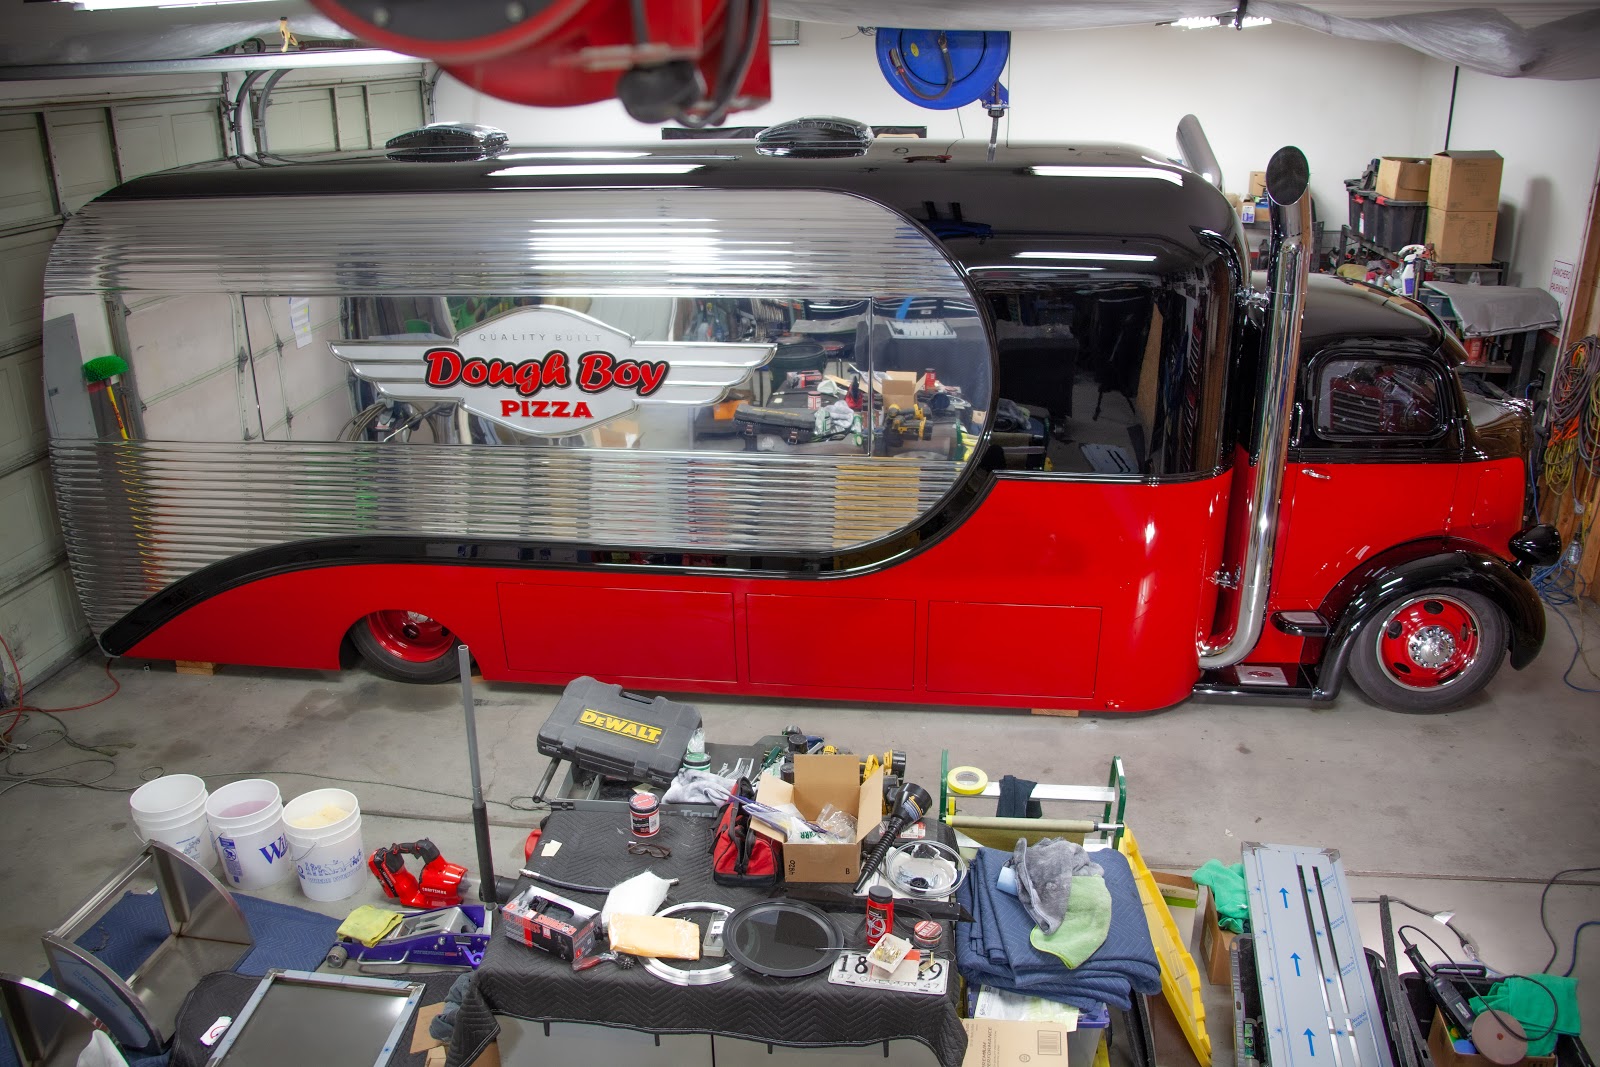
This is the best picture I can get in the shop. Hard to get a great picture of the whole truck in the shop.

This was the last part of the truck that we needed to complete the outside. It is the back cap to finish of the siding.

The parts are formed out of steel and will be painted black to match the propane tanks.


Final test fit before the pieces head off to paint.

The parts in the process of being fabricated.
Bob from Silver Creek Auto Body came over to polish out the paint and do some touch up work.
At this point we were still making strives to make it to SEMA.


With the outside of the truck being about 99 percent finished we started working on the inside of the box.

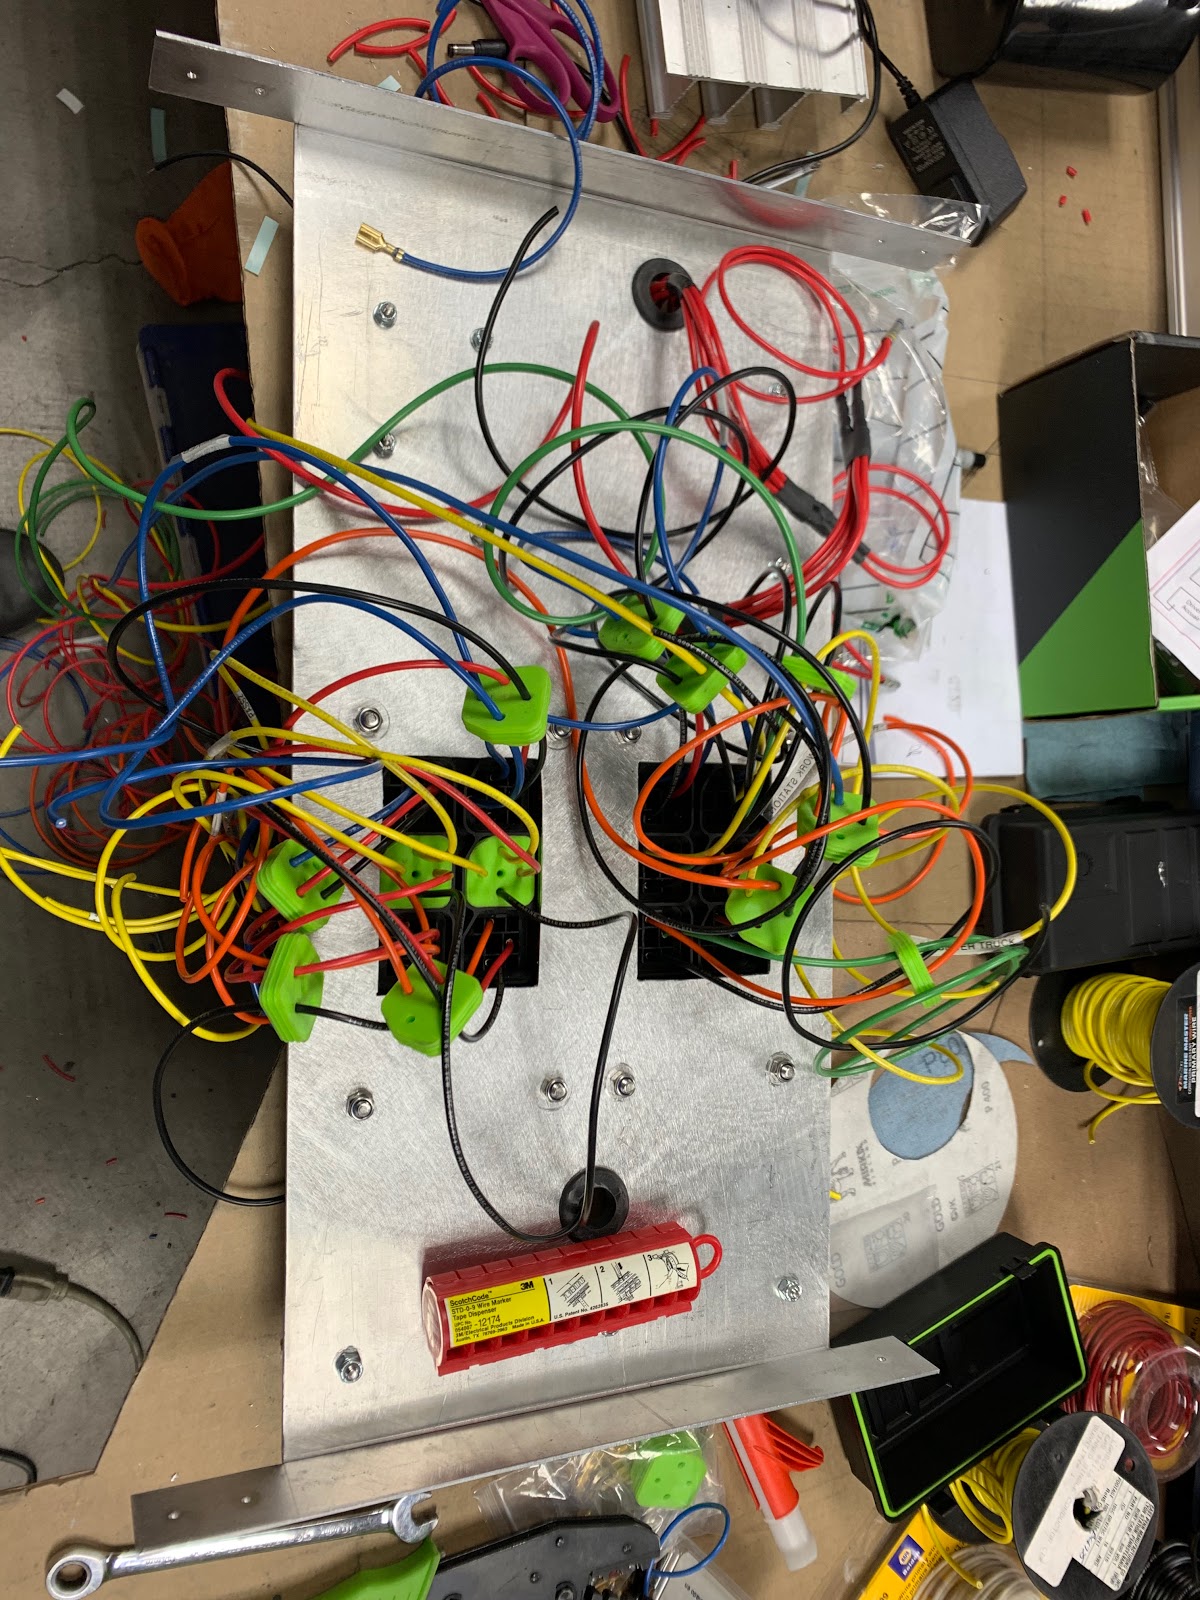
Finish up the wiring to the control panel.

View of the service window from the inside of the kitchen.

Chris fabricating the cabinet for under the service window that will house the sinks.


Hood area flashing is all up and ready for the ovens to go in.

Ovens in place.

Not the best shot of the these two guy's but maybe it is😂. We had way to many problems on trying to get this thing running. I had started to write about what we went through but after about two paragraphs and only covering a third of the story I decided to spare you with the details. After about three week of tweaking with wiring, the EFI, gas pump switching over to right tanks, and distributor issues just to name a few we were able to get the truck running.. Thanks to Dale, Troy, Chris, and my brother Benny for all your help in getting it running!!!

Parts for making the TV cabinet.

TV installed. Will be using it for the menu board.

Lights up and running in the service window.

Hand washing sink and cabinet in along with the over head cabinet and shelves.

Completed all of the flashing on the walls and finished out all the electrical. Getting ready to set the pizza station and worktop cooler.

Chris cutting up the pizza cooler station so that it would fit around the wheel well. At this point I don't have any updated photos of the completed kitchen due to that we were coming down to the wire on time to make it to SEMA. I will include some detail pictures in my next post.
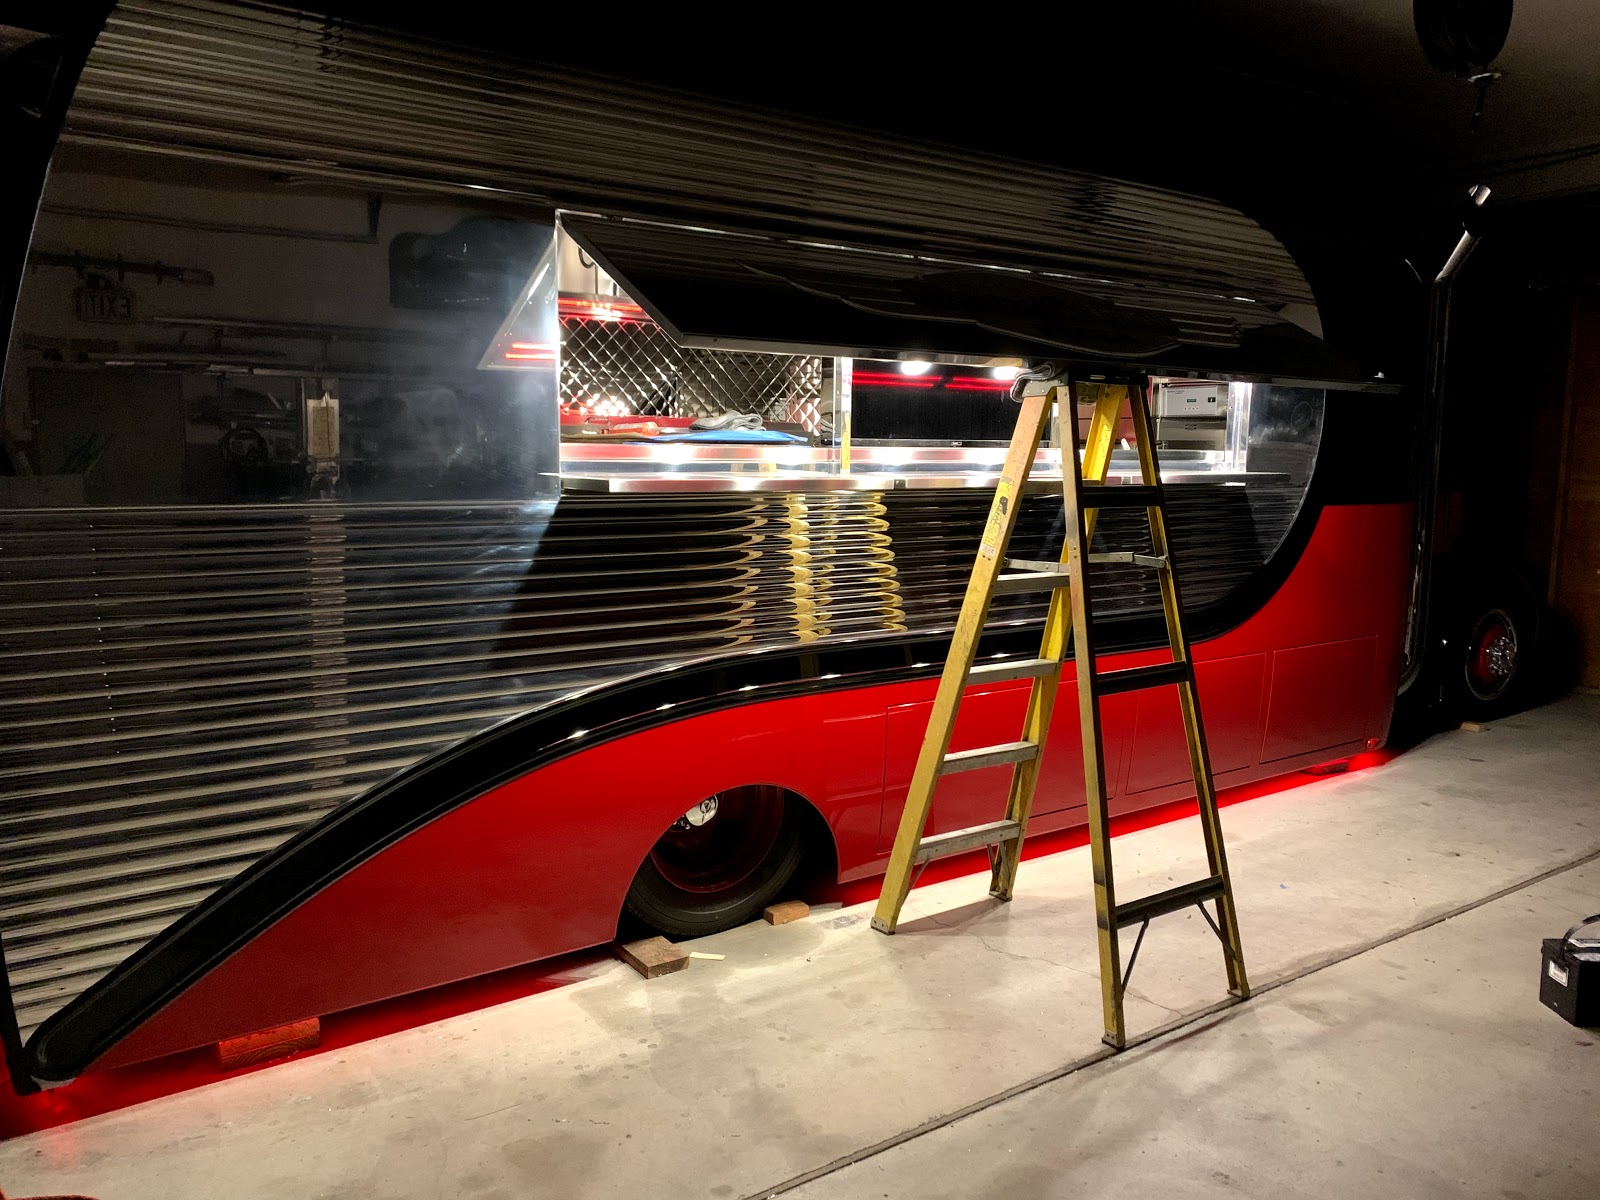
Turned off the lights in the shop to see what the lighting would look like at night. At this point we didn't have the gas shocks installed yet to hold up the door.

So here we are the day before the transport carrier was to pickup the truck for its trip to Las Vegas This was the attempt to take it for it first test drive down the street. Unfortunately we only made it out of the driveway and into the street before we lost air to one of the airbags in the rear. Then the other airbag couldn't hold the weight of the truck and then it blew out. The rear of the tuck went to the ground leaving us in the middle of the street. Scrambling around we were able to jack up the rear and get some wood blocks between the frame and the rear axle. This got us back into the shop. This fiasco only took us three hours and who knows how much it took off our life expectancy. The good news was that the only damage to truck was a little scrape and small dent in one of the back caps that we just finished. Luckily the parts can be easy fixed.

The only pictures taken in this event are what we have here and they were taken by my wife. Way too much drama going on to take any pictures from Chris or I. This is when we pulled the plug on the trip to Las Vegas. We just didn't have the time or energy to fix the problem to make the trip in time. We still went to SEMA and had a great time. Though sometimes it was a little gut wrenching that we didn't get to show off what we accomplished.

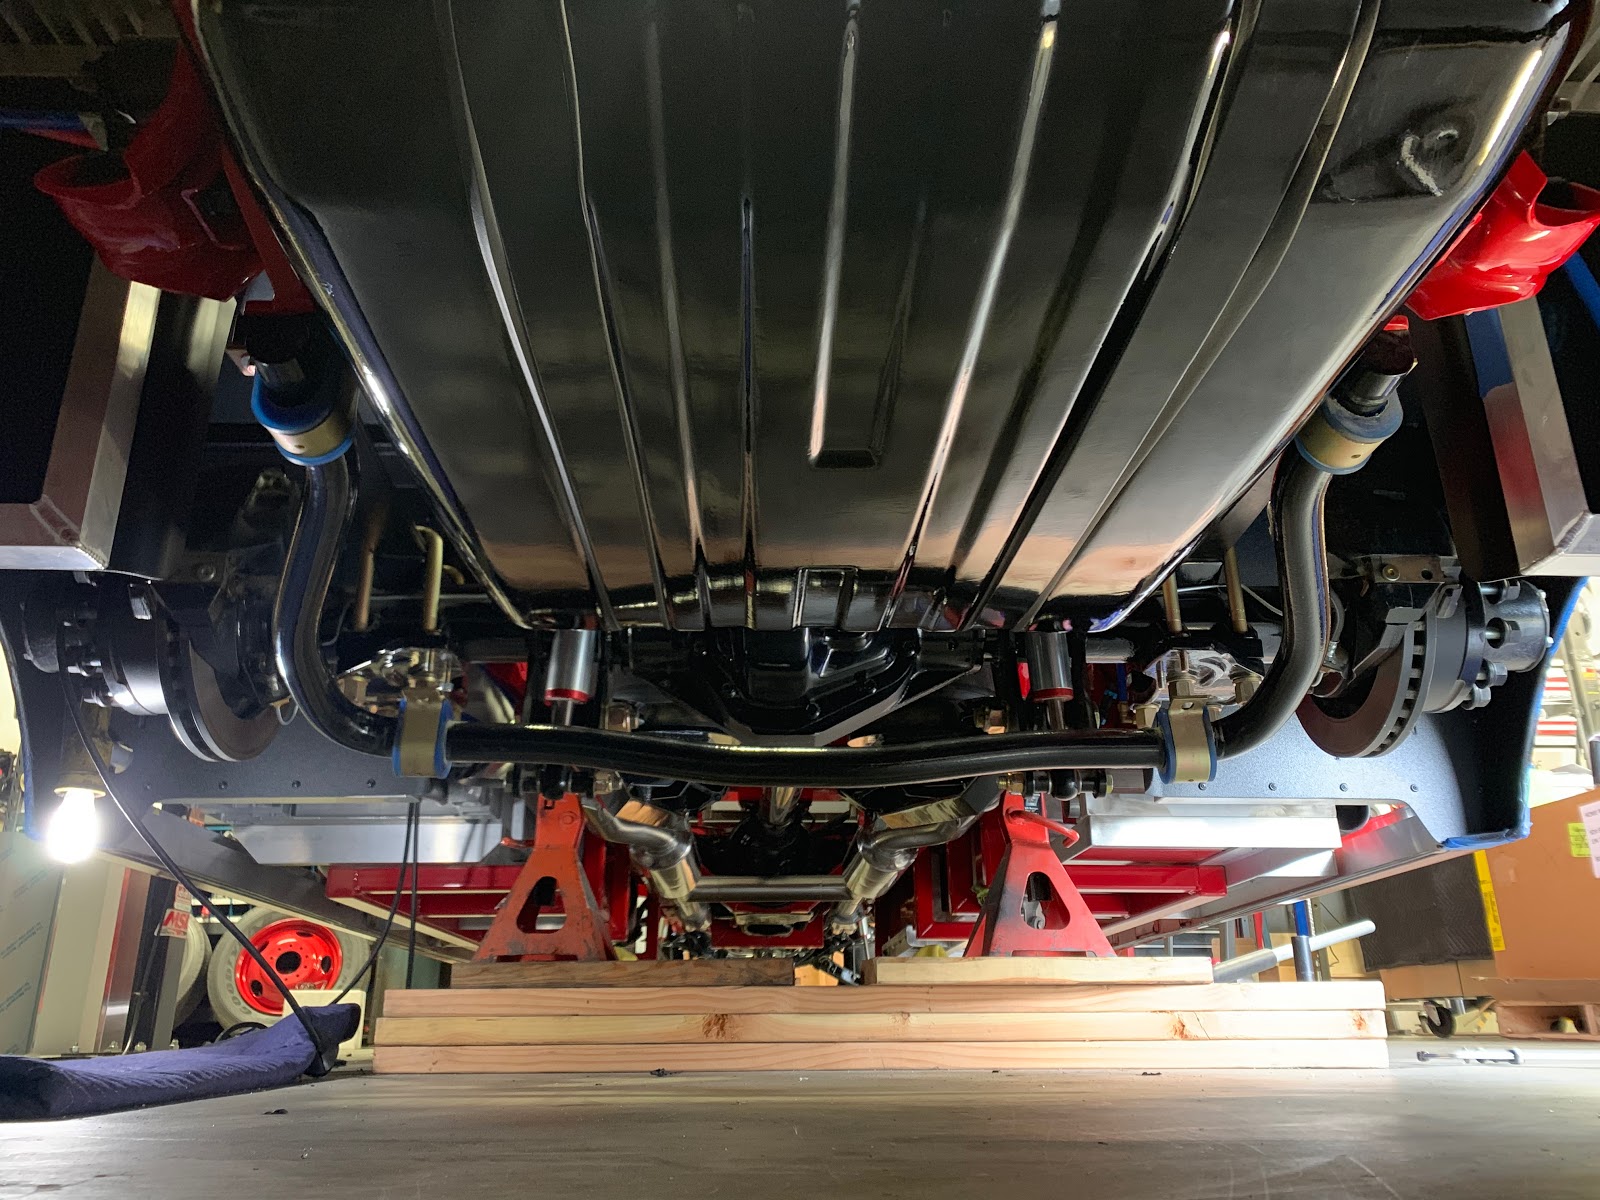
We decided to take some time off the truck till the beginning of the year.so not much has happen since November. We have done somethings like getting the truck weight on each one of the tire to see if that was one of the cause of the rear bags failure. I was for sure that we would have been over weight on the axles, but we were just under for the specs. Total weight is 14,150 lbs.
We also took the floor up to inspect why the airbags failed. The cause of the problem was that when the airbag was inflated it rubbed on the drive line and wore a hole in the bag causing it to leak. After that the other bag was not designed to carry that much load and then blew out.

The bag that blew out

That is pretty much where we are right now. The plan is to try and find a airbag that is smaller but still carry the weight We also want to come up with a adjustable bump stop. That is so if we loss the airbags going down the road it would keep us from going to the ground. Well that is all I have for now and will keep you all posted on the progress that is to come. Be safe and have a Happy New Years!!