 |
| The final test fit of the fiberglass |
 |
| Nice to be done with itchy, dusty, and messy. Leaving the skim coat and priming to the body man. |
 |
| It 's time to start working on the latching mechanism for the new hood. A new structure needs to be fabricated to hold the new latch. |
 |
| Chris cleaned up the lip and straighten it 90 degrees to the hood. Add a nice recess and a support for the latch. |

 |
| Latch installed. The bottom part of the latch will be incorporated to the top part of the grill shell. |
 |
| Working on making a mock up of the grill shell out of wood to get a visual of size and spacing of the bars. We are trying to achieve the look of the earlier 36 Ford grill but on a bigger scale. |
 |
| Started out with the out side grill surround with 3/4" plywood and made the grill bars out of 3/8 " plywood. |
 |
| Started with the center and work our way out. We did our math and figured out the spacing for the grill bars. I ask Chris if he would make me some jigs for the spacing, but he informed me that jigs don't work well for this type of spacing. But he humored me and made me the jigs. So now I'm on a mission to make these jigs work. I'm taking my time laying out the grill bars on the bottom piece and it comes out right at this point I'm filling pretty good. I then start to layout the top and it turned out good too. Now I start to assemble the pieces together and it is looking really good till I get to the end and bottom one has space for two grill bars and the top has only one. So yes jigs do not work for making precision measurements. |
 |
| What does make precision measurements is a milling machine with a digital read out computer. Lucky I have a great friend that loves cars and had some time to help us out. And yes he has a milling machine. Thank You Paul. |
 |
| Here"s the finish grill. This turned out way better then I ever expected. Chris wants to use it as wall art for the shop after were done. |
 |
| We only want to make one adjustment to the grill. instead of 3/4" surround we will be using 1/4". |

 |
| All I can say is I can't wait to see it in metal and all shiny. |
 |
| If you have a custom visor you have to have a custom hood and grill. This is where it started with some foam insulation and a sharp knife. Wanted to get a good visual on how it was going to look before we started. |
 |
| This is the getting close to the shape. I started to use a file for the final shaping. |
 |
| We used blue tape to get the lines of the hood and green for the grill surround. Seems like most guys spend time removing the emblems from their rides where we are spending time trying to put one on. We have two emblems that we may use a 1934 Truck the one in the picture or the 1935 passenger car. The hood and grill will be two piece instead of the original one piece. |
 |
| No more foam its time for Chris to do his amazing metal work. No turning back now. |
 |
| Took out about 4" to shorten up what is going to be the new hood. |
 |
| Test fitted after Chris welded the parts back together. |
 |
| Chris made a stand for the hood for the next step. This is so the hood will hold it shape for the next cuts. |
 |
| After the old metal has been removed. |
 |
| New sheet metal added. Will add a new piece that will have the new contour of the emblem. |
 |
| We decided to go with the 35 passenger car emblem. It had less of a sharper curve than the truck emblem which fitted the lines of the COE better. Giving the new piece a test look before Chris welds it in. |

 |
| A few more shots of the new sheet metal that Chris fabricated for the emblem. Next he will weld this part into the hood. |
 |
| Out with the old |
 |
| In with the new |

 |
| The 454 and 400HD all newly rebuilt by Dusty's Machine Shop in Vancouver Washington. Starting to put all the goodies on but as always still need more. |
 |
| We used two inch foam insulation and cut out the basic shape and then glued them together with Scotch 77. I trimmed to much material off and had to use some spray foam to add back to the mold. If you can avoid this it will save you time and added grief. |
 |
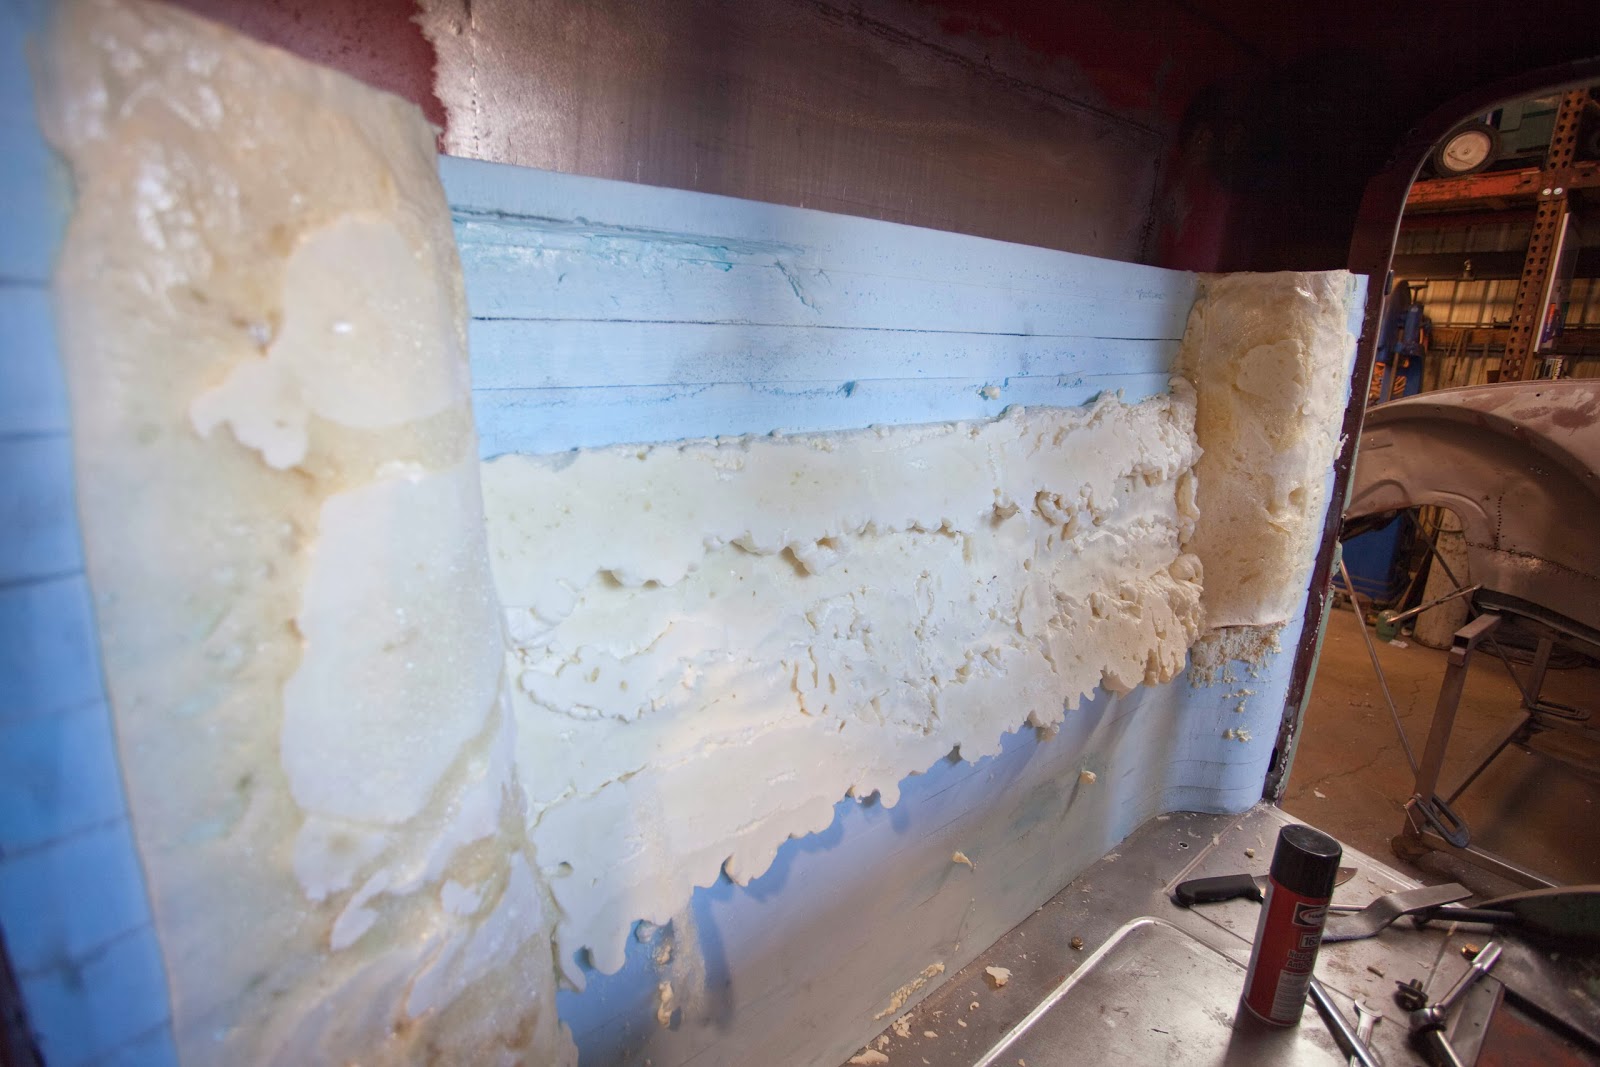
| This is after all the carving and sanding was done. You always learn what you should have done different to make the job go easier and better after your done. Don't cut out to much material it took me about a week to fix those areas. I also would not of made the cut outs for the subs, amps, and crossovers in the mold. It made it hard to fiberglass these areas. If I was to do it again I would make it flat and cut them out later. |

 |
| Test fitting of the mold before we start the fiberglass.The Dough Boy Pizza will be made out of aluminum and be bead rolled. |
 |
| Before we fiberglass I used packing tape on the mold. This is so the fiberglass will release from the mold. |
 |
| This is after the first layer of fiberglass. We did three layer. And this is when I remember why it had been thirty year since I used fiberglass. |
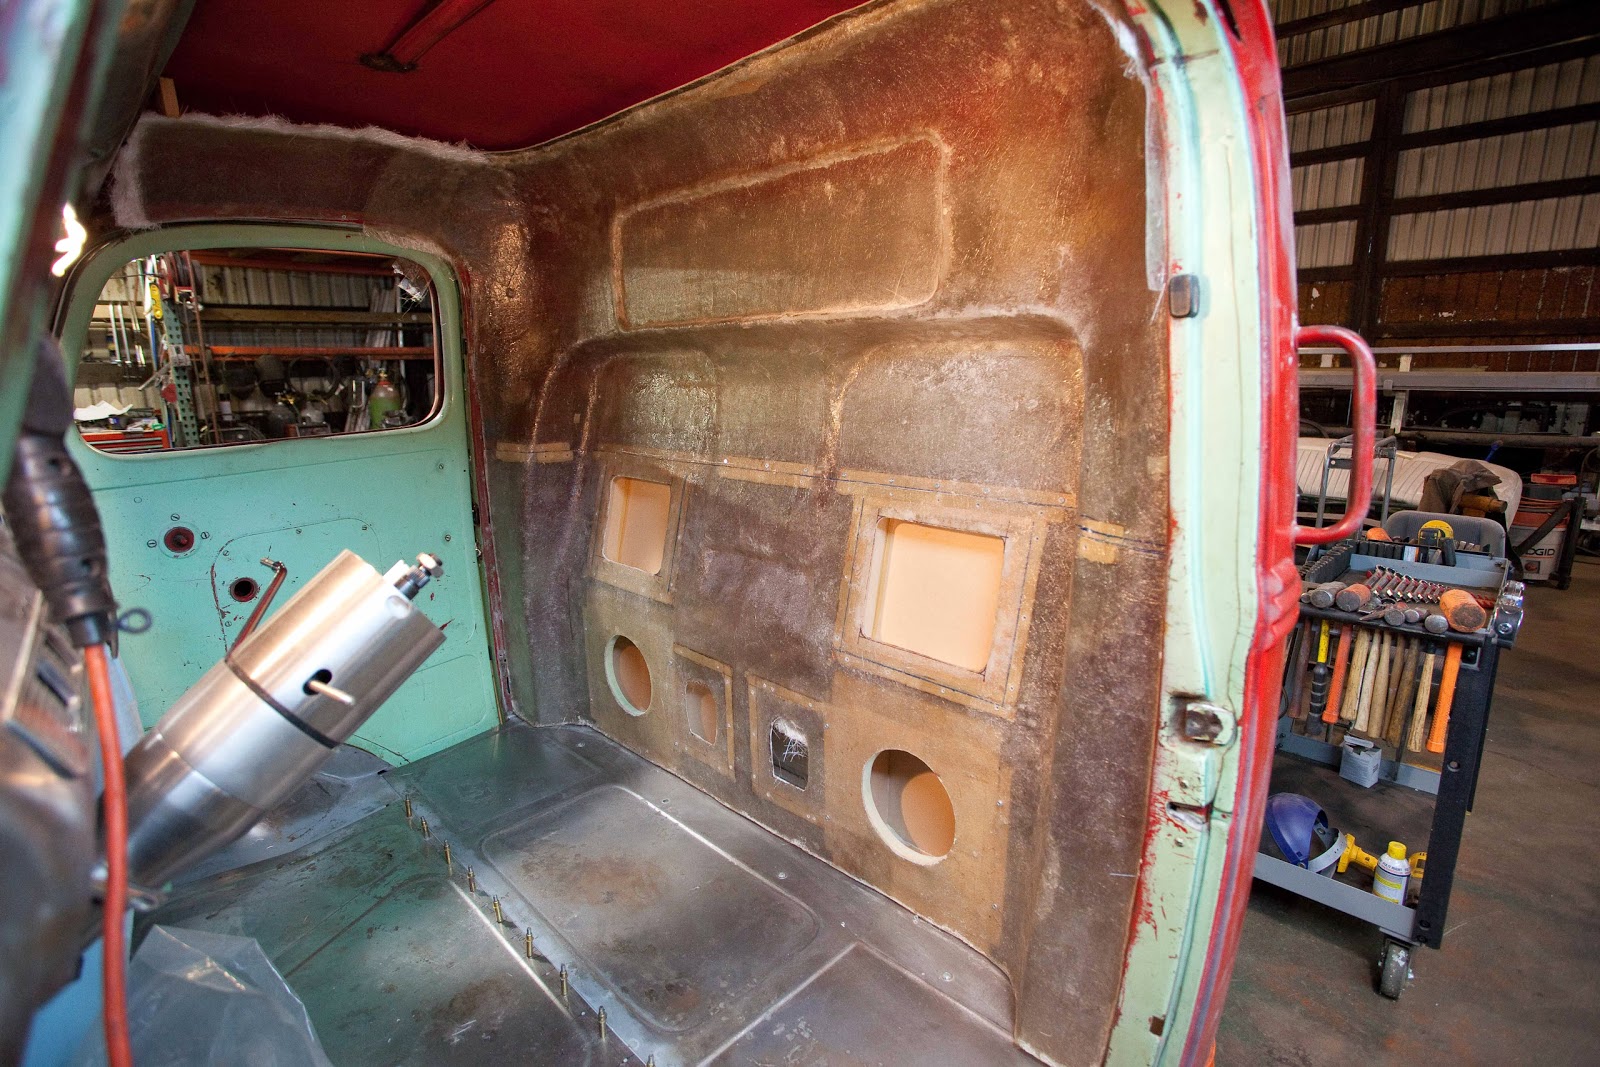 |
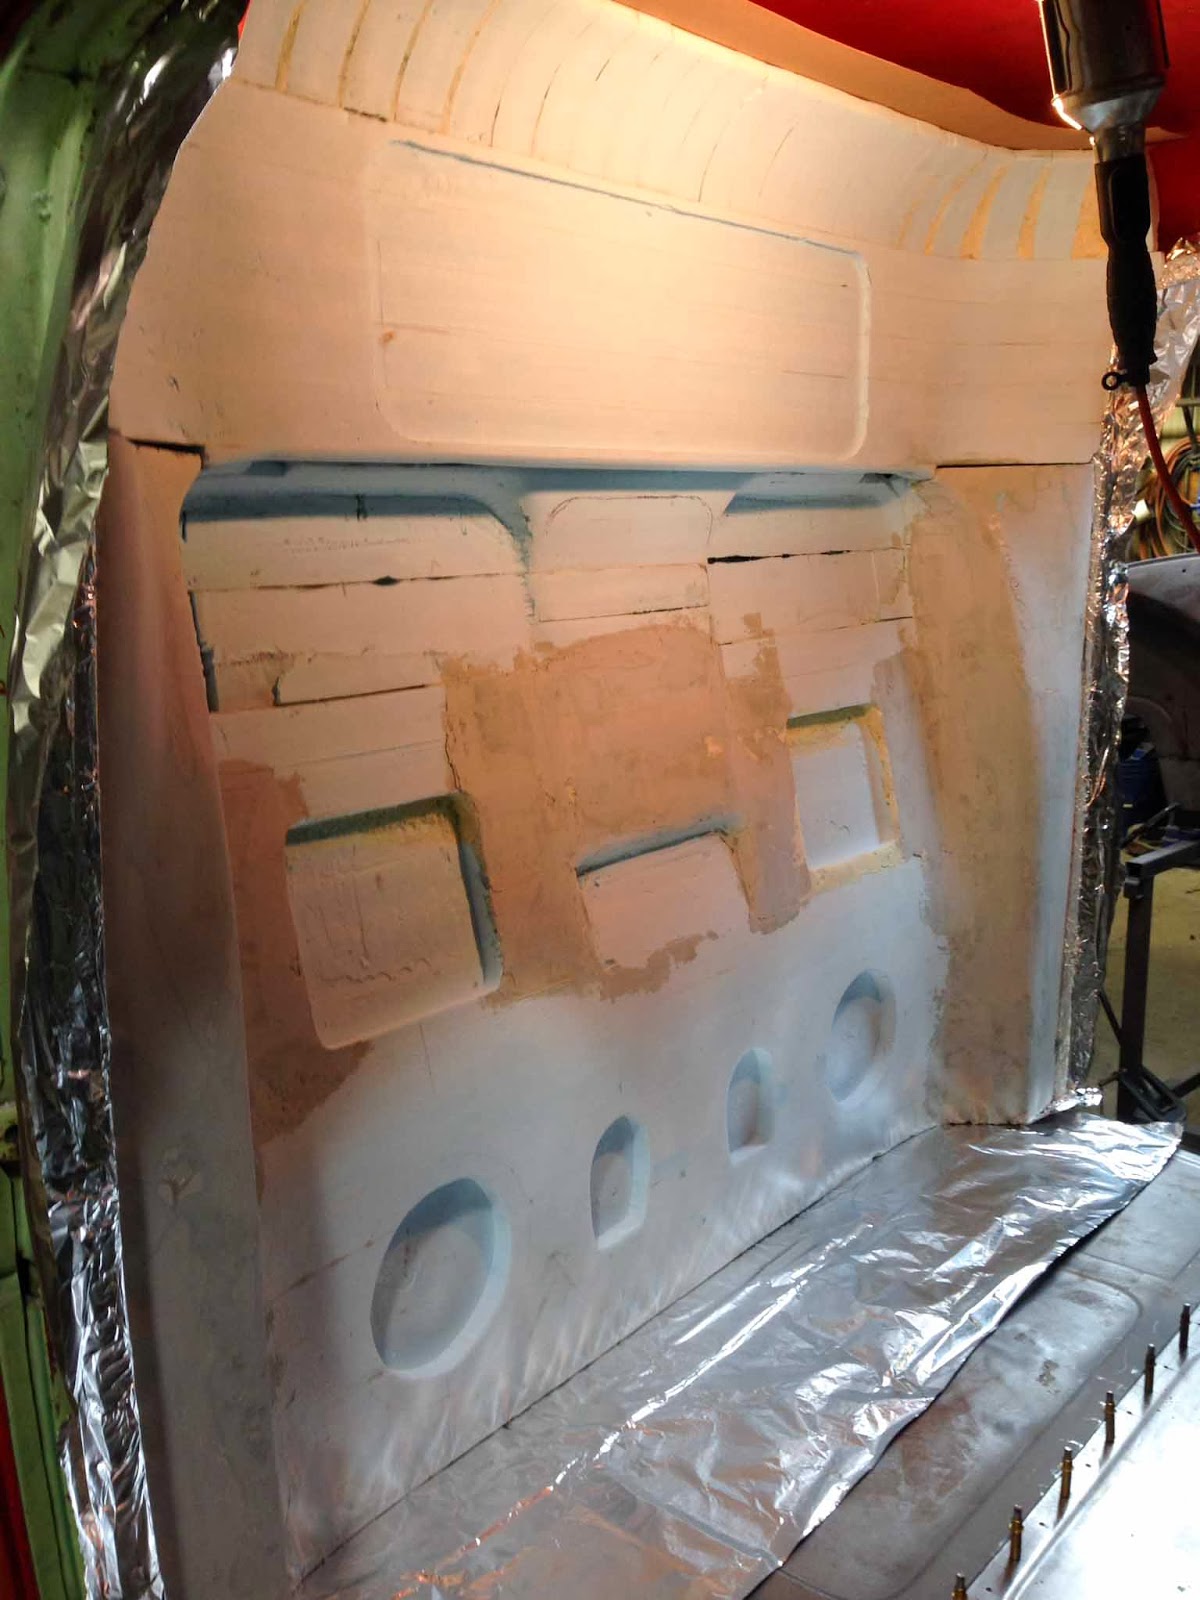
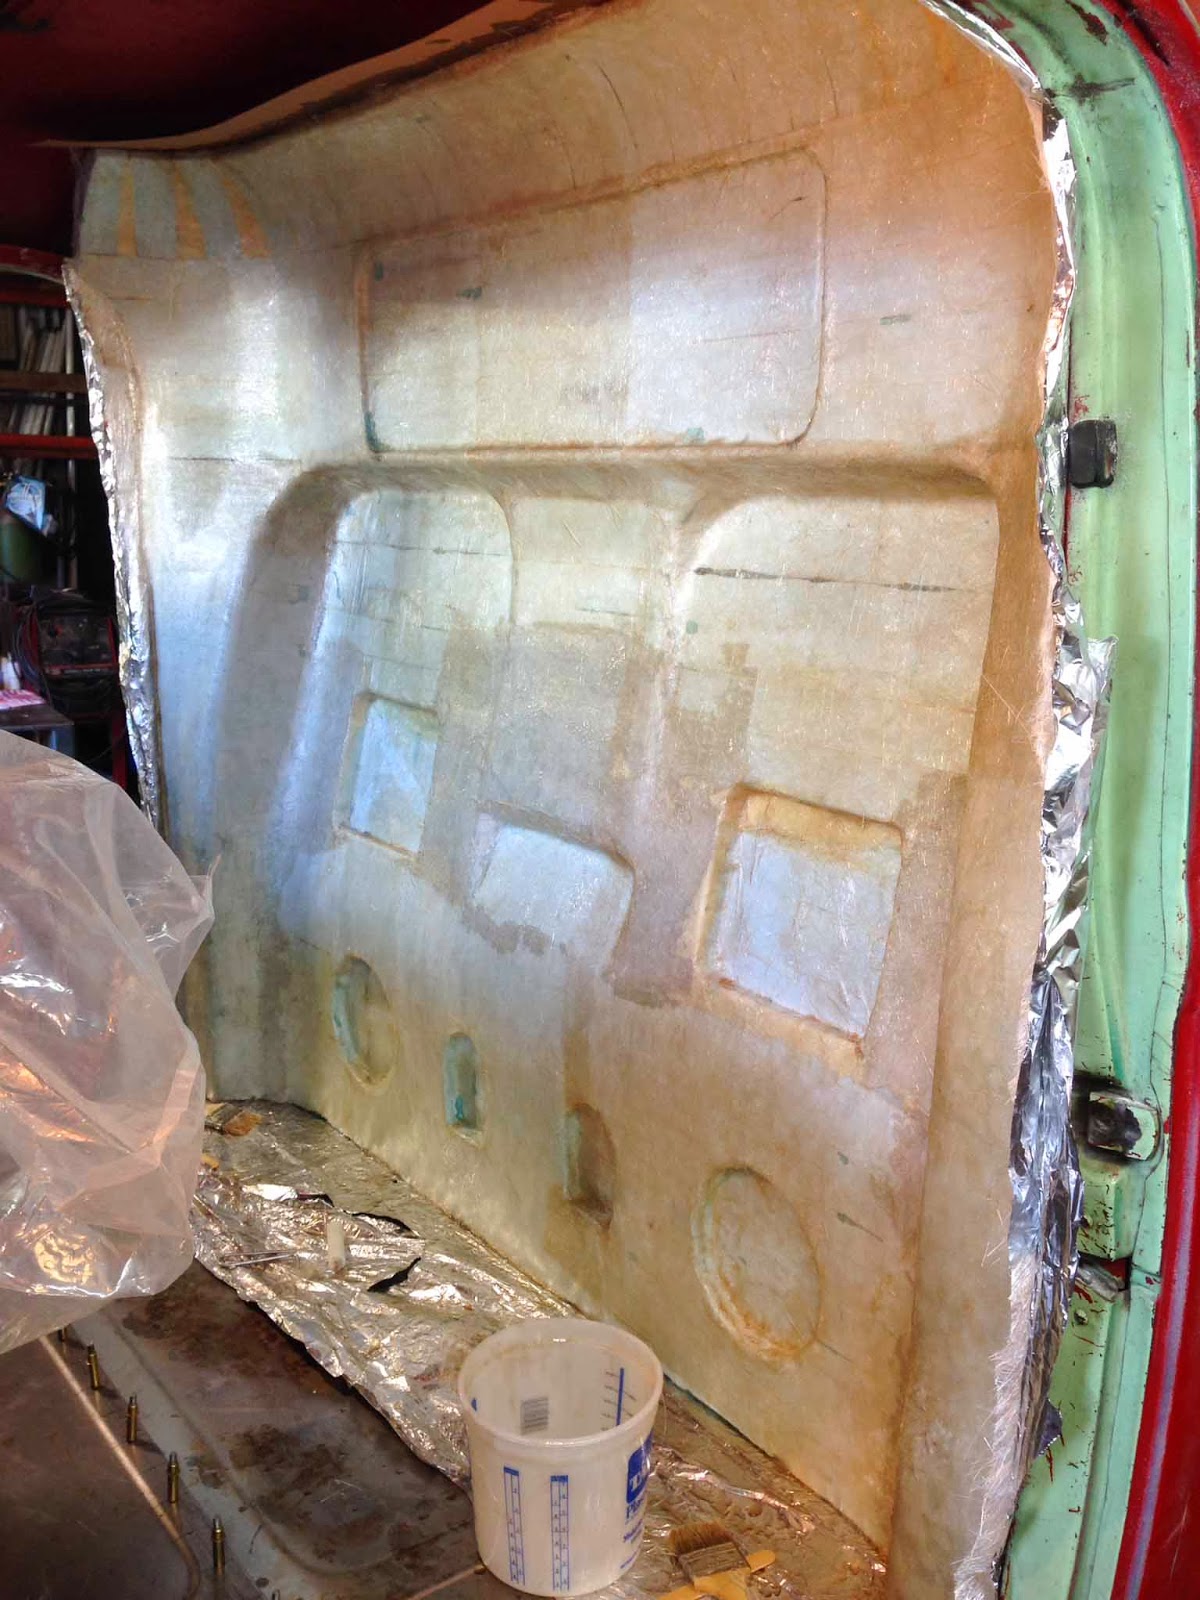
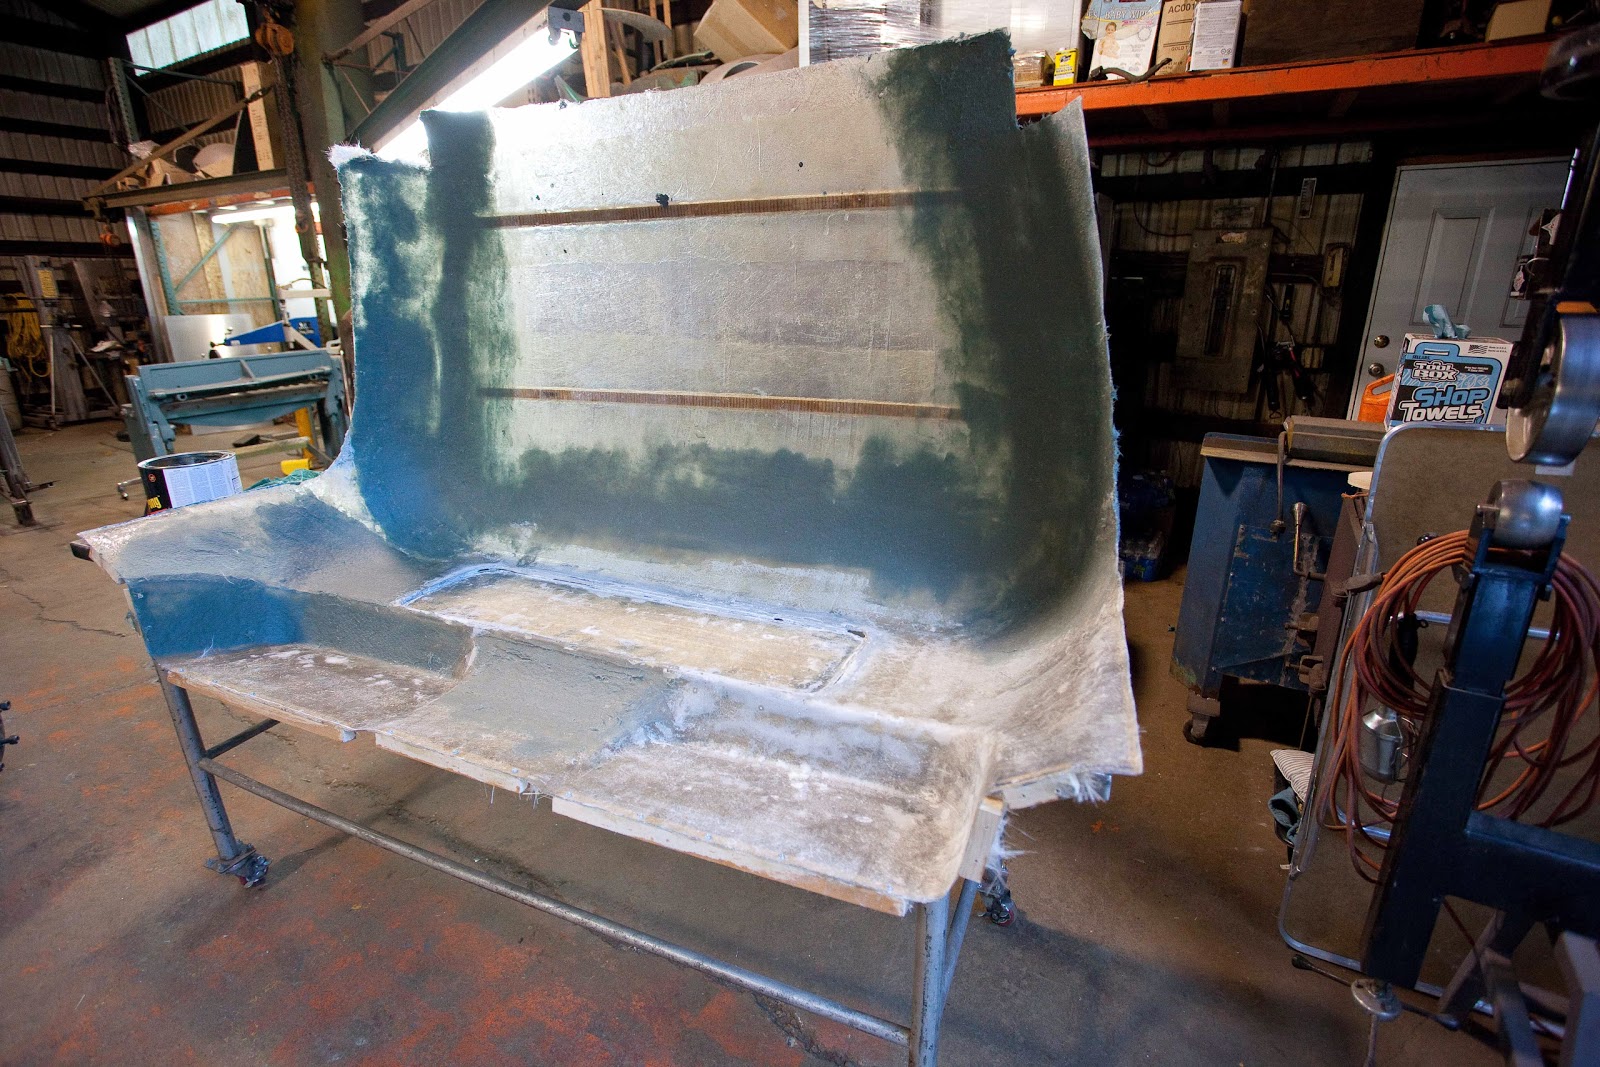
| The part after the mold was removed. I made sub woofer enclosures and boxes for the amps and crossovers that attach behind the fiberglass. At this point I decided to make the top part out off fiberglass instead of a head liner. I think I'm getting addicted to the resin. |
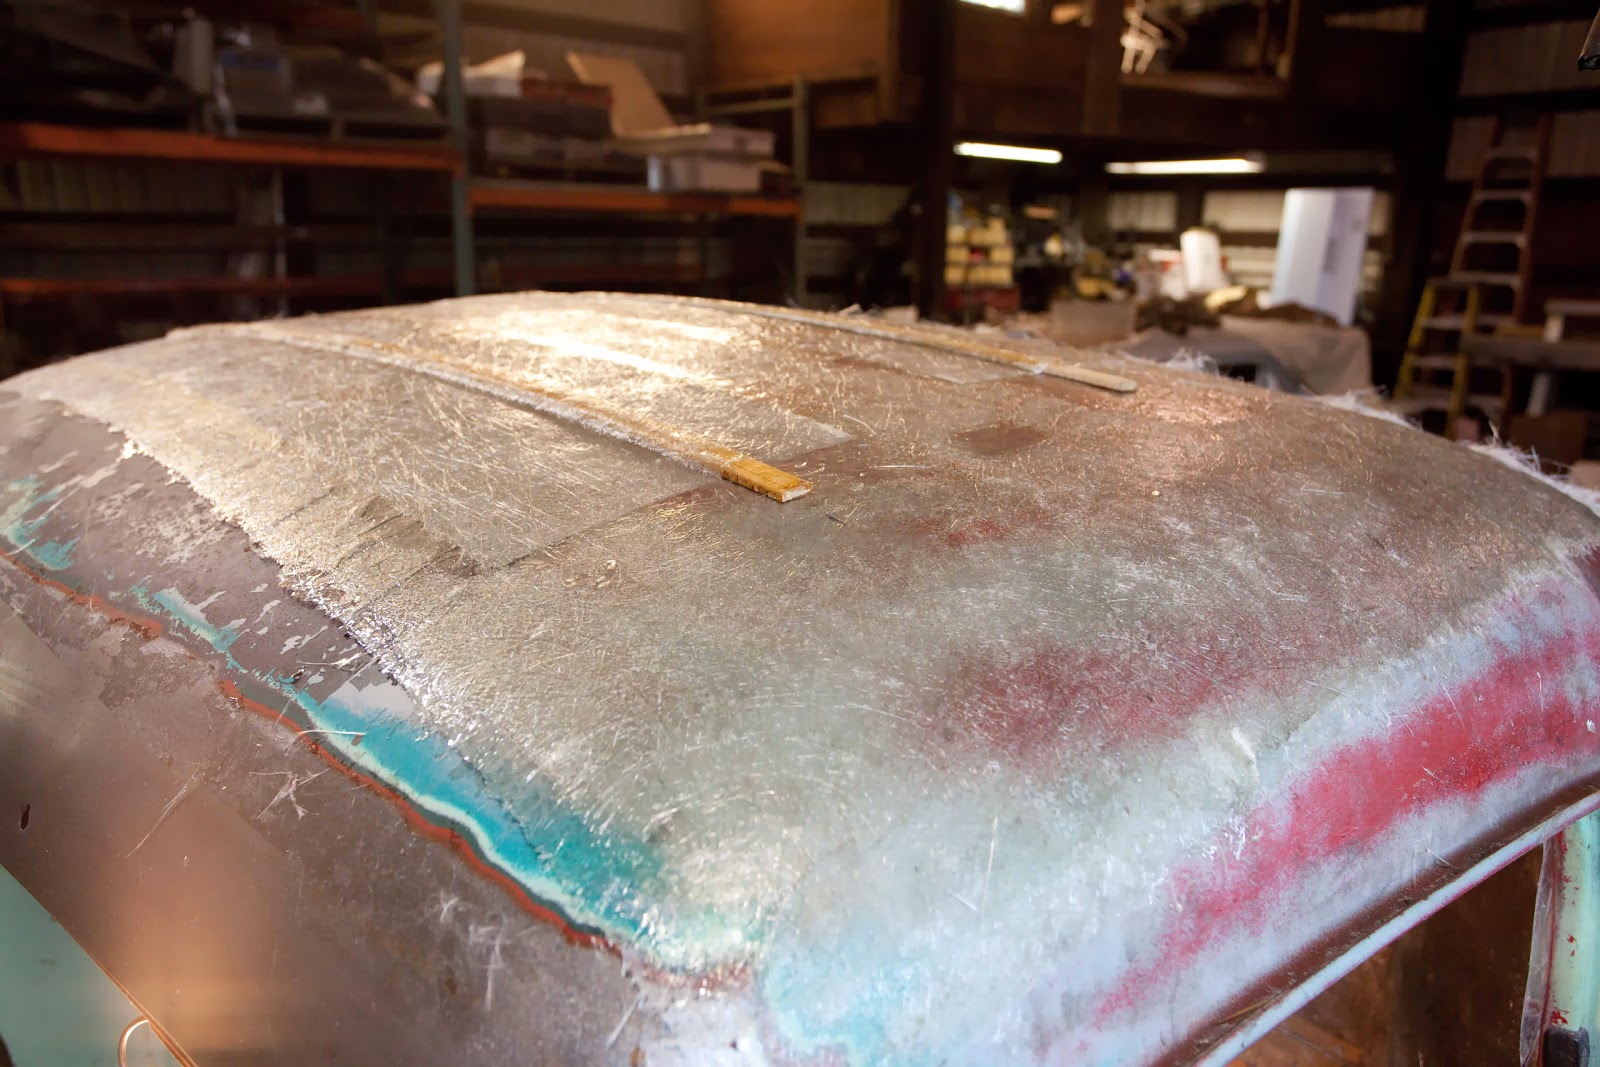 |
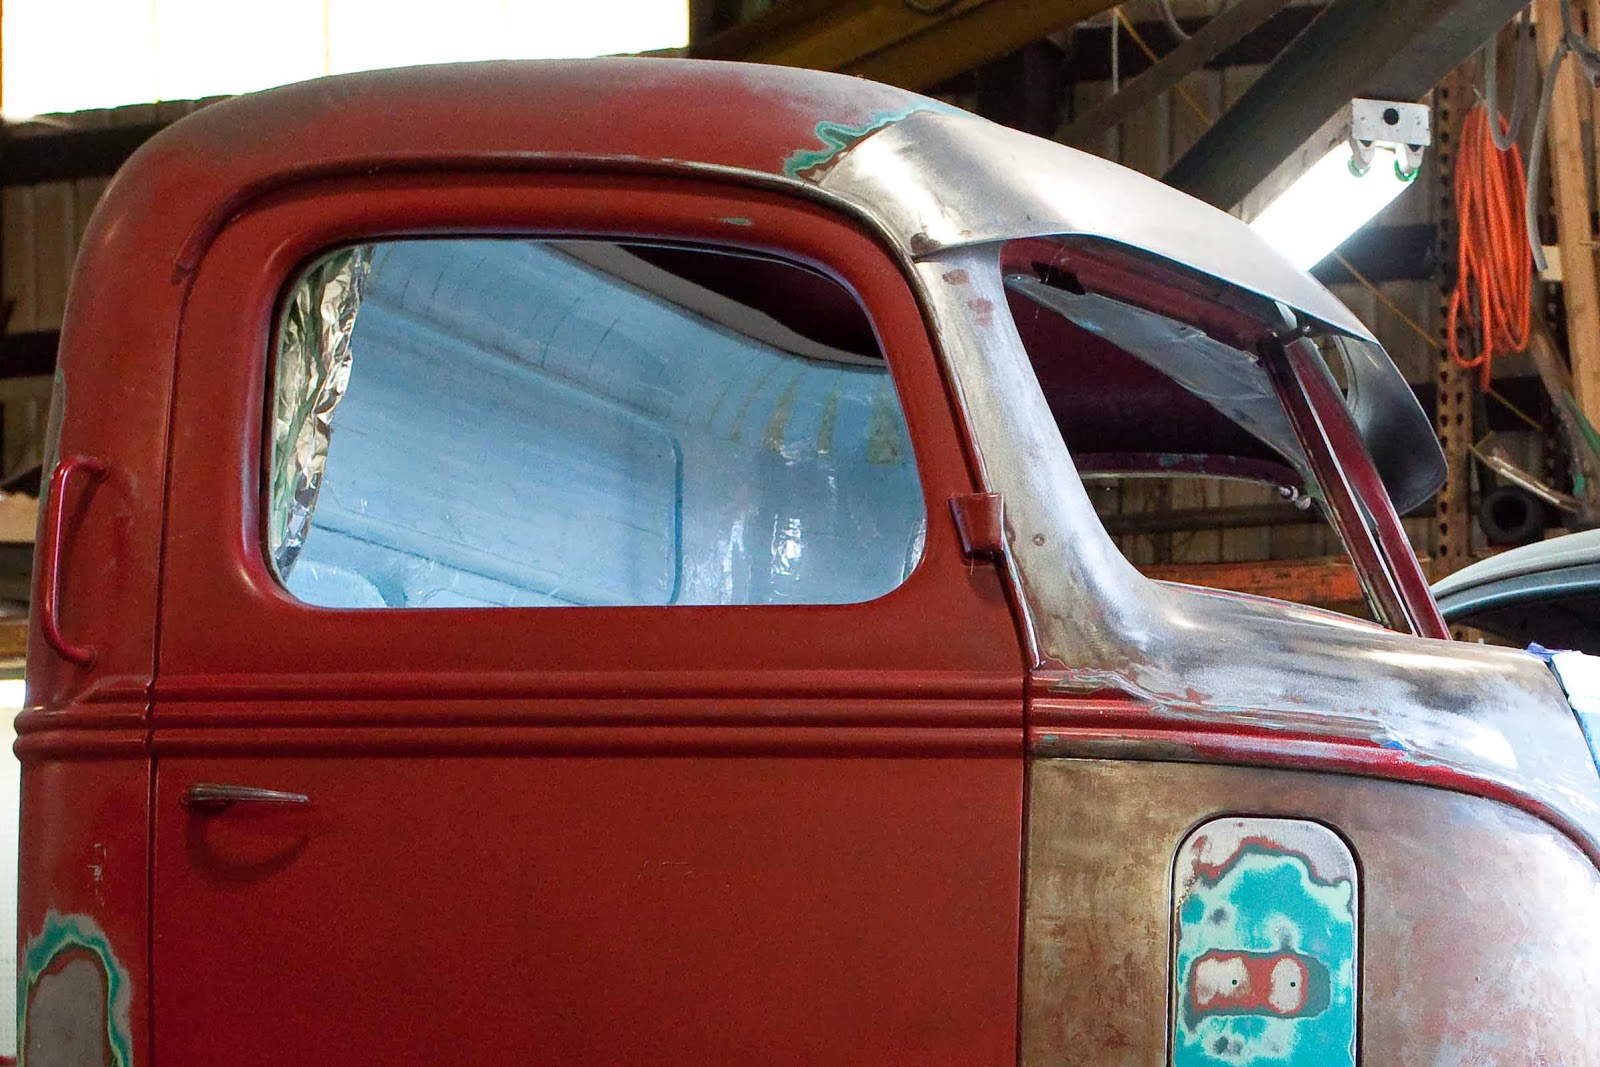
| I used the top of the cab for the mold, and used packing tape as the mold release. Add two pieces of wood to give it some strength and a place to attach to the roof supports |

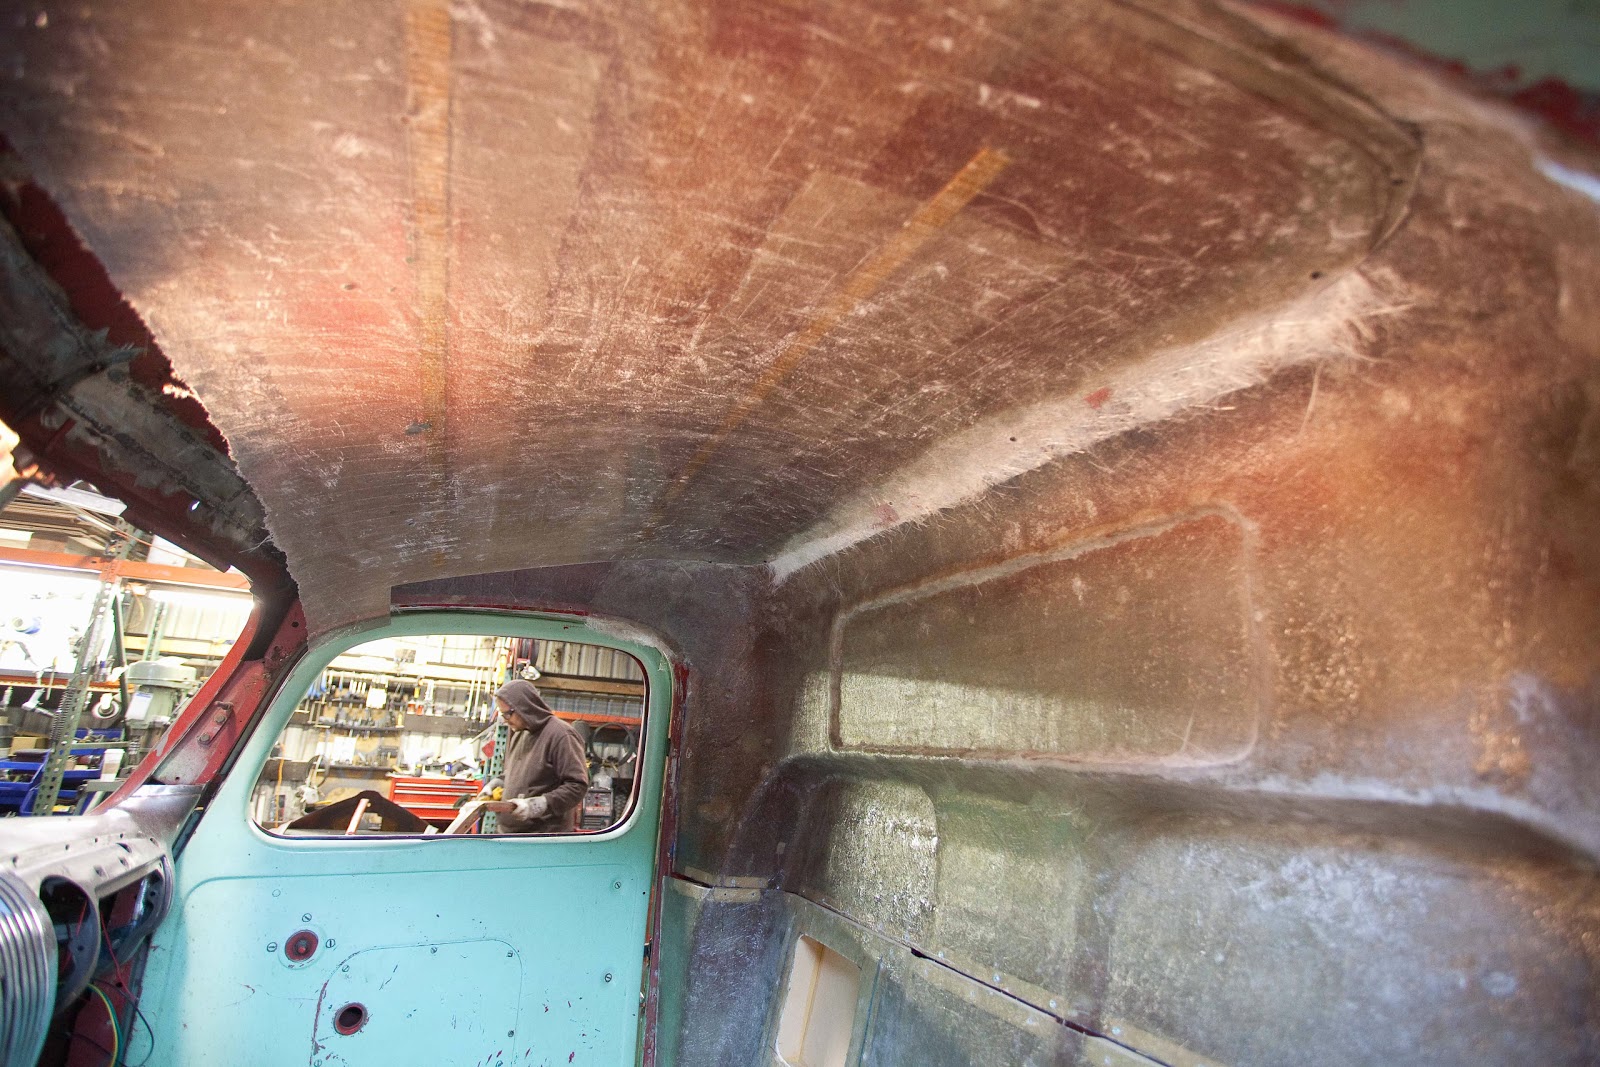 |
| Test fitting before I add it to the rest of the part. |
 |
| Working on smoothing it all out with some long and strong fiberglass filler. It will not have to be prefect, because the plan is that the part will be cover with some foam and the same materiel that the seats will be cover in. Just a little more fine tuning and one more test fit and this part will be complete. |