Well we had to do some going backwards on how we planned on doing the side cameras. We thought that we would make a continuation of the running boards to house the cameras, but the part look like we just thru a box on the side of the panel. It was big and took away the curvature of the box. This left us with a gap between the running board and the box that we need to fix.

Here is the gap that we want to close up.

It was painful to take the paint off the finished running board.

Added in about a inch and a half and tweak the outside edge to match the box.

Now all we need is some paint.

How we needed to come up with a new plan to house the cameras. We came up with making some blisters like you see on some 32 fords and aircraft. So we took some of the stuff that we learned from a workshop that we took from Ron Corvell.

To start we made positive mold out of some clay that was bake to make it hard. Didn't get pictures of it before it got destroy when making the negative part of the mold which you see here in this picture. Next we took MDF and used a router to cut out the shape. Went down a little deeper then the positive mold depth but kept the exact outside shape of the mold. Next we drill holes in the bottom of the mold so that when we filled up the mold with body filler and press the positive mold in the excess material had a place to go. We used packing tape on the positive mold so it would not stick to the bondo, it work pretty well but had to come out in a few piece. When done you have a negative mold for hammer forming that's pictured above. The MDF in the background is made to the same shape as the part to hold the metal in place when forming the part.

The metal would be sandwich between the mold and the top MDF part. Then you just start hammering away.

This is what the part looks like after your done hammering. Okay maybe we had to do some filing and sanding to get to this point.

When your done you have two parts the same.

Mounted and cut out the hole for the camera in the box.

Its mounted low on the box. The camera has a very wide angle of view and can pick up at least two lines of traffic.
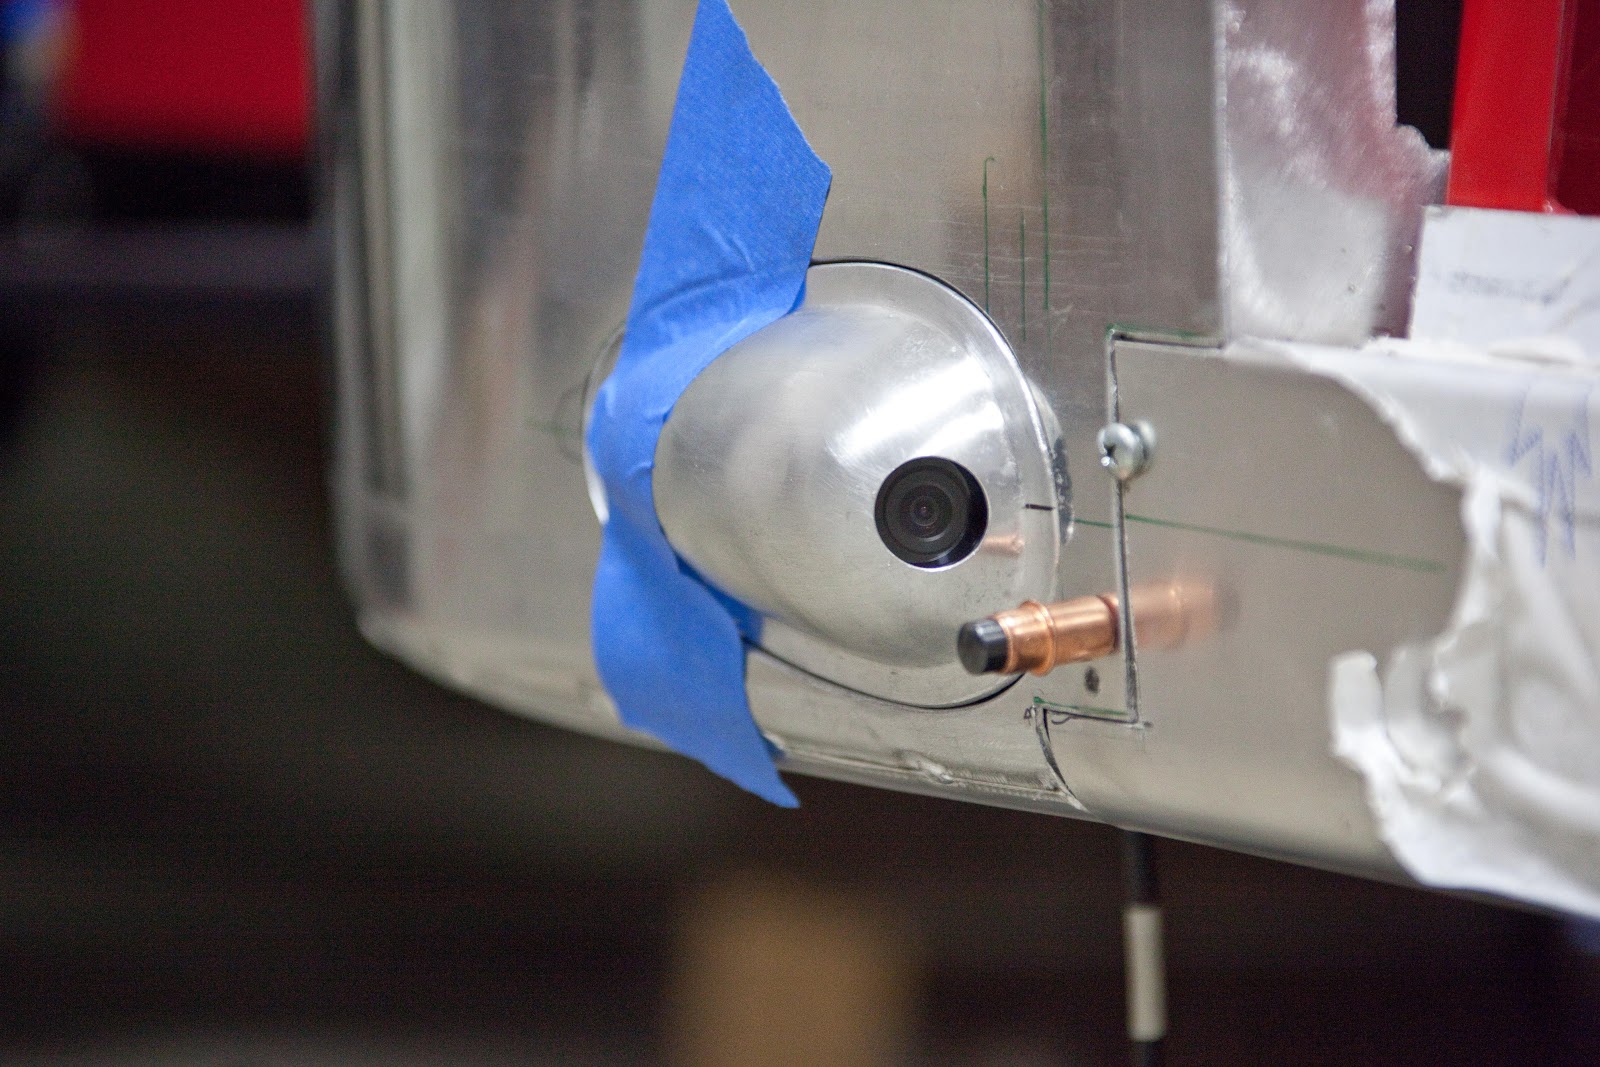
The blister in place with the hole cut out for the camera.

Getting ready for the weld.

All welded in

We are really happy how this turn out and it looks way better then the first choice.

Even though we lost two days on the first parts it was worth it in the end.

Back on body lines. We spent some time on test panels to make sure that we had our technique down before starting on the ones that count. Finished up the final layouts on the panels before getting started.

Making sure that all the lines are matching up.

The outside body line has to be right on because it is also the back gauge for the die.

Double checking out everything before we get start.

We use a backstop for the double body line.

This was the die setup for the outer body line. We add a backstop to the top and extended piece to the bottom to help keep the material 90 degrees to the dies.

The finish piece after we ran both body lines. No pictures of the process haven't figure out how to hold a camera and help out Chris with the panels. We even enlist Chris's wife to help out with the panels.

We did have some shrinking and movement in the panels causing some oil can spots. So some hammer and dollie work will need to be done. In the end we have a usable part and the body lines match up well.

The back gauge and body line done.

Getting ready to run the outer body line.

We were able to get a real nice line with the help of the backstop and Chris steady hands.

Just finished up the outer body line.

A profile look at the body lines.


The parts on the truck for test fitting. Real happy on how the body lines are matching up on the all the panels. Laying out the last side panel for the truck and then the top panels for the roof and then we should be done with the body lines.