Thursday, December 11, 2014

Finishing up the Custom Grill

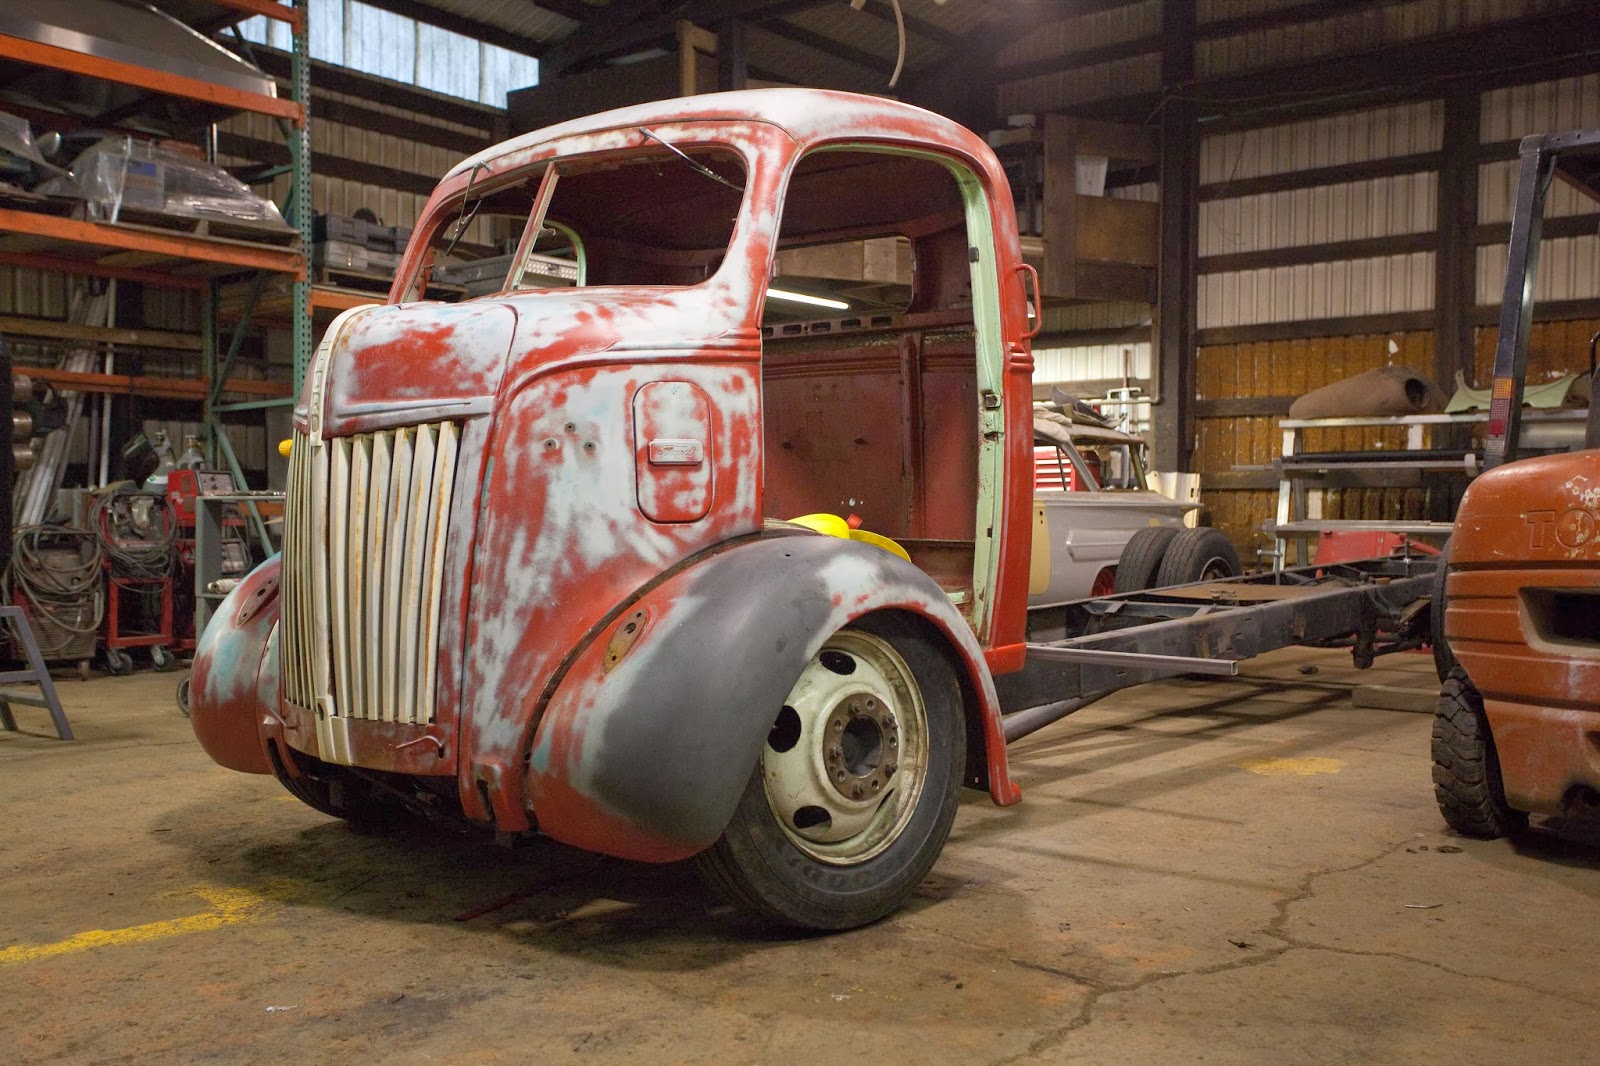
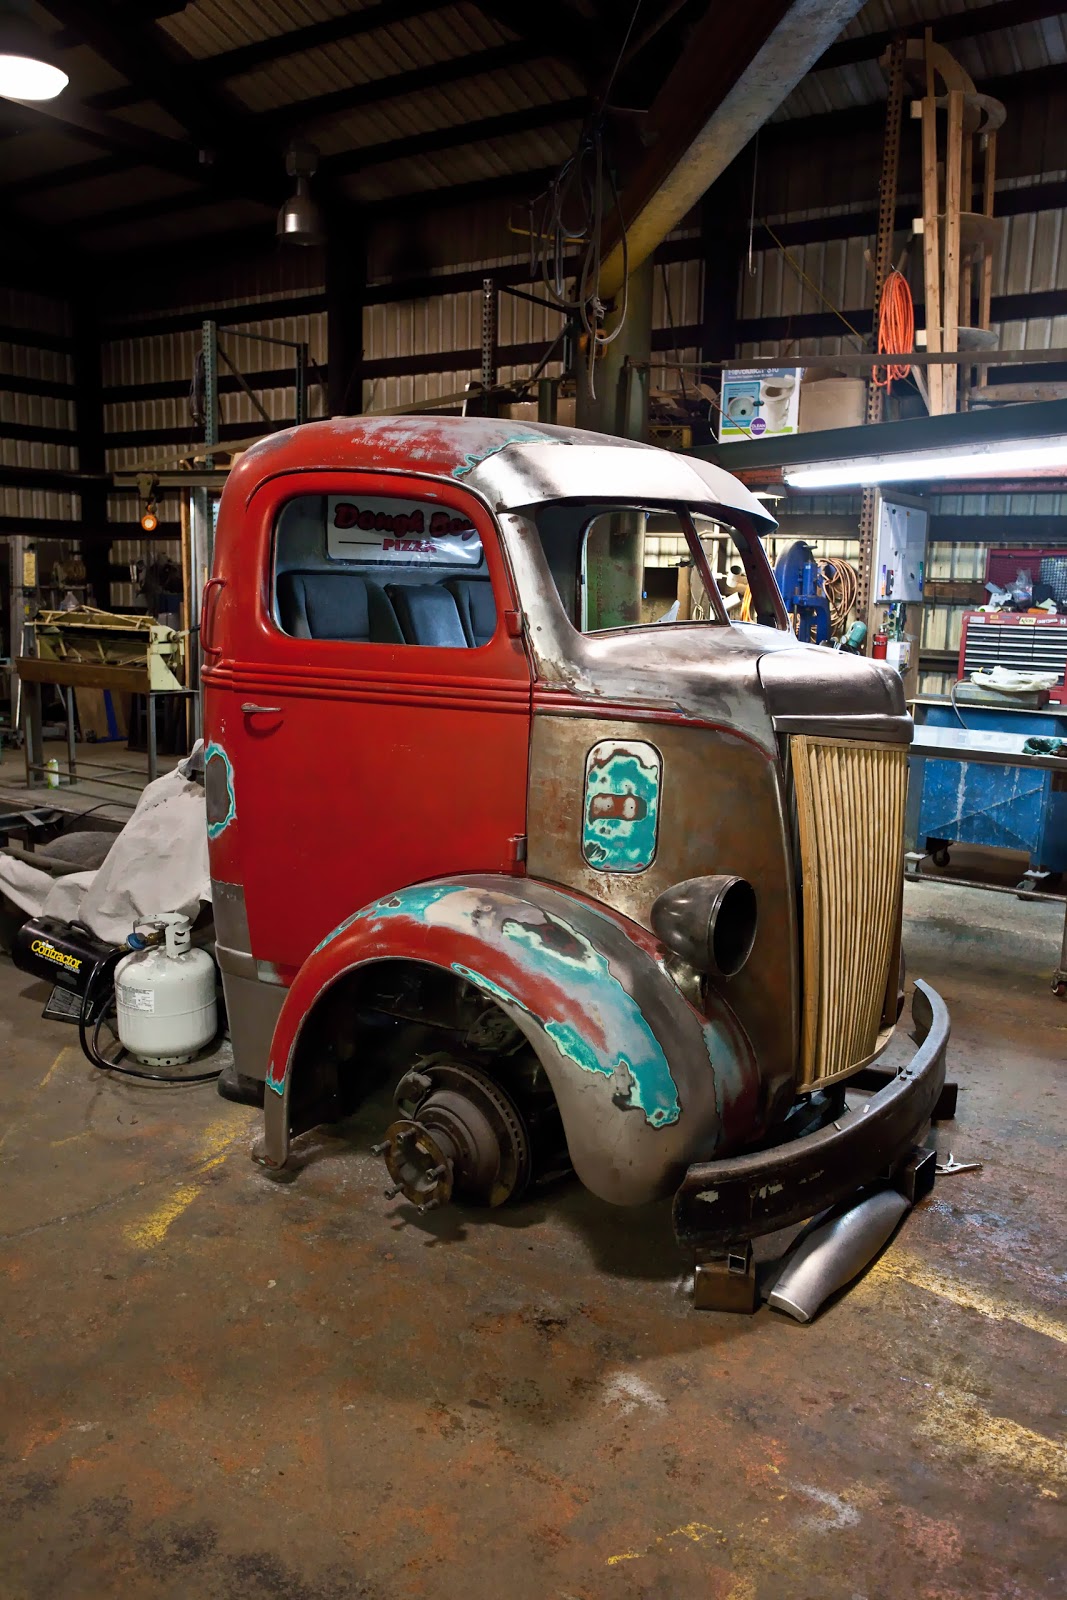
This is what the front of the grill looked like before we started this project. My goal was to try to replicate the style of the early Ford grills for a custom look.


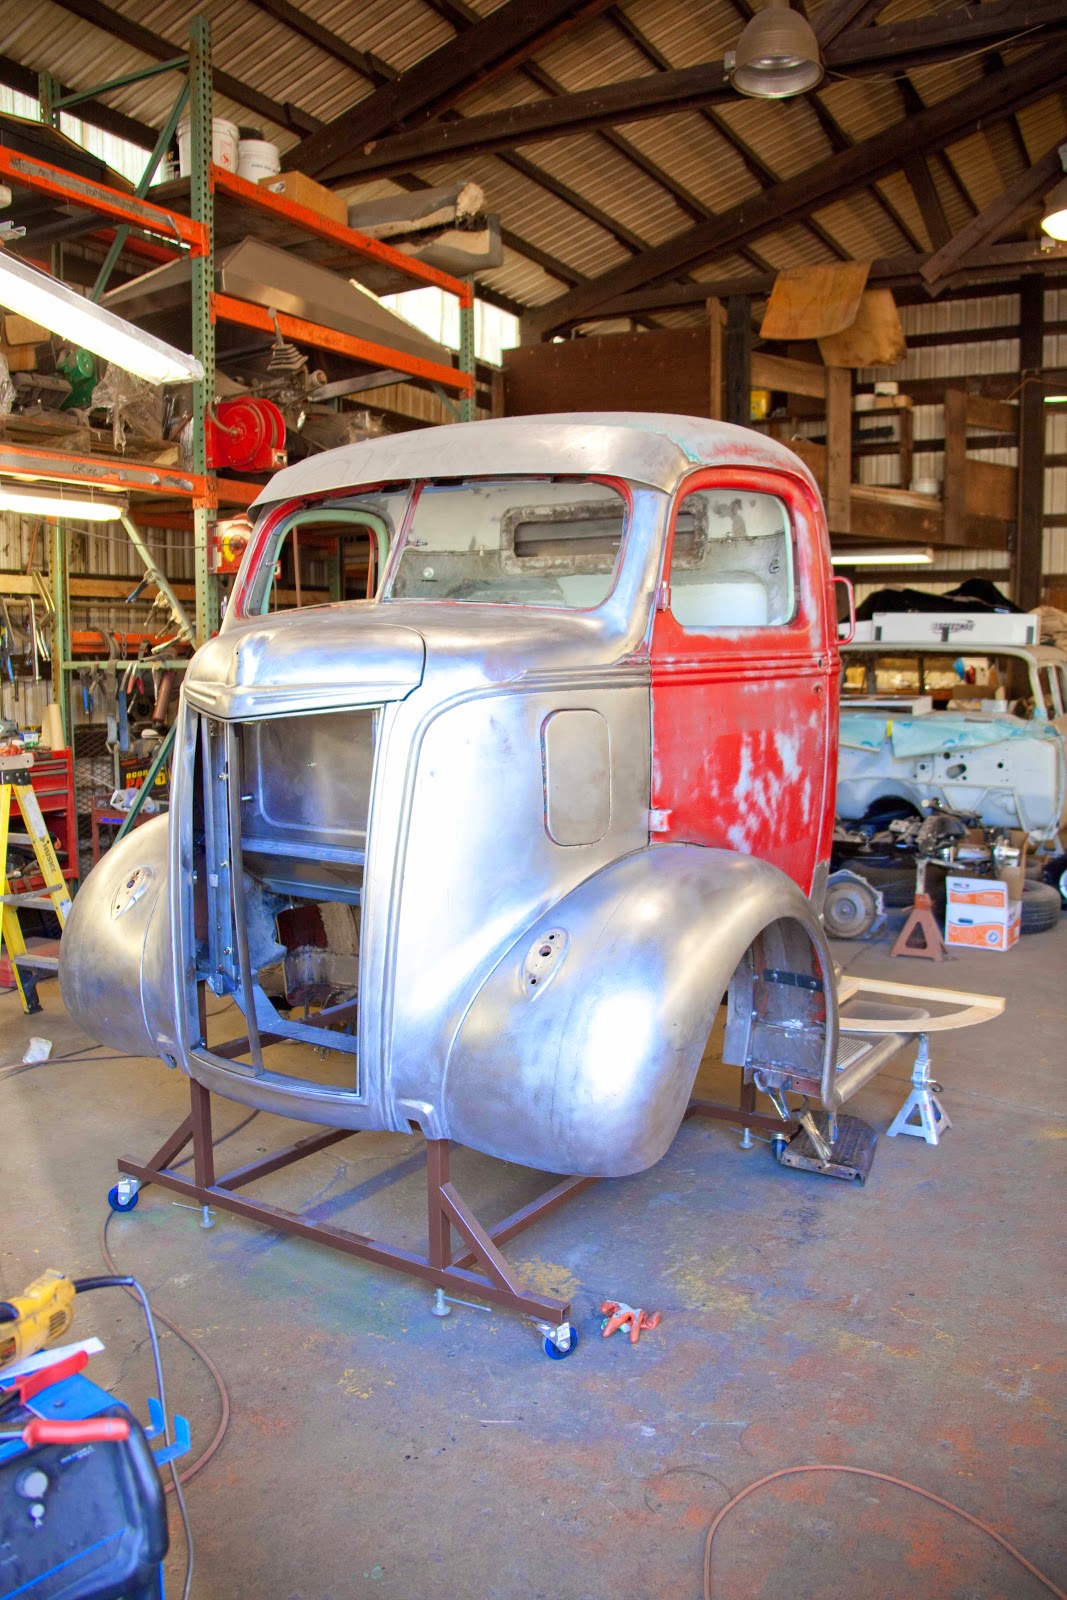
A lot of planning and work went into finding the look that we wanted. From taking the one piece stock grill and making it into a custom hood and making the grill a separate piece.


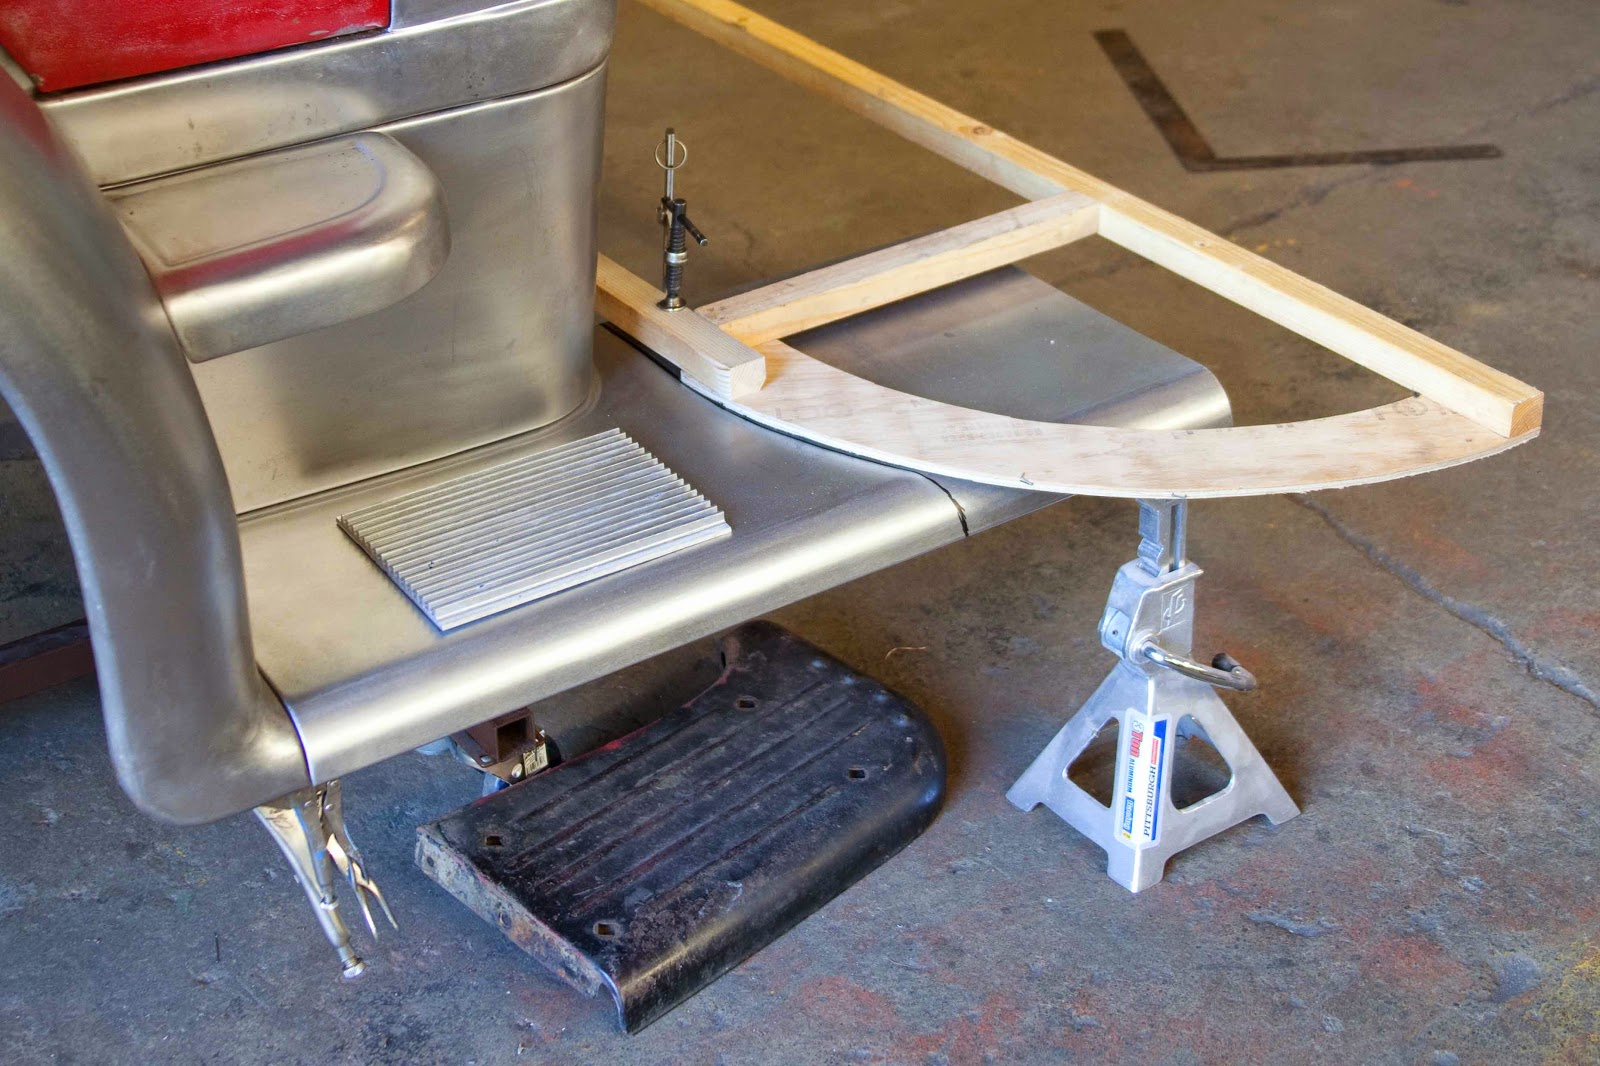
 We also went to the trouble of making a wood mock up of the grill to get a visual look.


 This is the wood grill in place. We only made a few adjustments from the wood mock up to make the final grill.


From the wood grill we made another mock up out of steel to fine tune the measurement and make the final fit to the cab. 


After filling in the new sides to the grill we were ready to send off the metal and wood mock up to have plans made up for the final build.


These are the parts that make up the outside perimeter of the grill. The parts were laser cut and then the upper and lower parts were machined for the bars to fit in.  


Here we have all 33 bars that were also laser cut. Each bar is a different length and have to be bull nosed on the front side. 


To achieve the bull nose Chris sprayed  all the parts with a blue primer and then scribe out two 45 degrees angle the length of the bars on both sides. Then sanded to those lines. After that he then scribe out 22 degrees on the two 45 degree angles and sanded to those lines. This will get you almost to a consistent bull nose with just a little more sanding. 


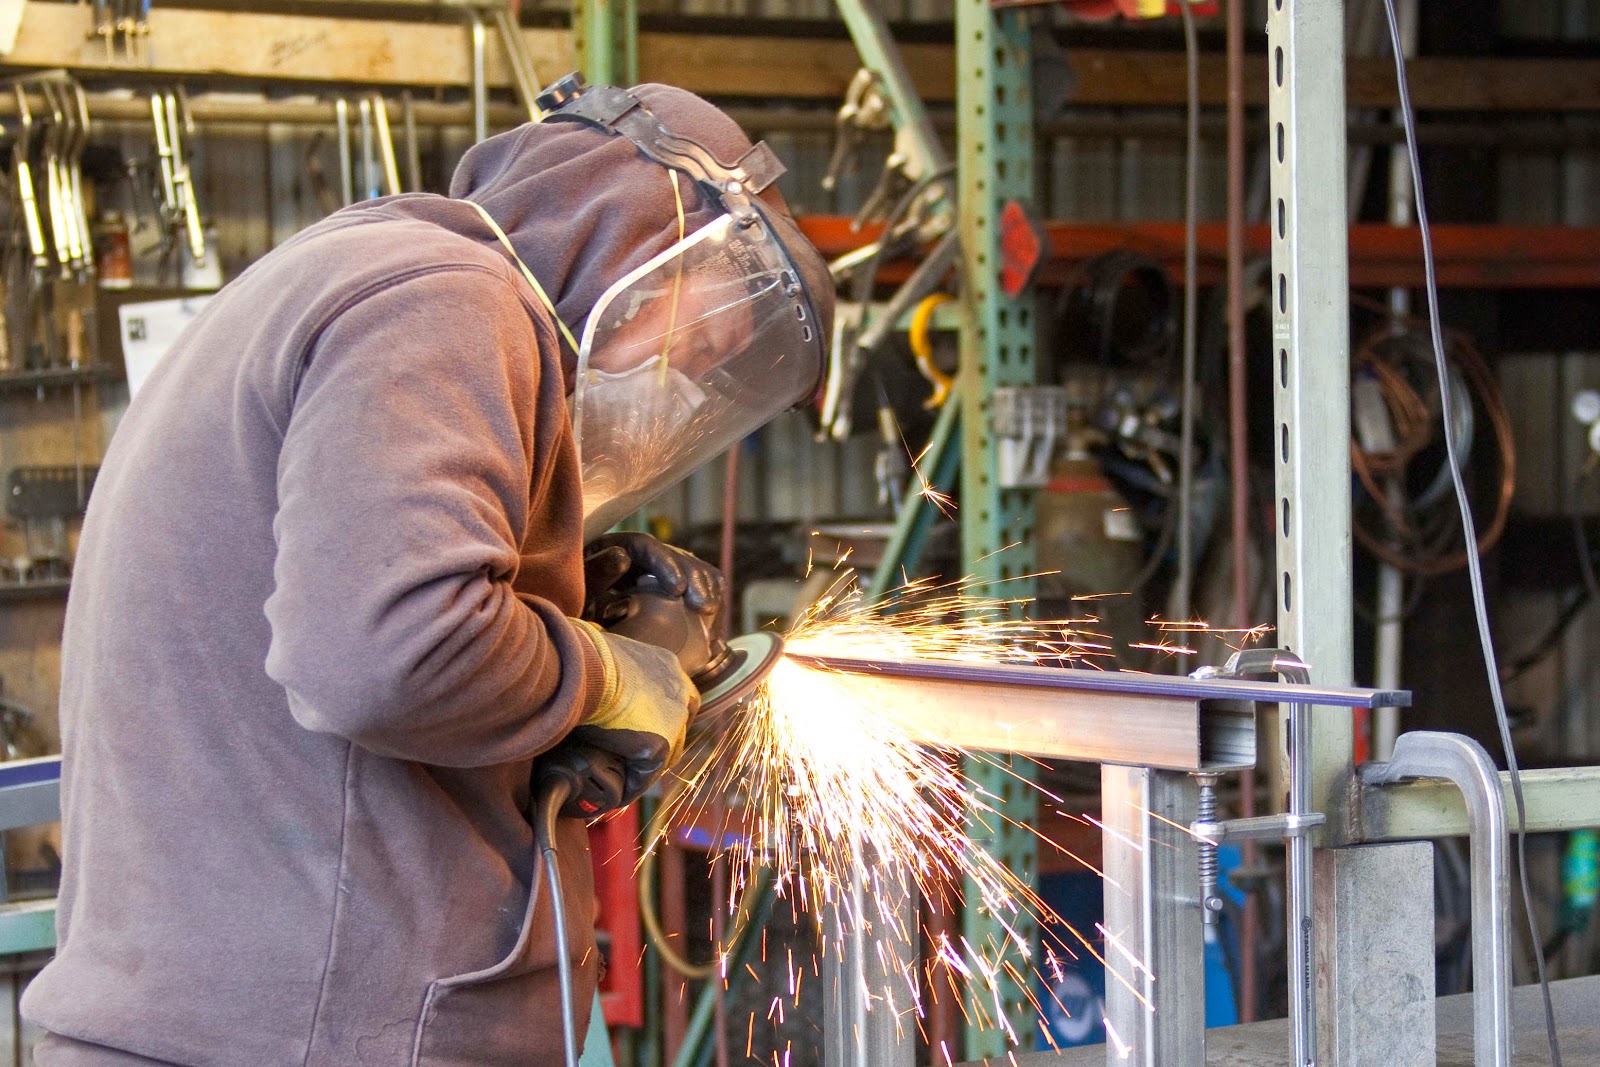
This is Chris working on the bull nose part of the project. Only 32 more to go.


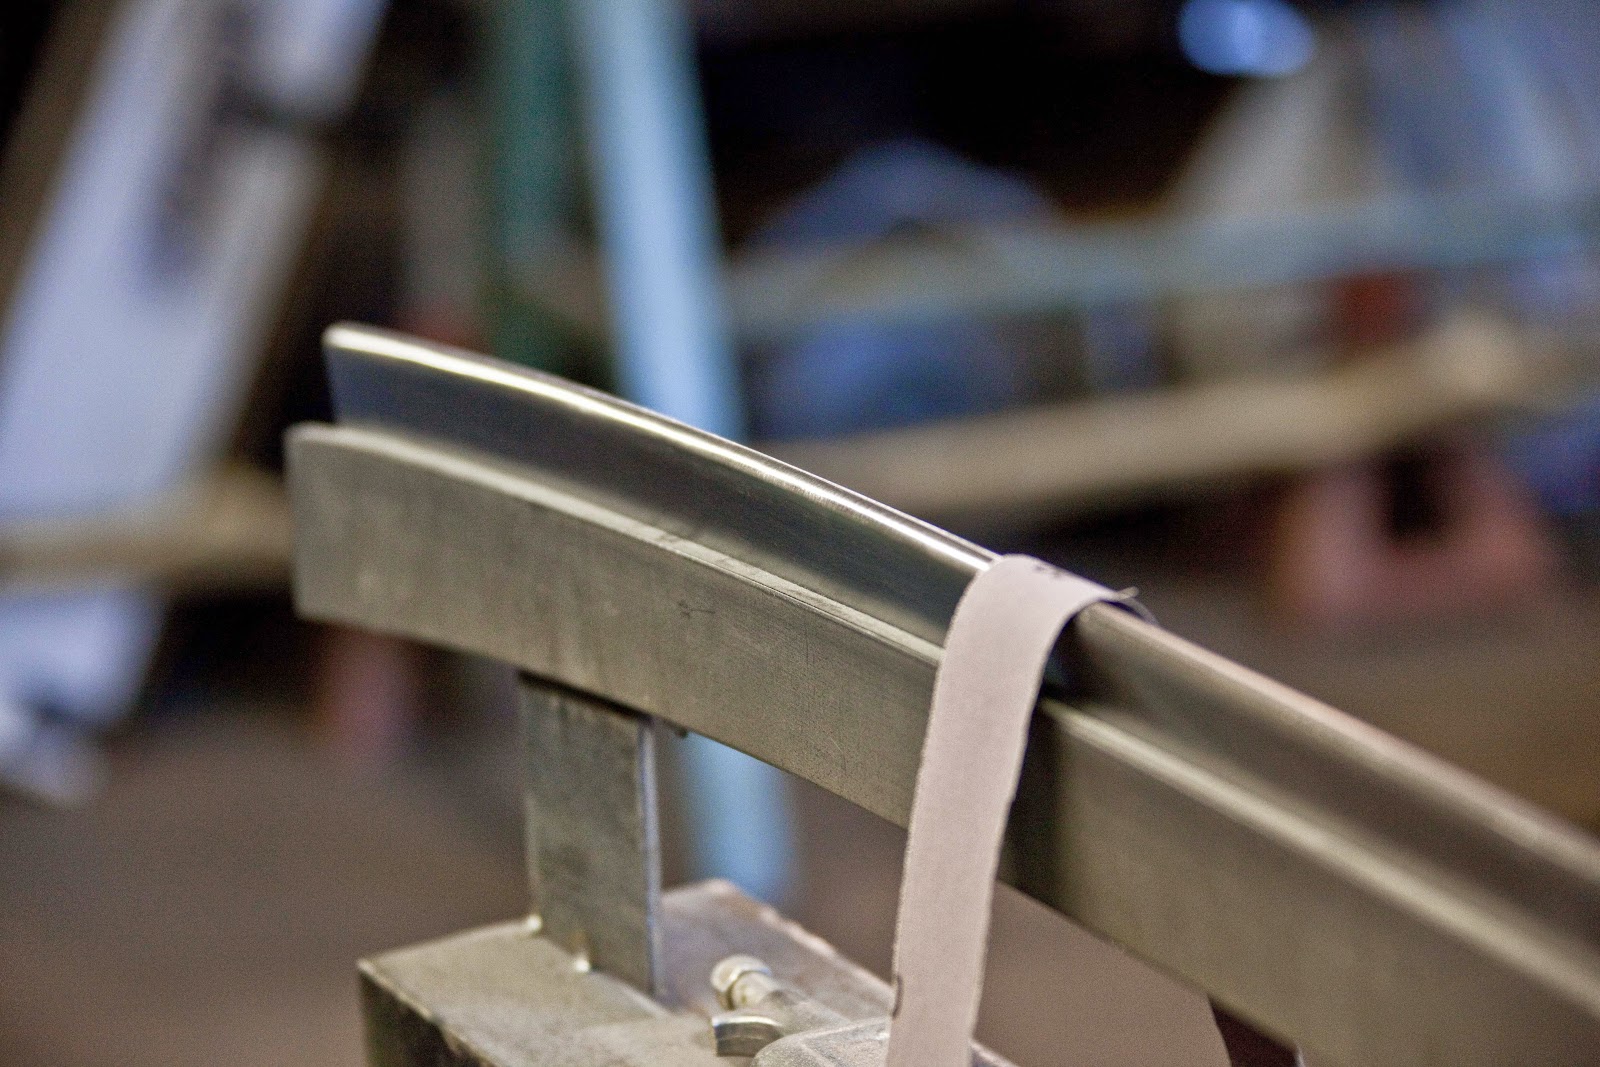
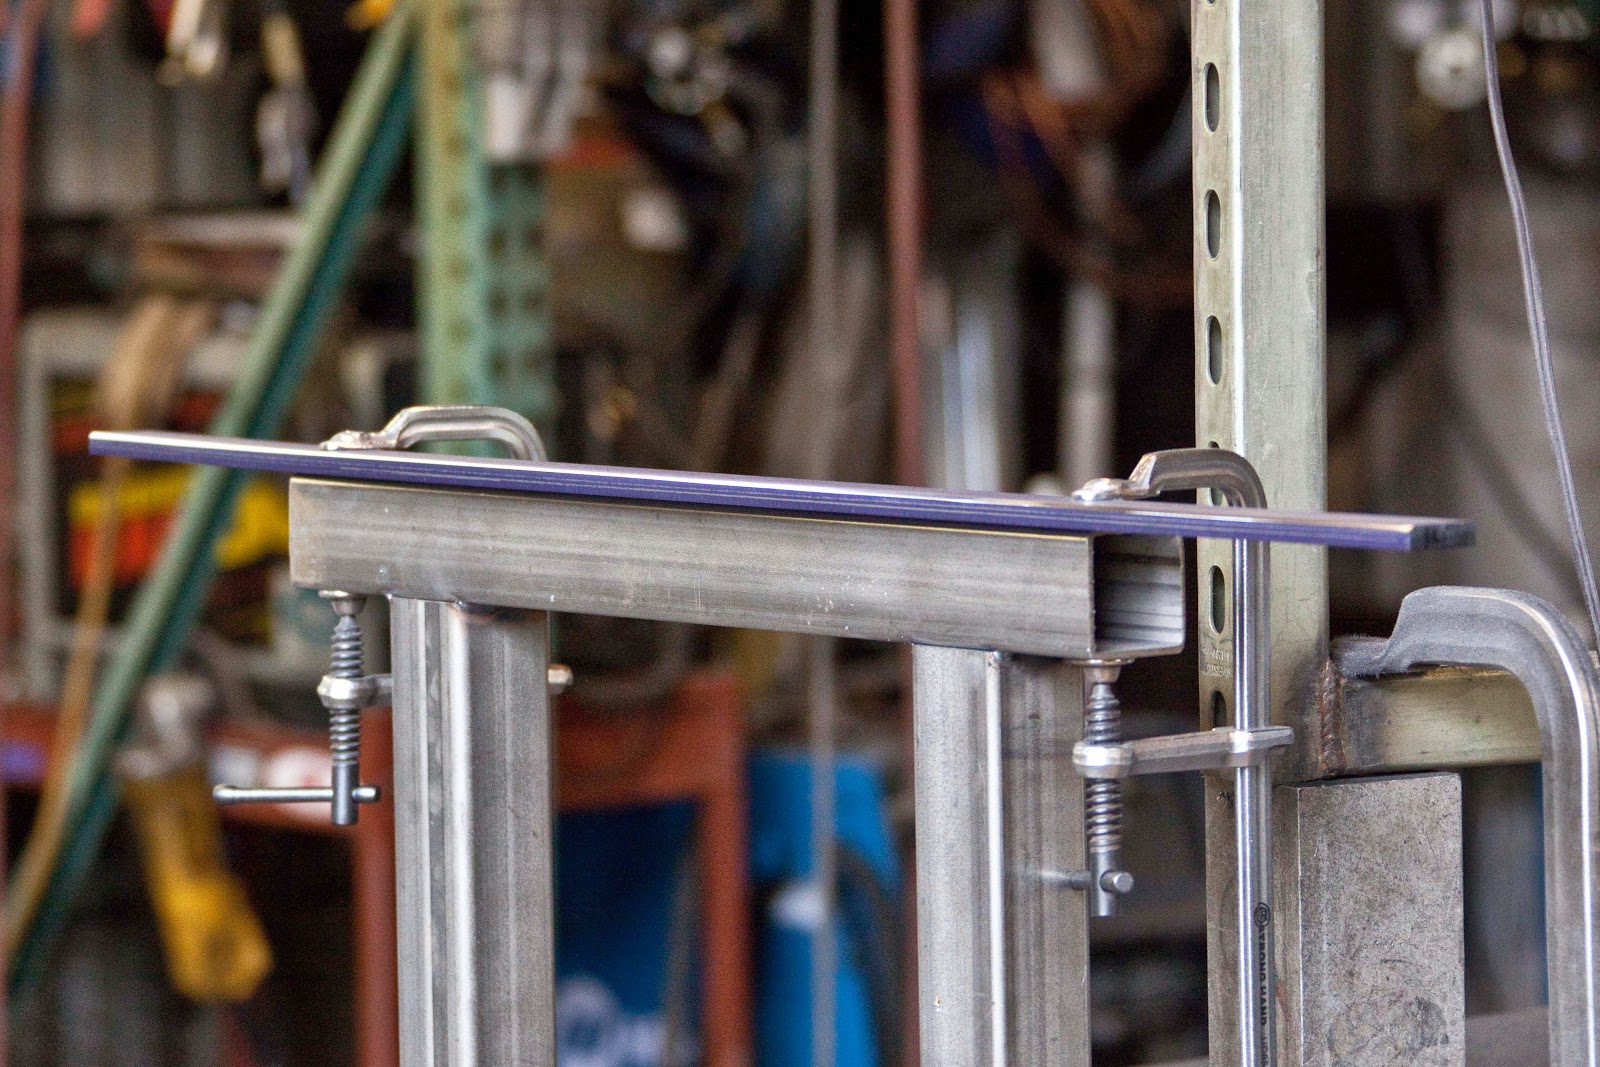
Chris made a jig to hold the bars to do the final sanding of the bull nose. We used 80 grit emery cloth to achieve a nice clean bull nose.


After Chris was done it was my turn to sand the side down to a smooth finish. Started with 80 grit and worked my way down to 800 grit.


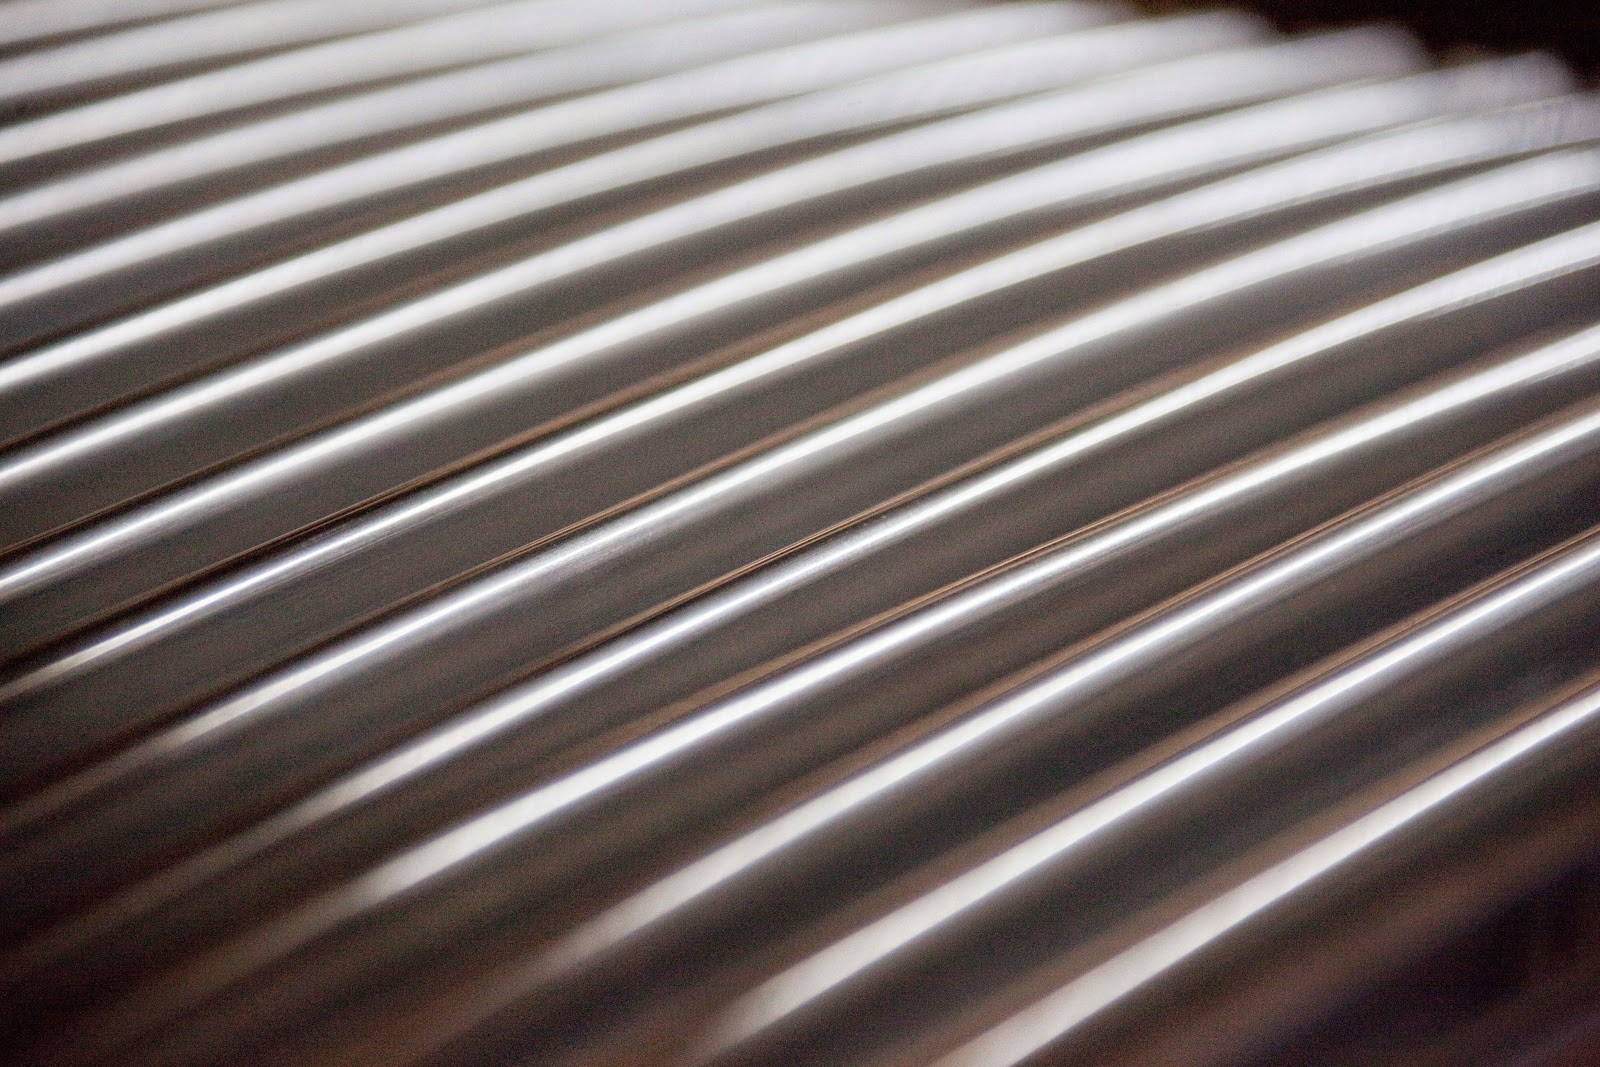
Some of the bars that have been sanded.


Took a router and some foam insulation and made a holder to transport the sanded parts to the polisher. We had everything polished before we started to assembled the grill to help out for the chroming process.


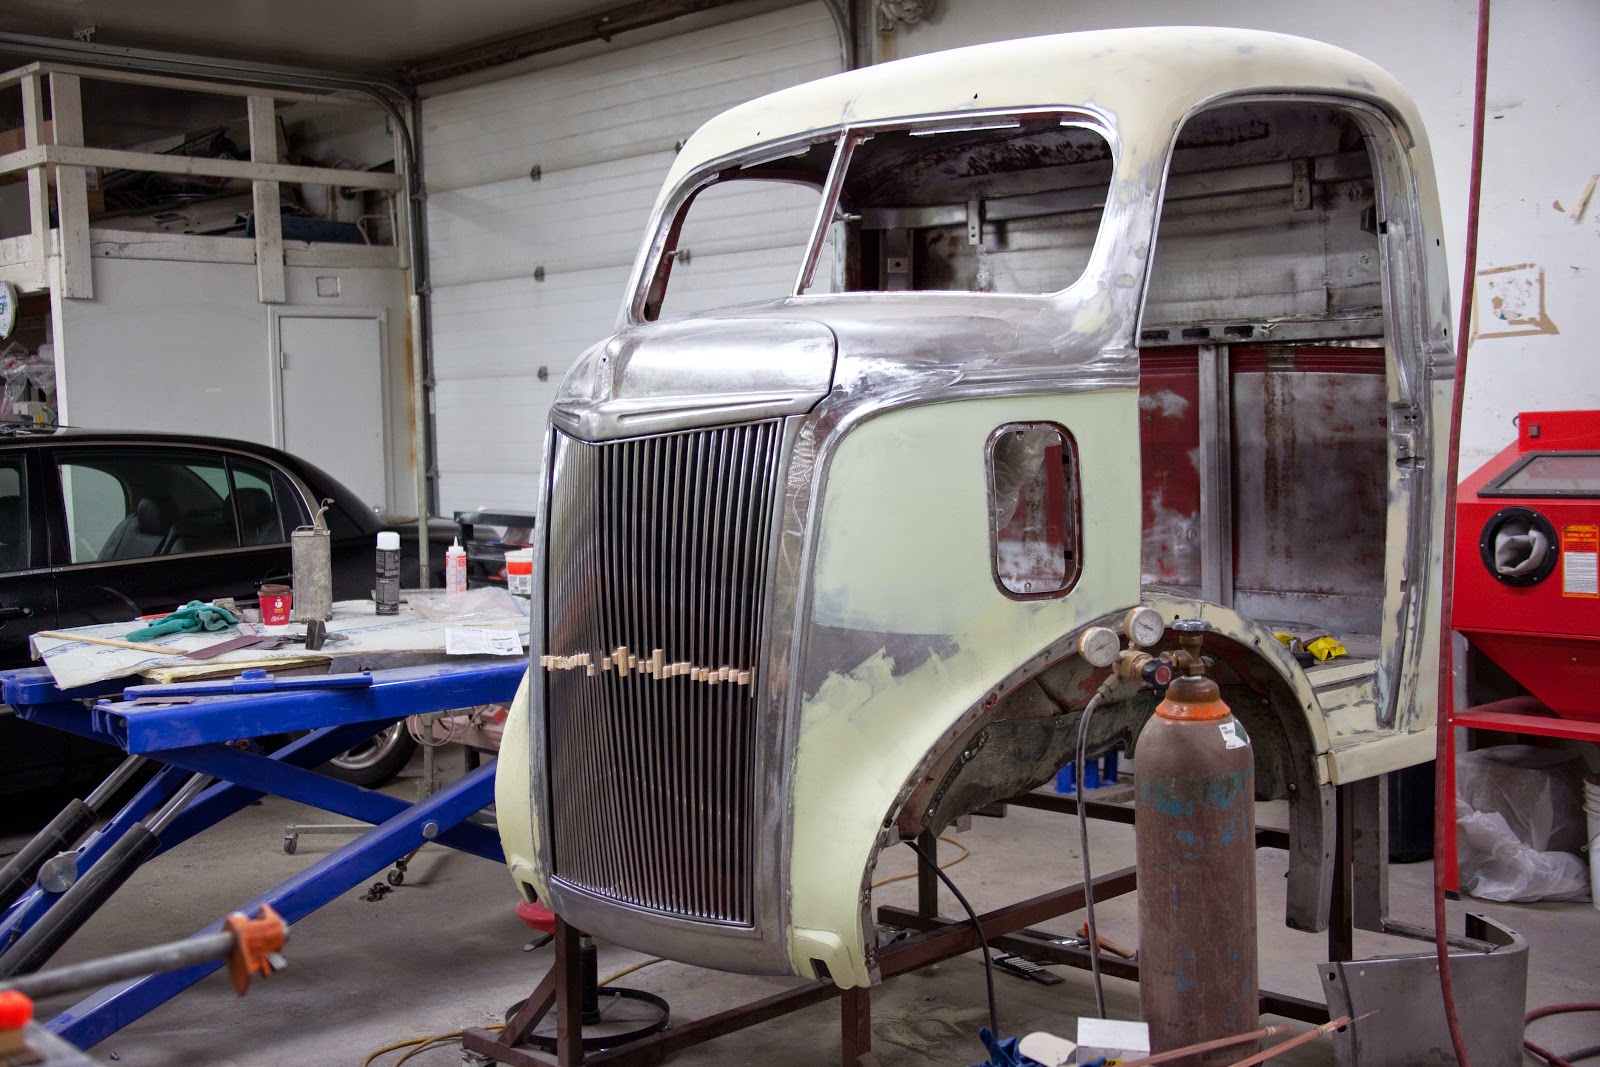
We finally have all our parts back from the polisher and have started to assembly the outside perimeter of the grill.


 The bottom of the grill that will hold the bars. The holes are for Chris to plug weld the bars into place


We have BARS!


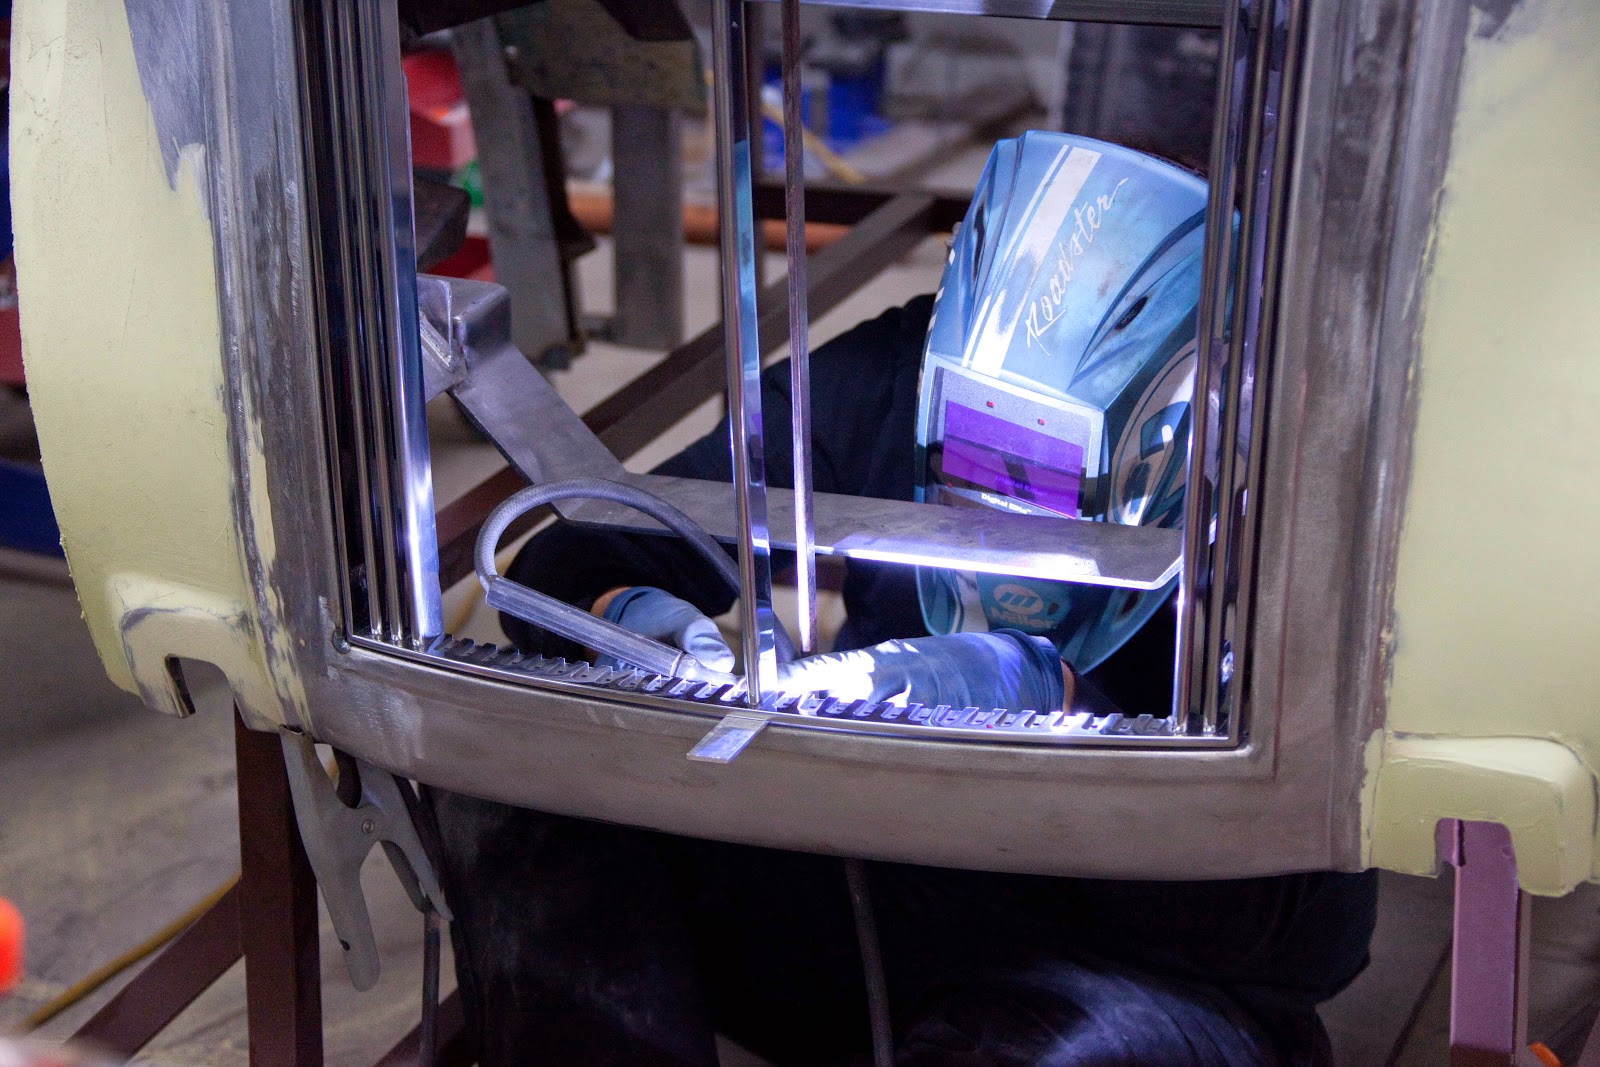
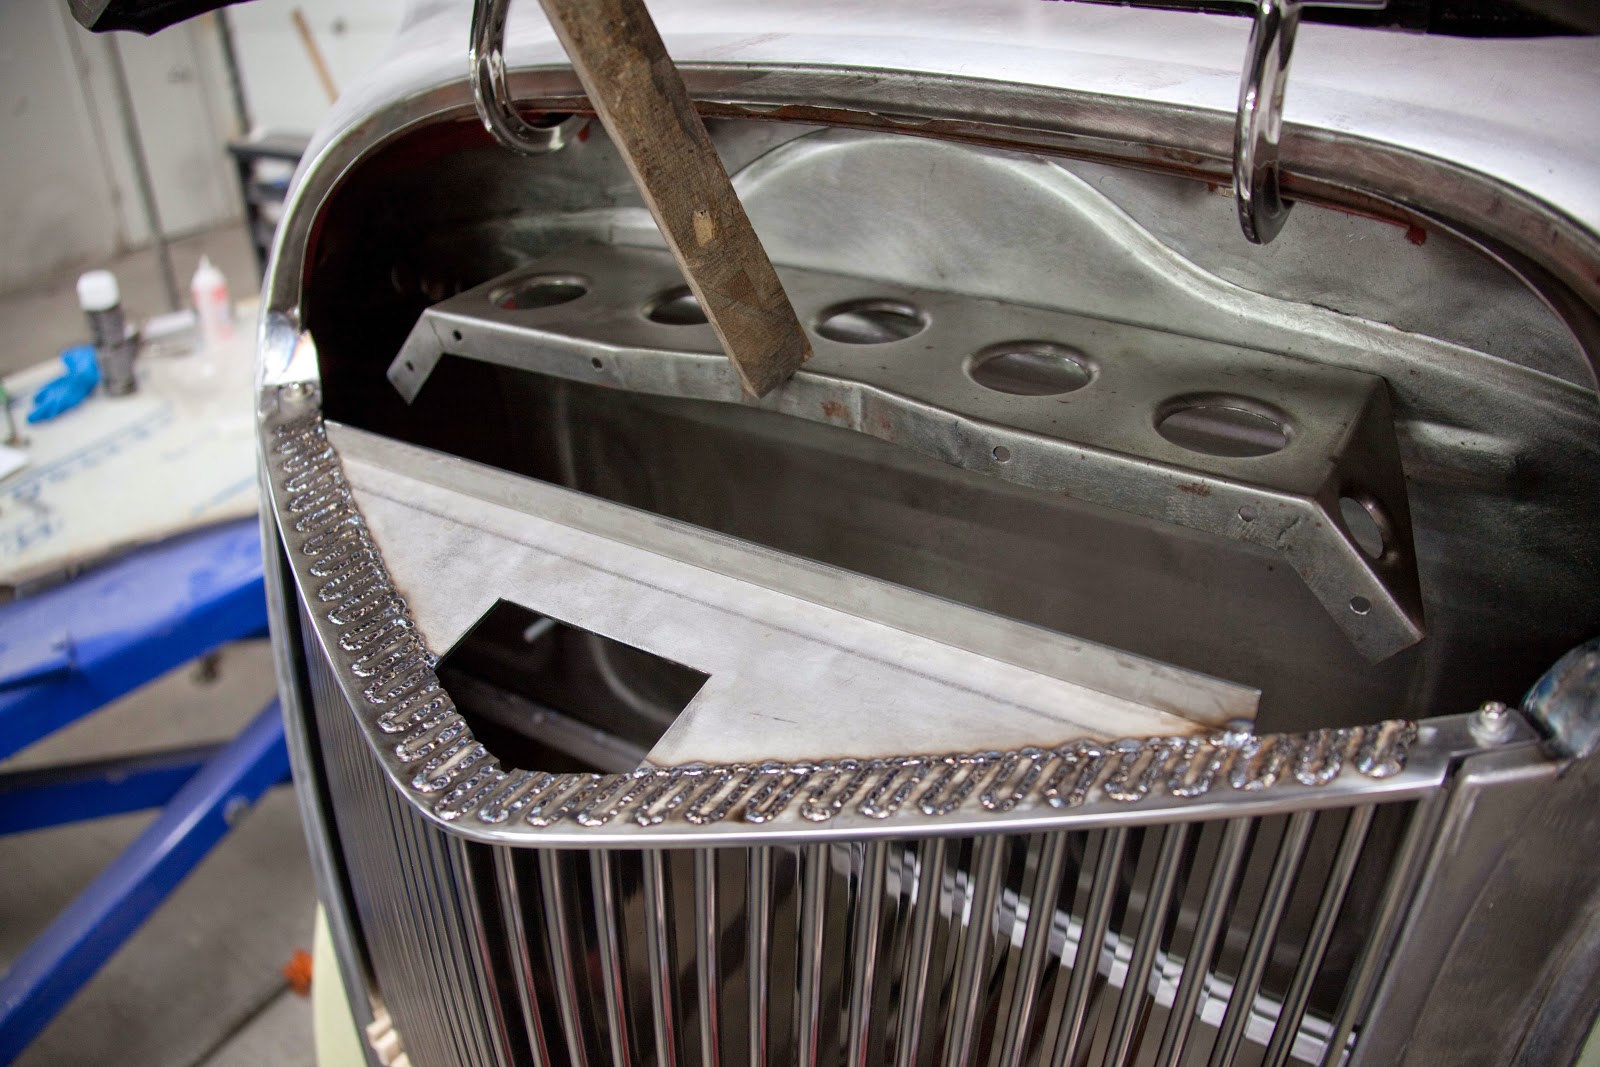
Chris tig welding the backside of the bars into place


Just when you think you have it, something goes wrong. The height of the center of grill was off making eight of the bars to short. So close:(


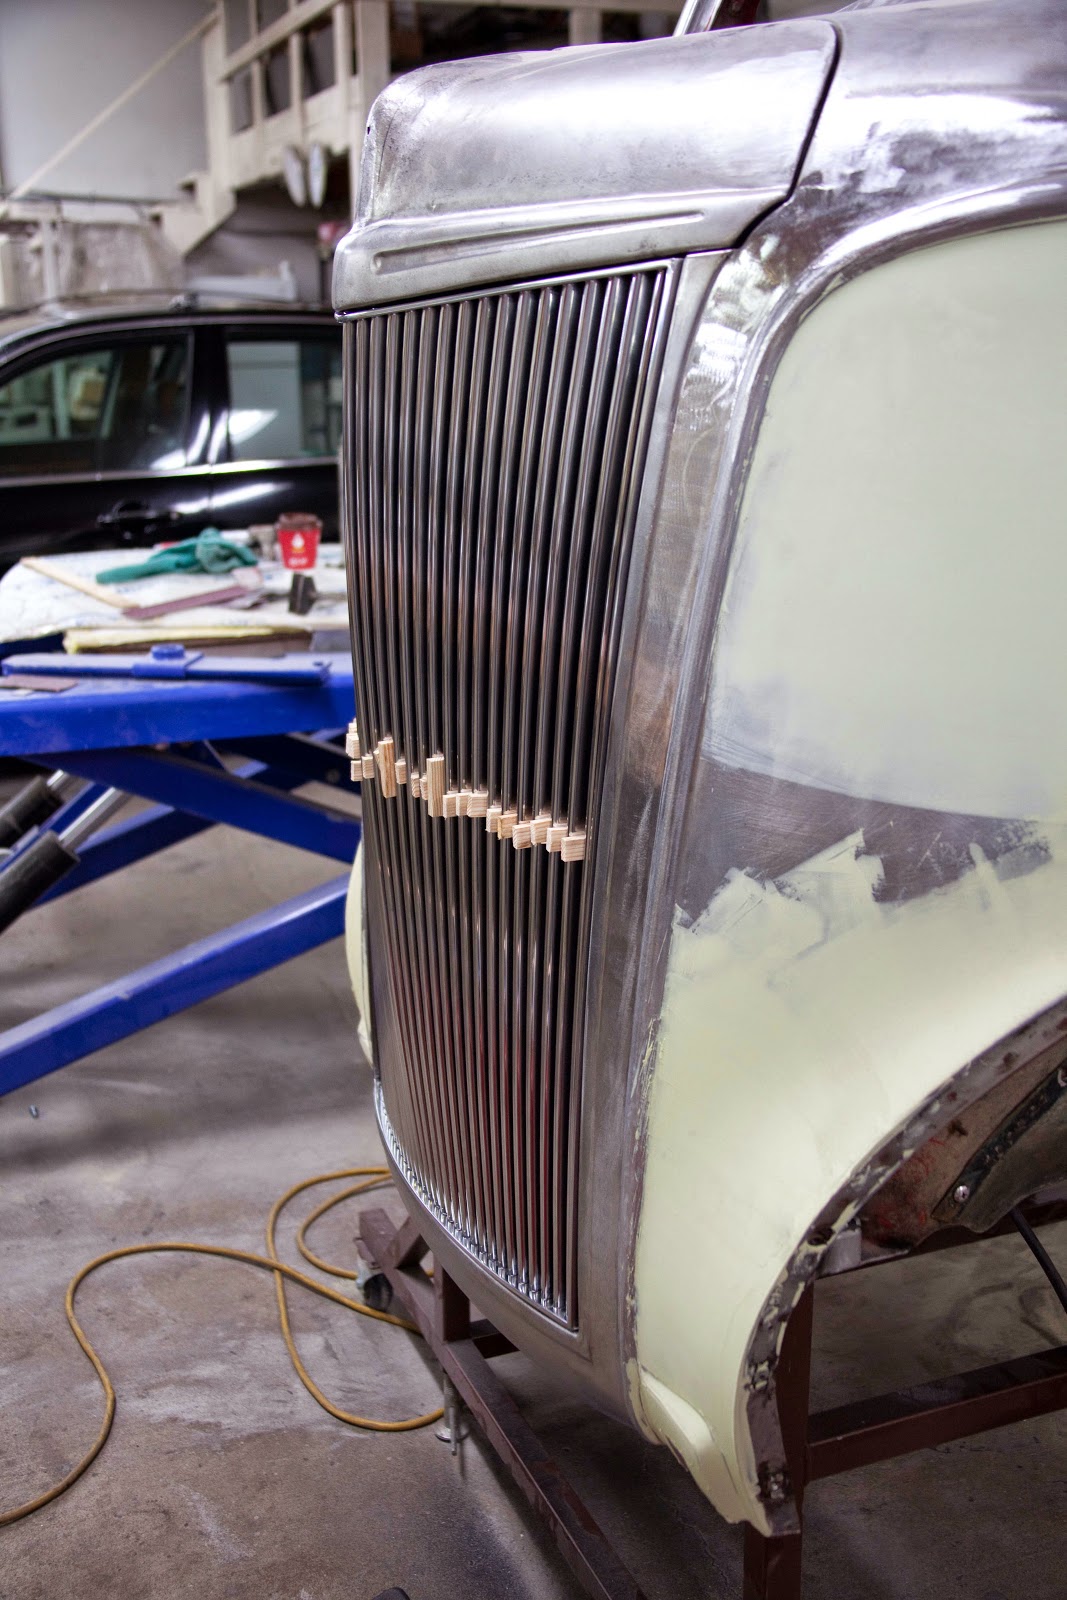
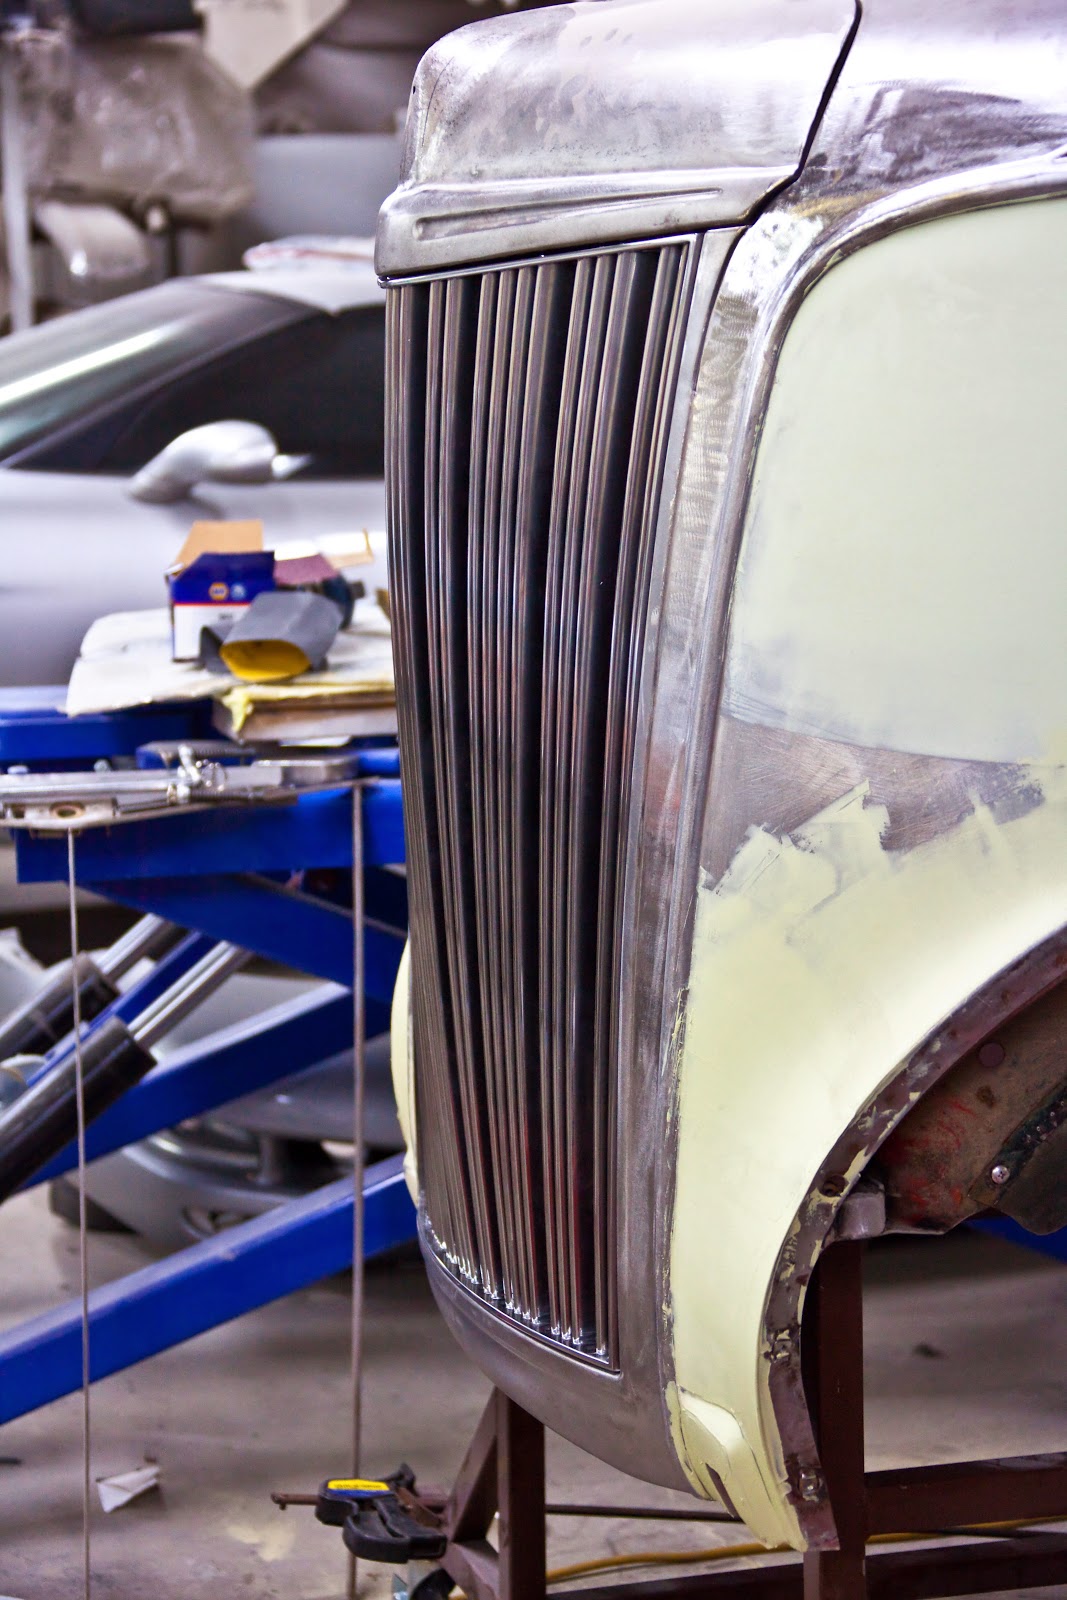
After two weeks of redoing eight of the bars we are back in business. We cut wood blocks for spacers to make sure are spacing and bars don't move while Chris does his final welding of the bars. 


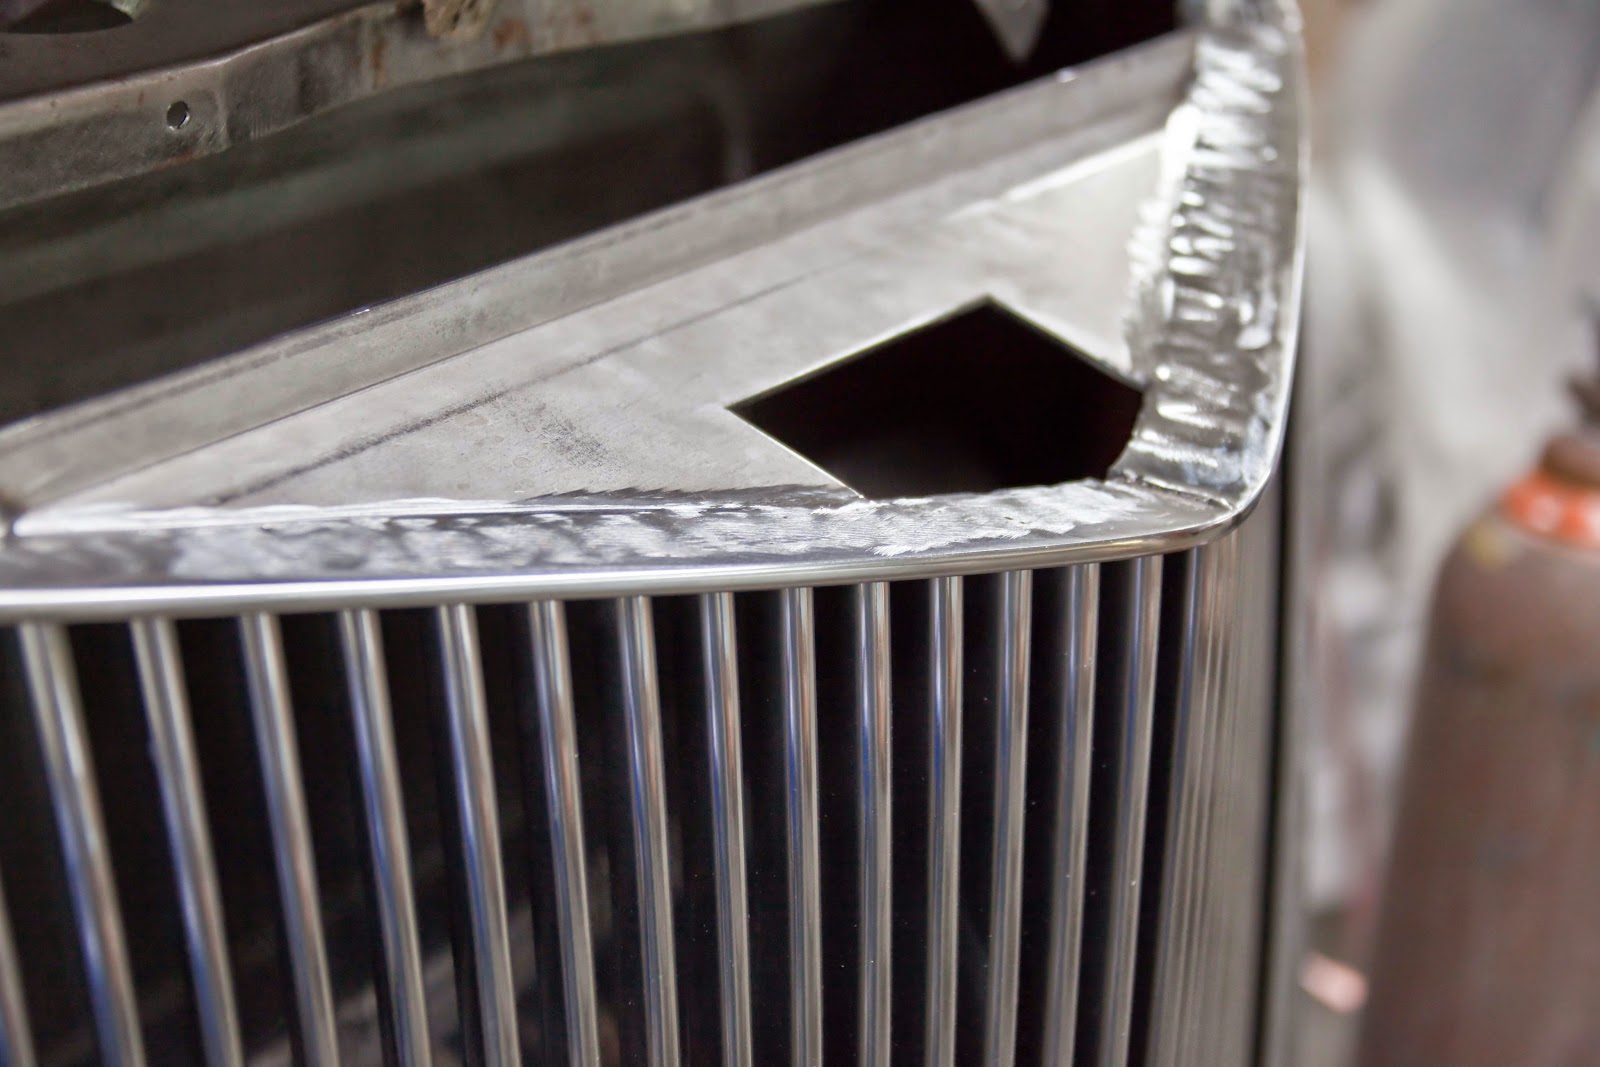
The bars tac in and ready for the final welds


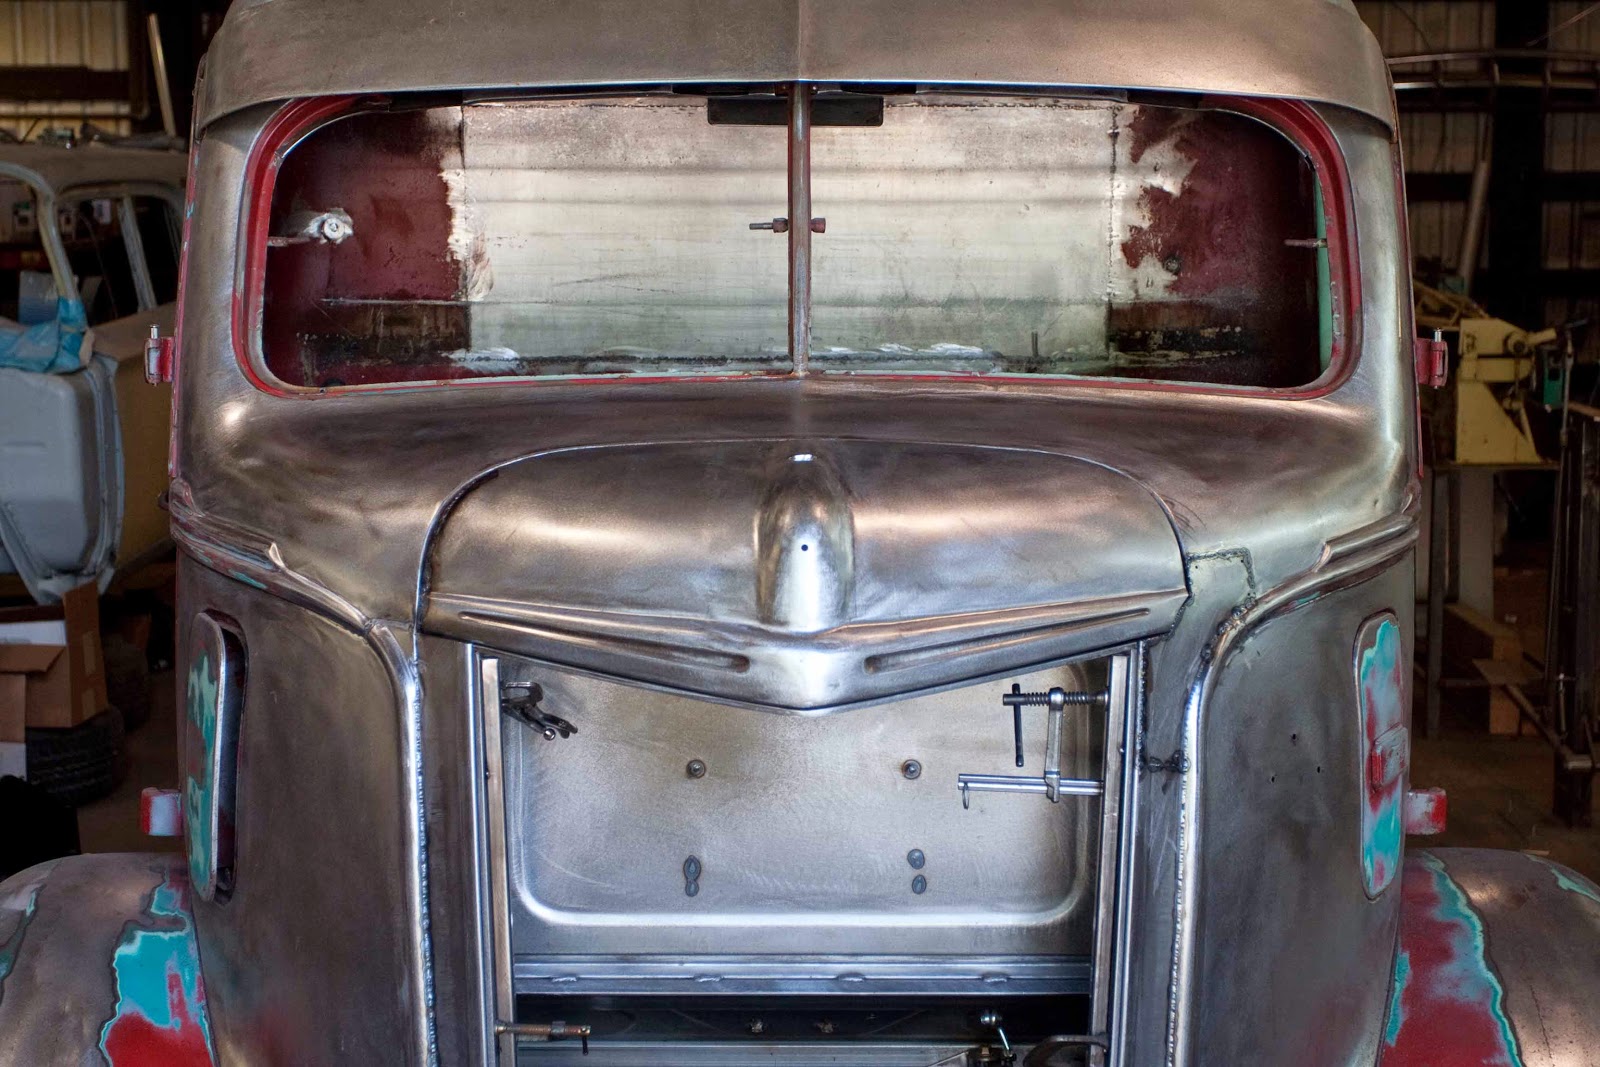
Ready for some finish work.


After some sanding.


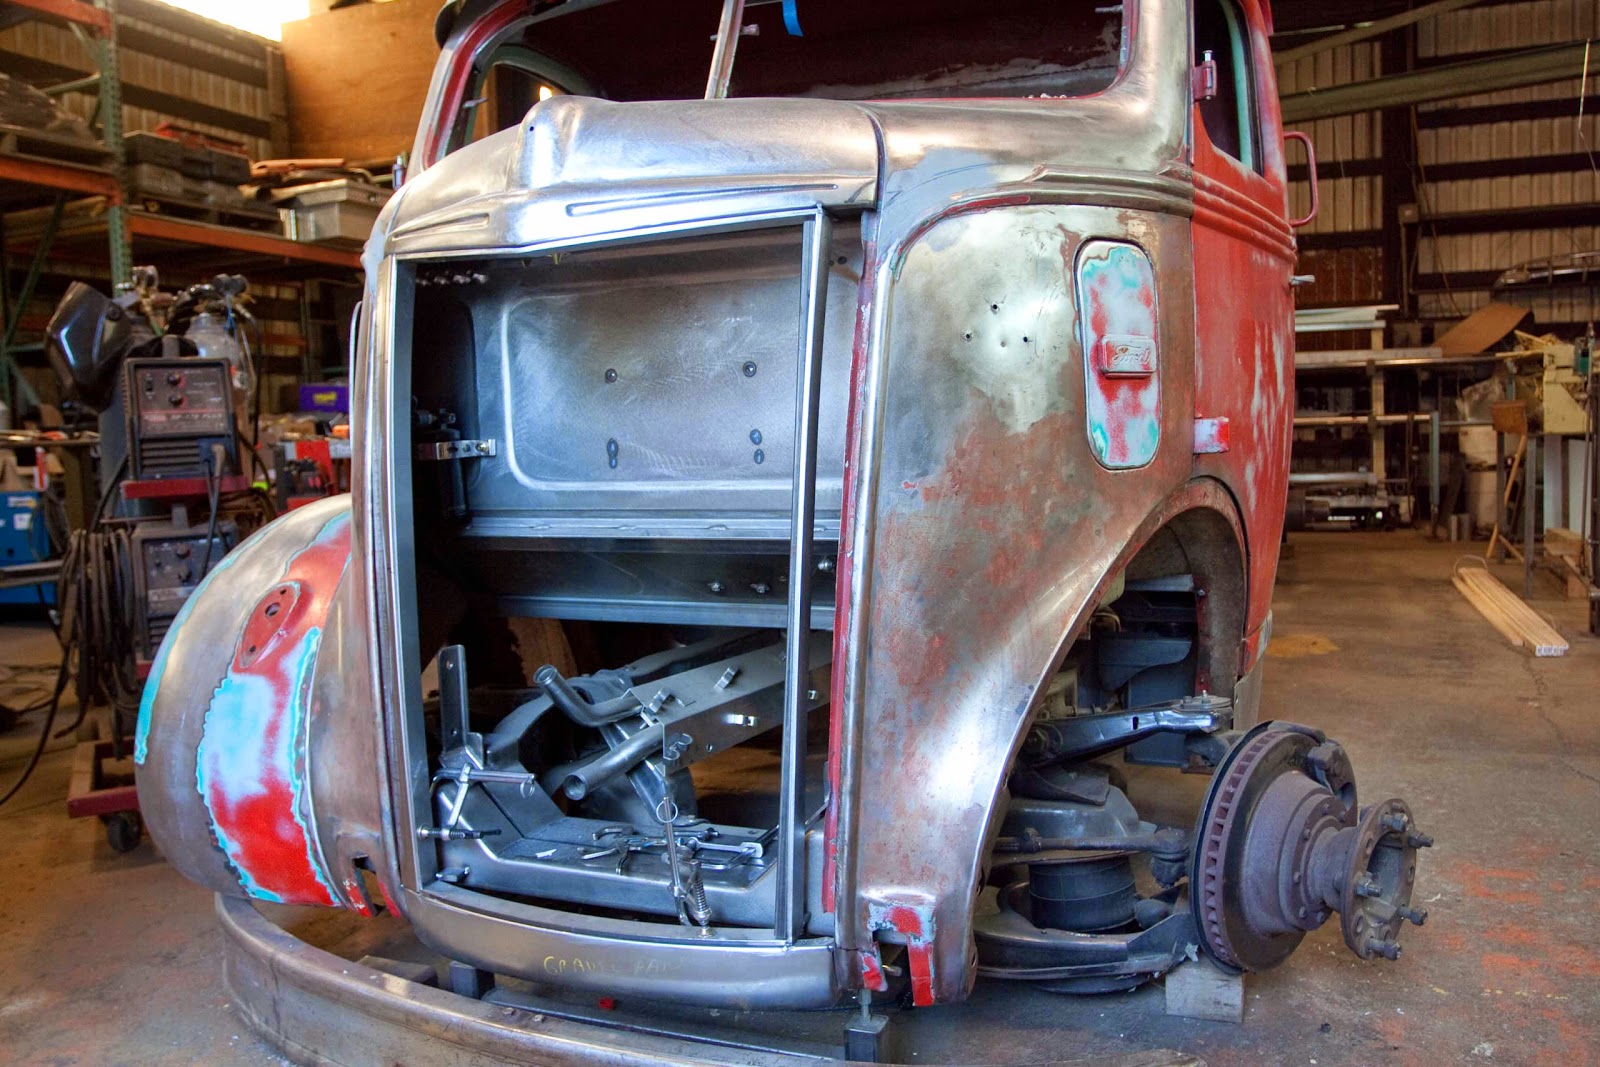
The hood latch is rough in and is ready to be finished out.


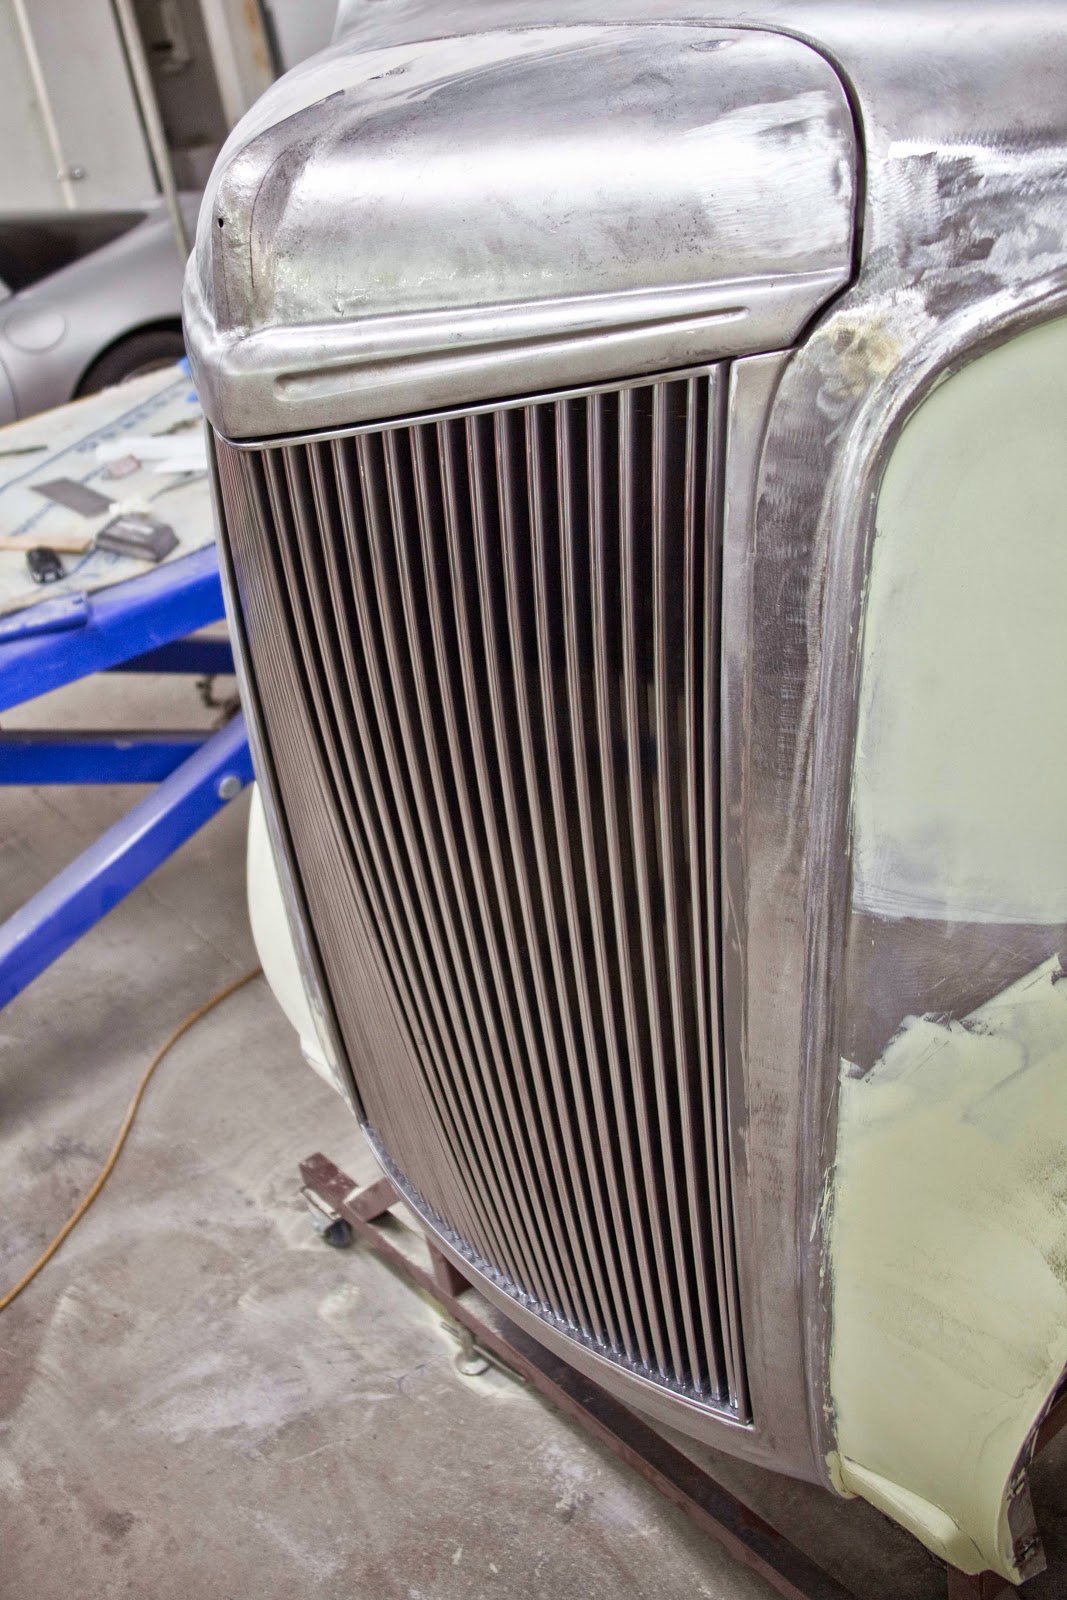
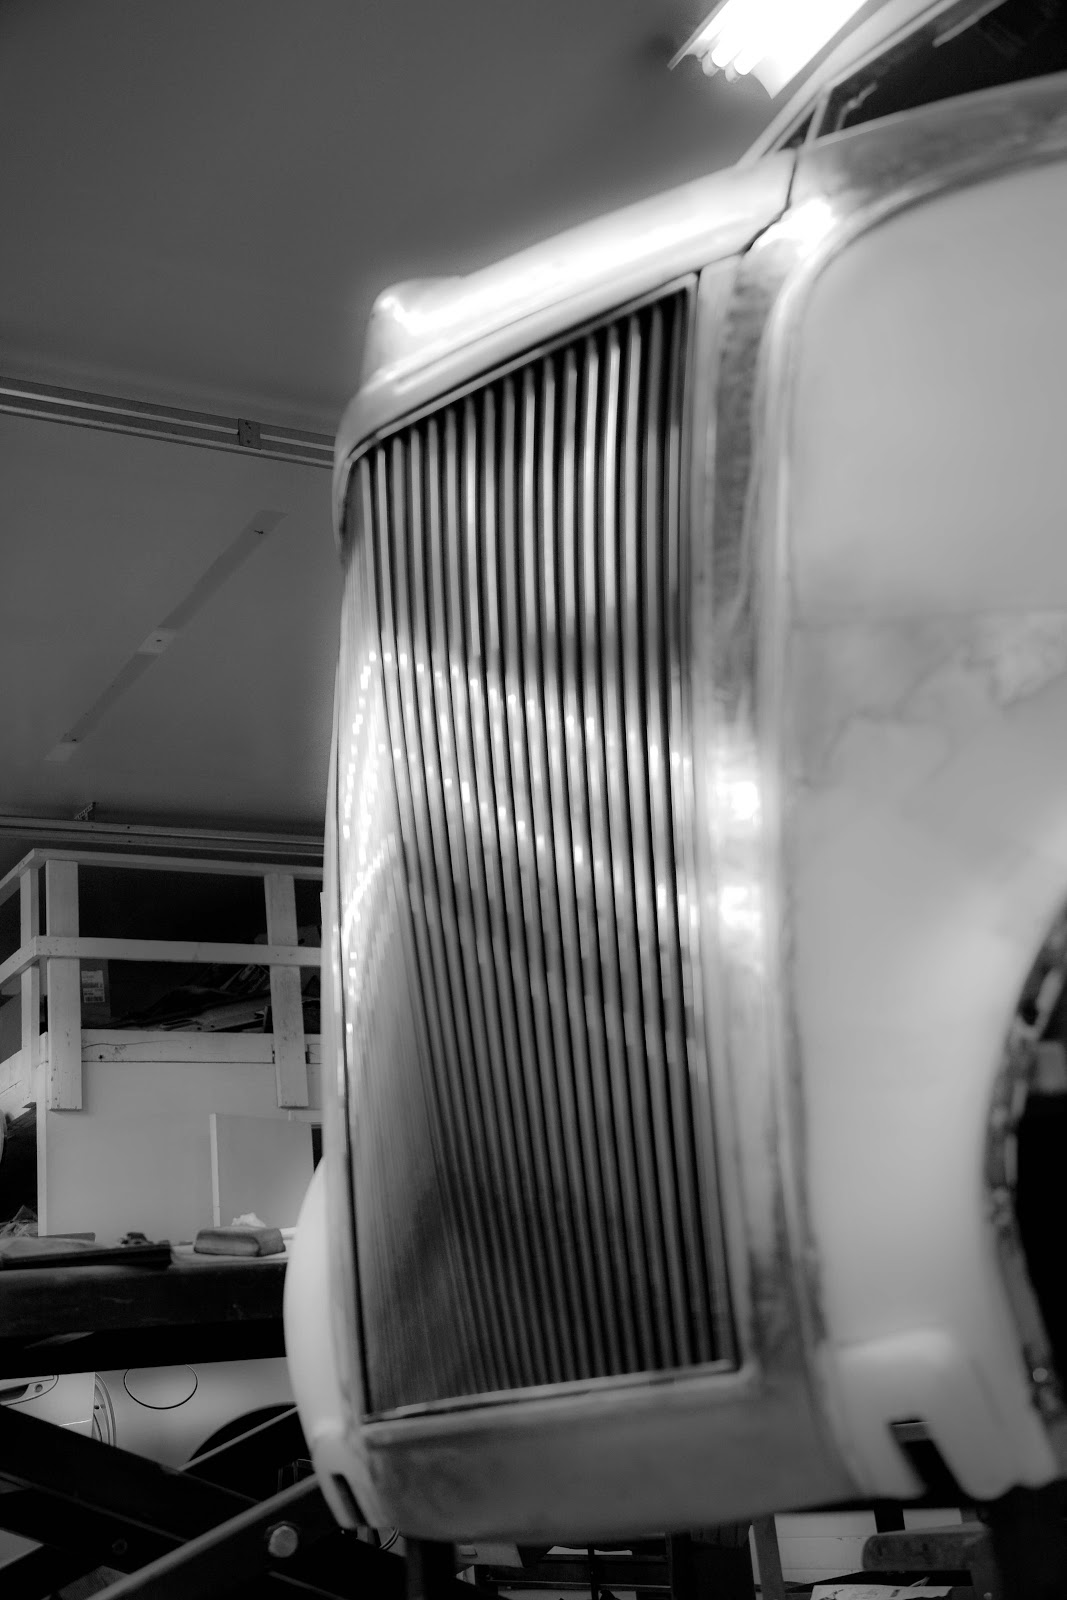
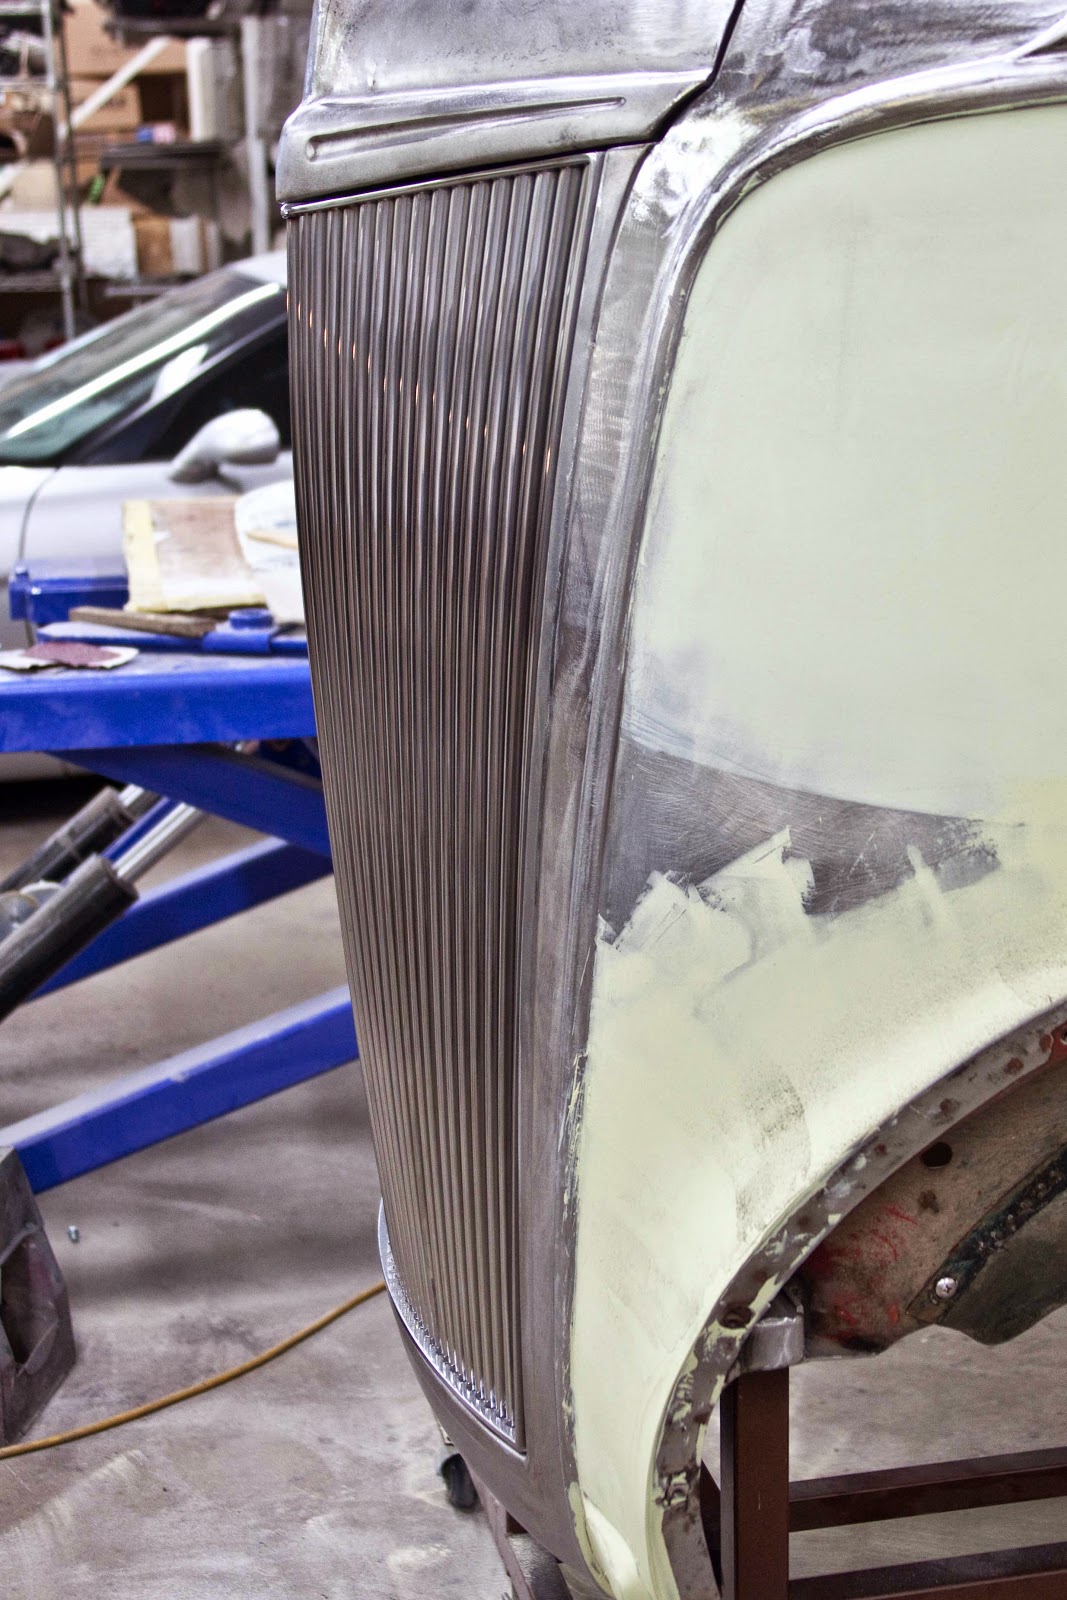
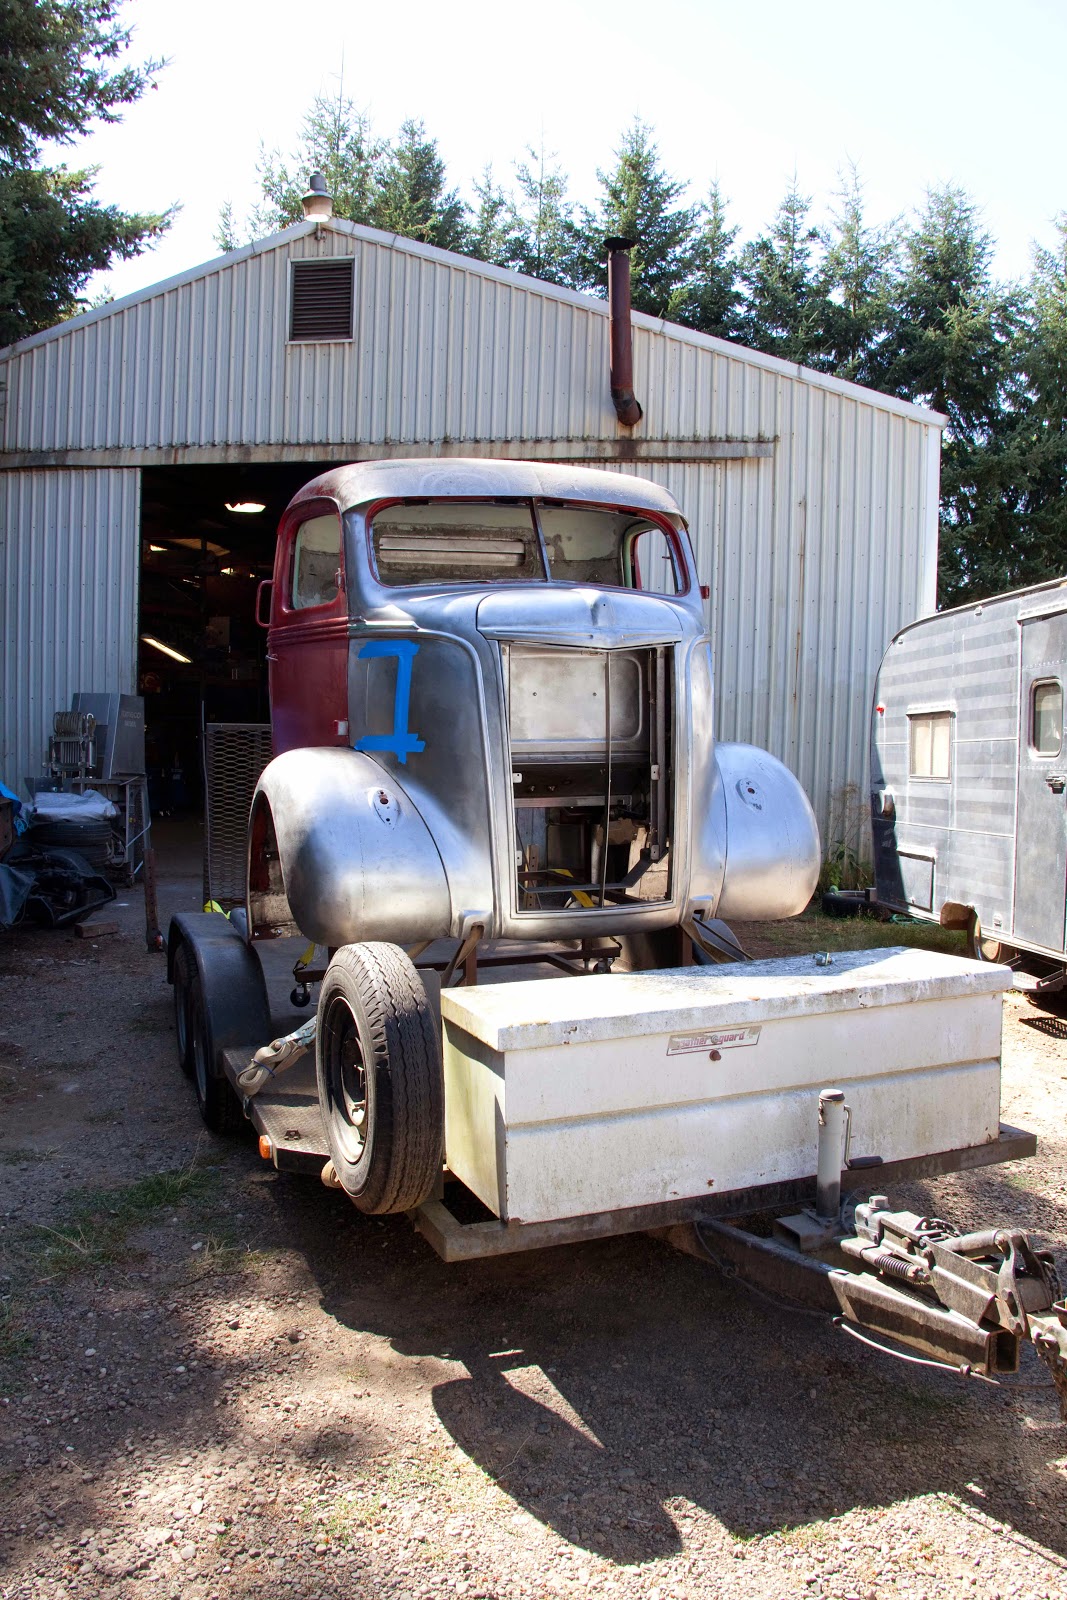
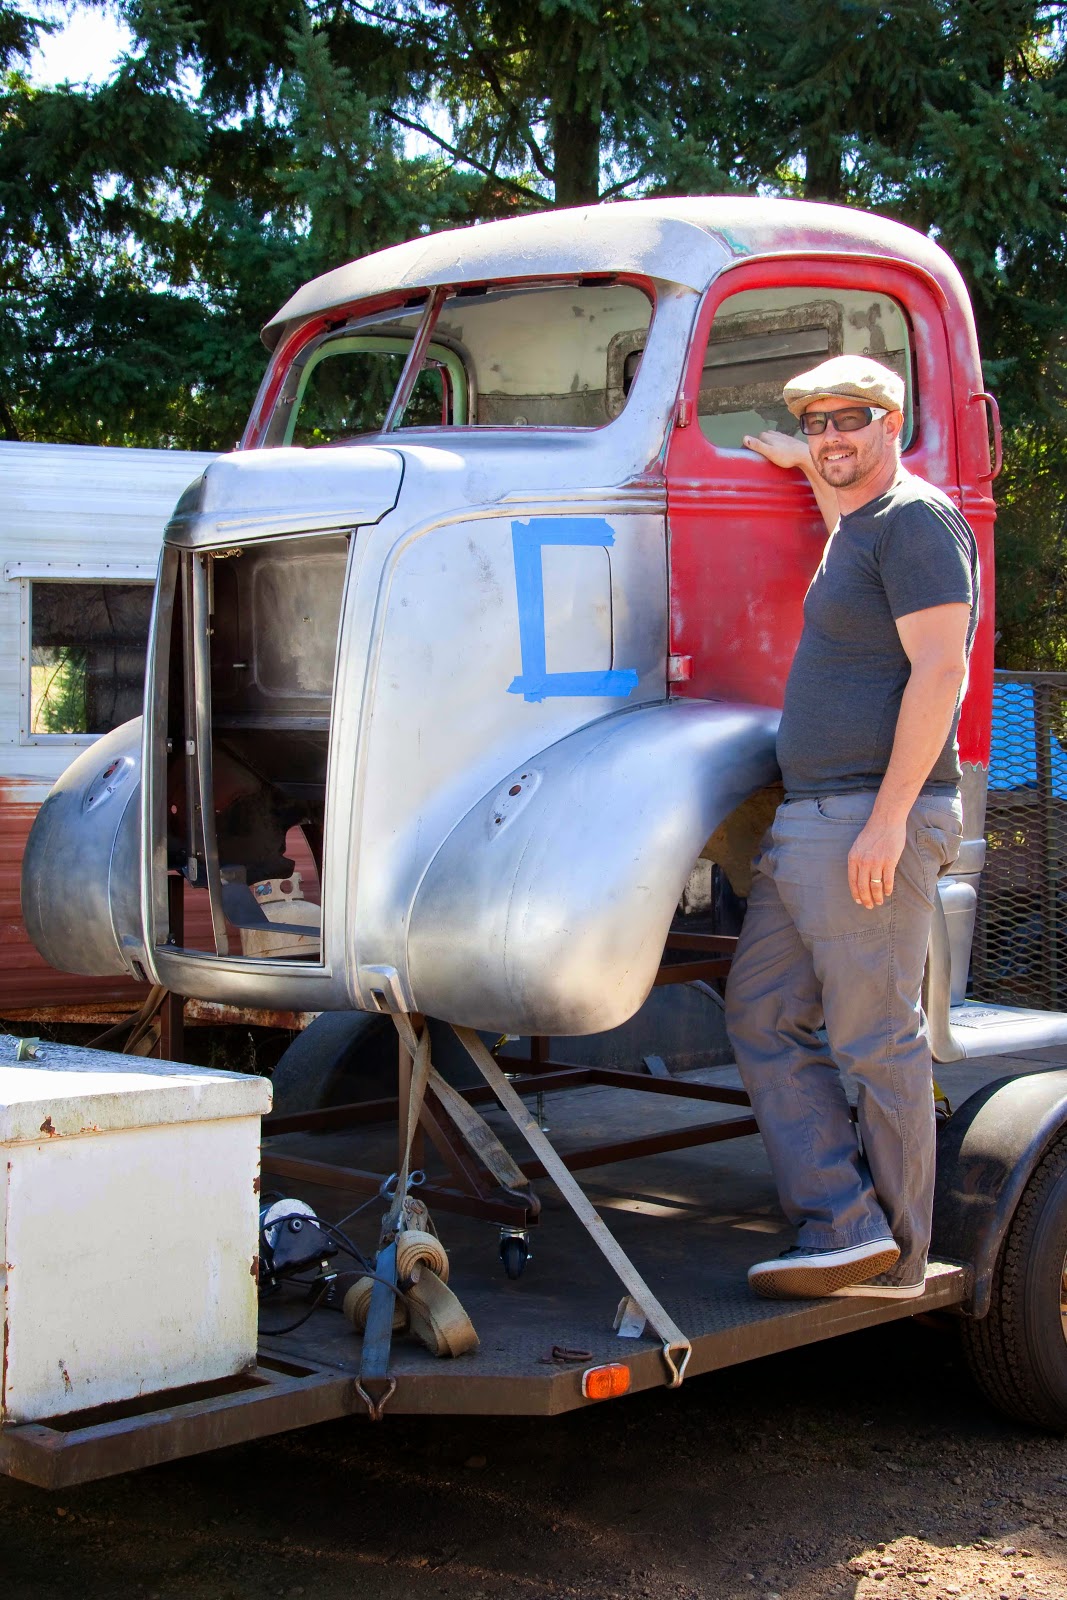
 Now it's in the hands of Bob and his crew at Silver Creek Auto Body to fit and finish up the final body work around the grill and then it can go off to be chrome plated.


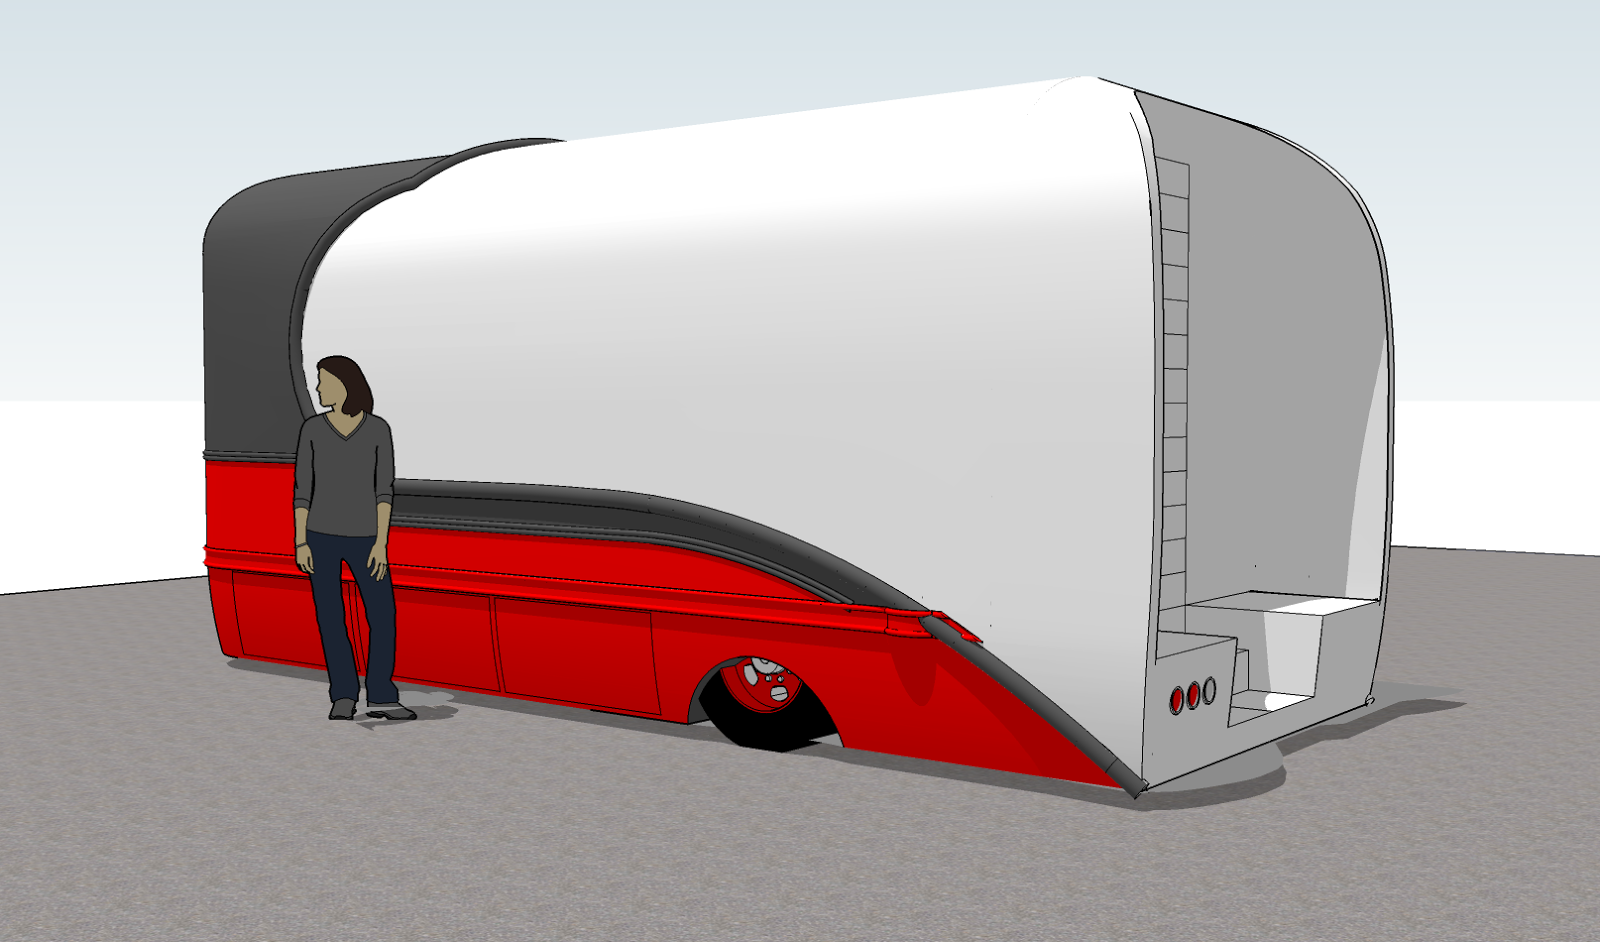
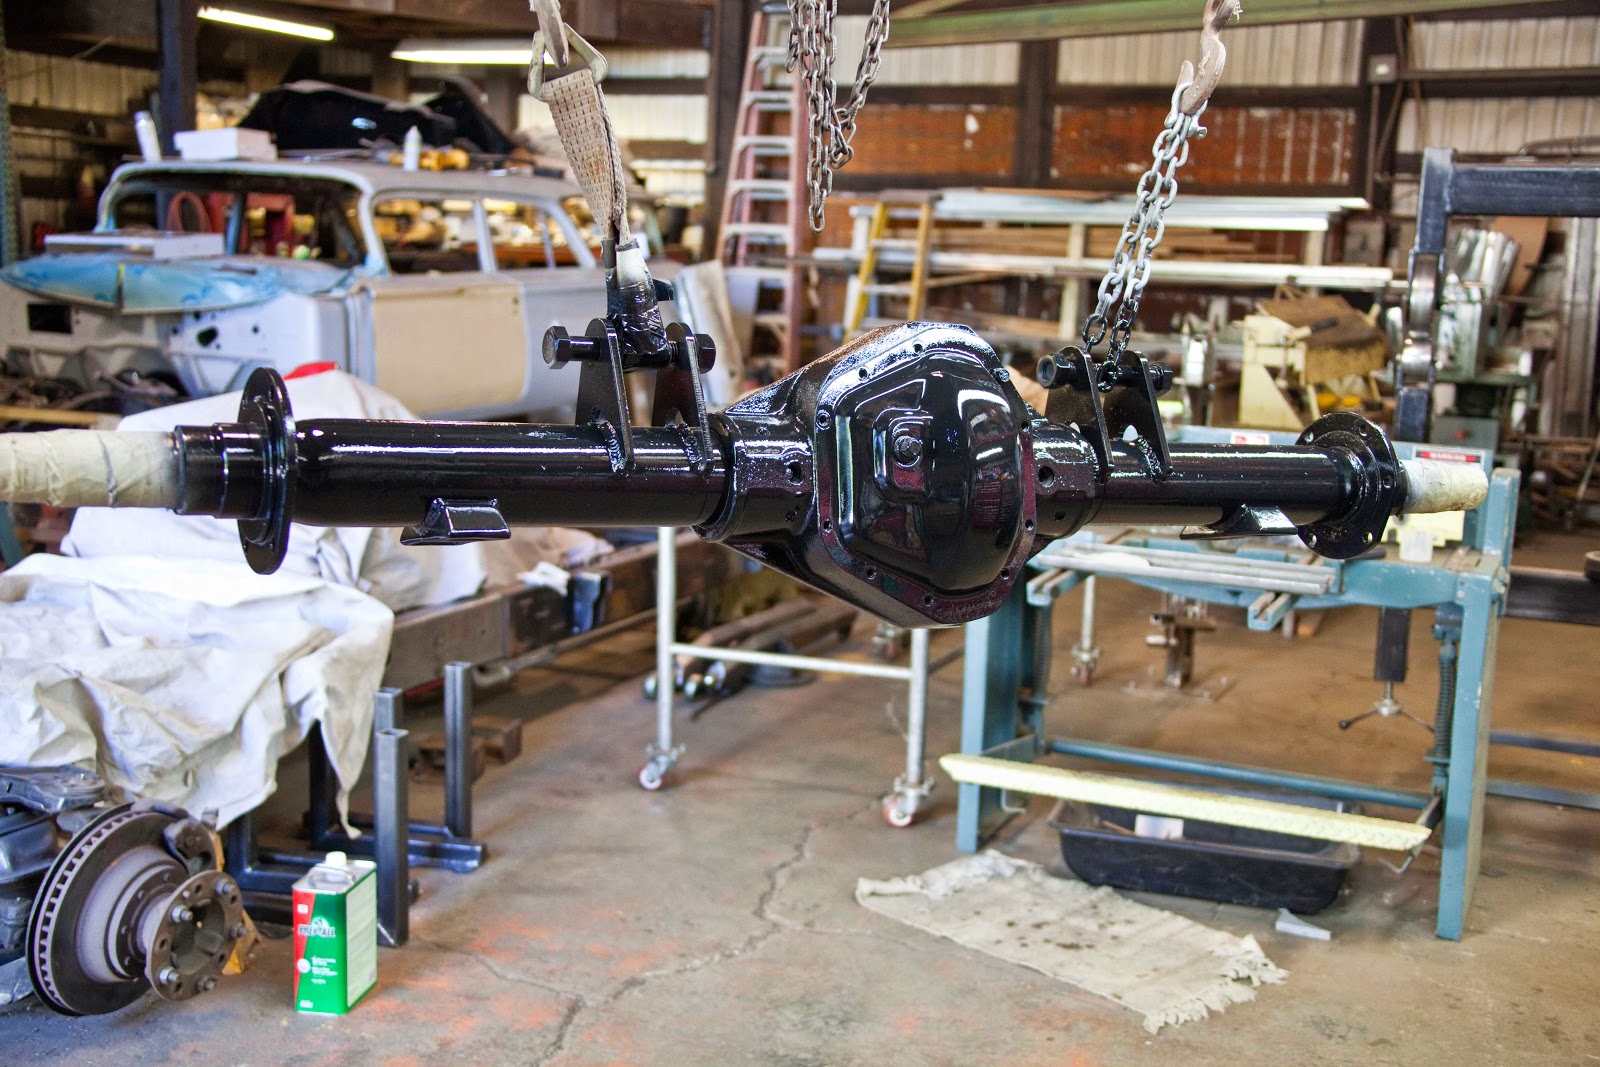
Man what a journey. At times I didn't think we were going to be able to make this grill happen, but we kept at it and the out come is what we had envisioned. Chris and I are relieved that this part of the project is complete and we are ready to get back on finishing up the frame and running gear. Then it will be time for the box.

Thursday, October 9, 2014

First Steps on the Box

Worked up some scale drawing using Google Sketch for the box layout. It has been very helpful in laying out the project. It took awhile to learn the ins and outs of the program, but after that it went pretty fast.

Also did one with the sheet metal on the frame work. The program is a 3D model that lets you look at it at different angles which is very handy.

These will be the body mounts for the box. We will also have some mounts that will be using the frame for the mounting.

One of the mounts ready to be tac welded to the frame


All in place and ready for the final welds.


We needed to do some frame work to accommodate the back steps for the door.


The new addition to the frame rail.


Adding a hitch to the new addition.


All put together and welded in.


Not sure what to call these. They will be used for safety rails and be bolted to the frame. I guess the best way to explain them would be giant skid plates to protect the box from damage. Will place them at the rear and center part of the frame.


These are the rails at the back end and are the lowest point of the truck when parked and ready to serve up some pizza. It is a 1/2" off the ground and the box will be 1.5". The projected ride height will be between 4 to 6" and another 6"of travel for those problem driveways that we may encounter.


The side rails installed.


Needed to pull out the rear axle to weld up the new brackets for the air bags. Cleaned it up and ready for some new paint


New coat of Eastwood 2K ceramic chassis gloss black. I really like how this stuff laid out for a rattle can. I also prime it first with Eastwood's 2K primer.


We have the final pieces of the grill back from the machinist and now its time to do our part of putting it all together. Lots of work to be done. Will be hand sanding the bull-nose on all 33 teeth and then they will need to be polished and ready for chrome before we put it together.


Here we have all 33 teeth numbered and ready to go. Each tooth is a different size and needed to be number. We used 3/8" material for the teeth to give it a big truck size grill. The sanding starts Monday wish us luck :)

Saturday, September 6, 2014

The Last Touches Before It Goes to Paint

         Wow where does the time go? I can't believe it has been almost three months since the last update. That being said, we have been working hard on getting all the final details finish up on the cab. We have been making a lot of brackets and bracing for seat belts, interior panels, hood, and the new grill just to name a few. Also drilled holes in all panels for wiring and retrofitted for the new power windows. I'm hoping we got all our bases cover, but you never know till the final assembly.
 
We needed to come up with a solution for making a transition between the fiberglass and the cab. We came up with making some custom garnish molding. This would also give us a place to mount the windlace. 

We used two sets of garnish moldings from a fleetline to start with. Chris cut, heated, bent, and welded them together to make the custom molding. 
Still need to do some adjustments, but it's close.

The final fit.
We cleaned and fitted all the parts before we get ready to send the cab off  to paint.

Since we added four inches to the fender and skirt we added a step to give better access into the cab. 
We also needed to fab up some new lower running boards to meet up with the box.The wood is a mock up of the shape of the box so that we could get the radius for the running board. The plan is that we will work on the box while the cab is at the paint shop.
We inset some aluminum casting into the steps for looks and some protection for the paint. The casting where made for a battery cover that we shaped to fit the steps.
Also milled in the Ford emblem to give it a little more wow factor.The plan is to have them painted black and then have the tops polished. It will save me from having to polish all the little groves.
Chris also made a frame for the cab to make it more portable.

It's loaded up and ready for its new home. The only lose ends on the cab are mirrors and the grill.

I'm not sure if Chris is smiling because he's happy to see it go or if he's really happy on how it has turn out. I think it's both. Thanks Chris and what a fantastic job!! Looking forward to start on the box.