
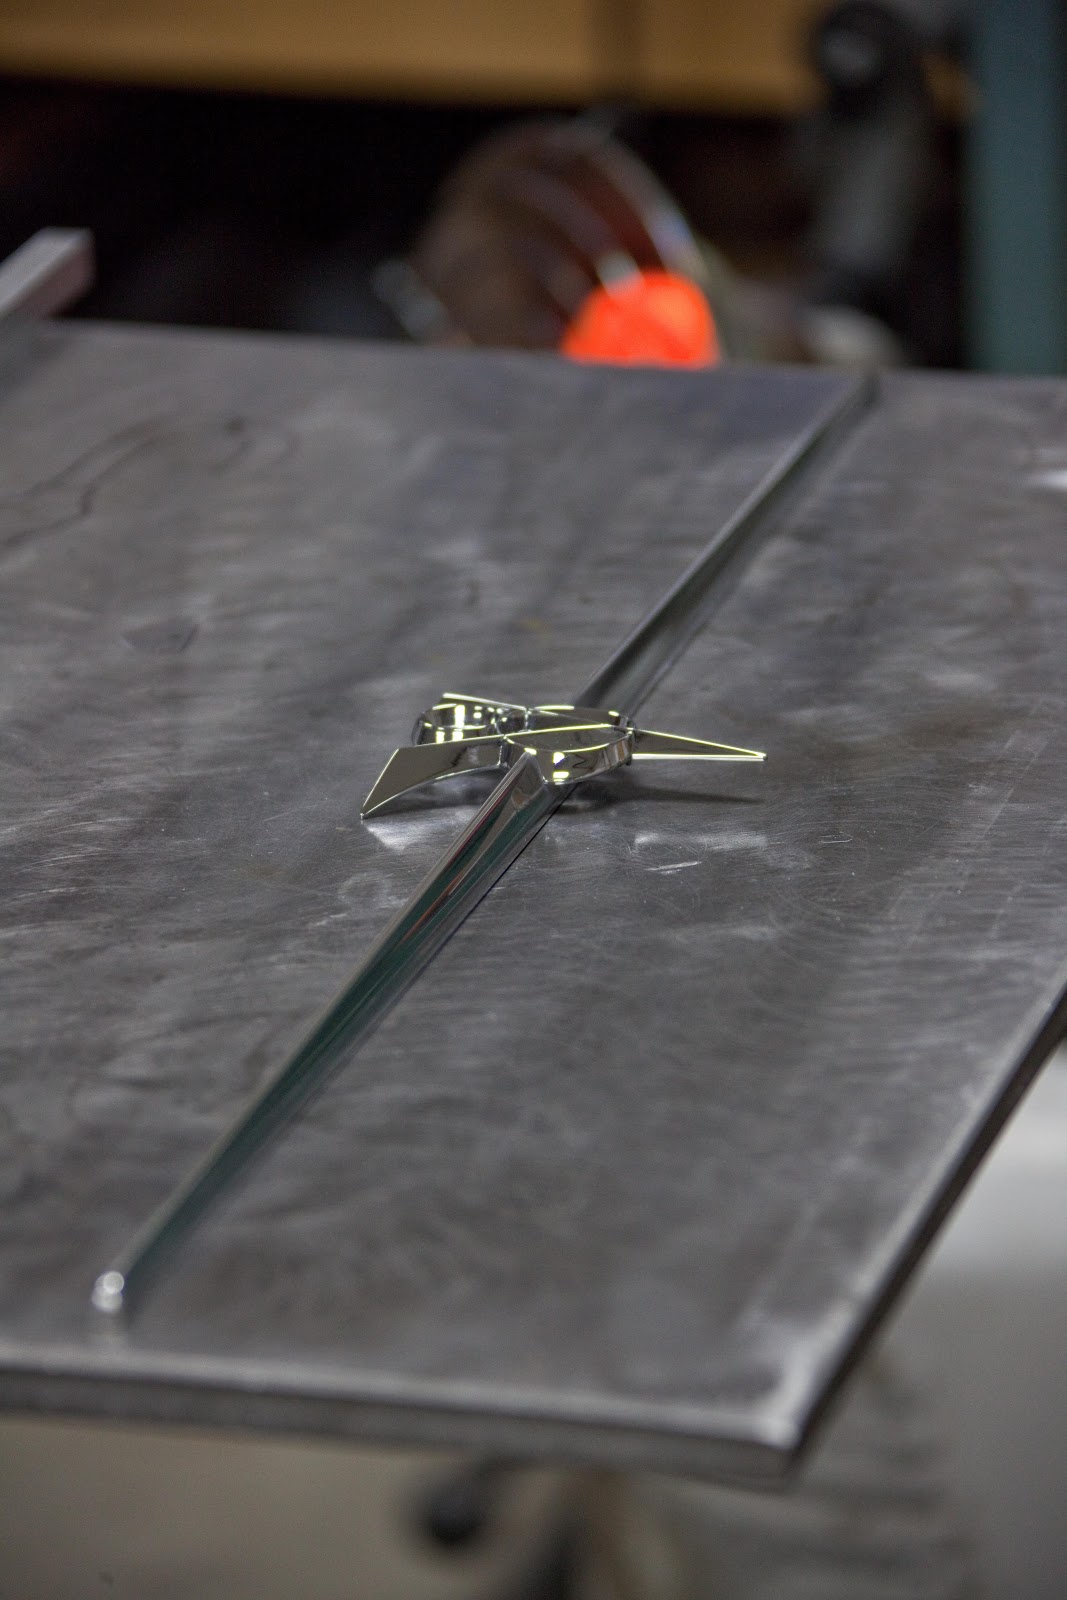
Paul and Chris doing some rough final adjustments to the trim piece before the final shaping. Paul helped us out on doing some nice mill work to get us close to the shape that we were looking for. Chris then hand sanded to the final shape.

Some blocks Paul made to hold the parts for when he milled them.

The top square stock is what we started out with and bottom is almost the finished piece.
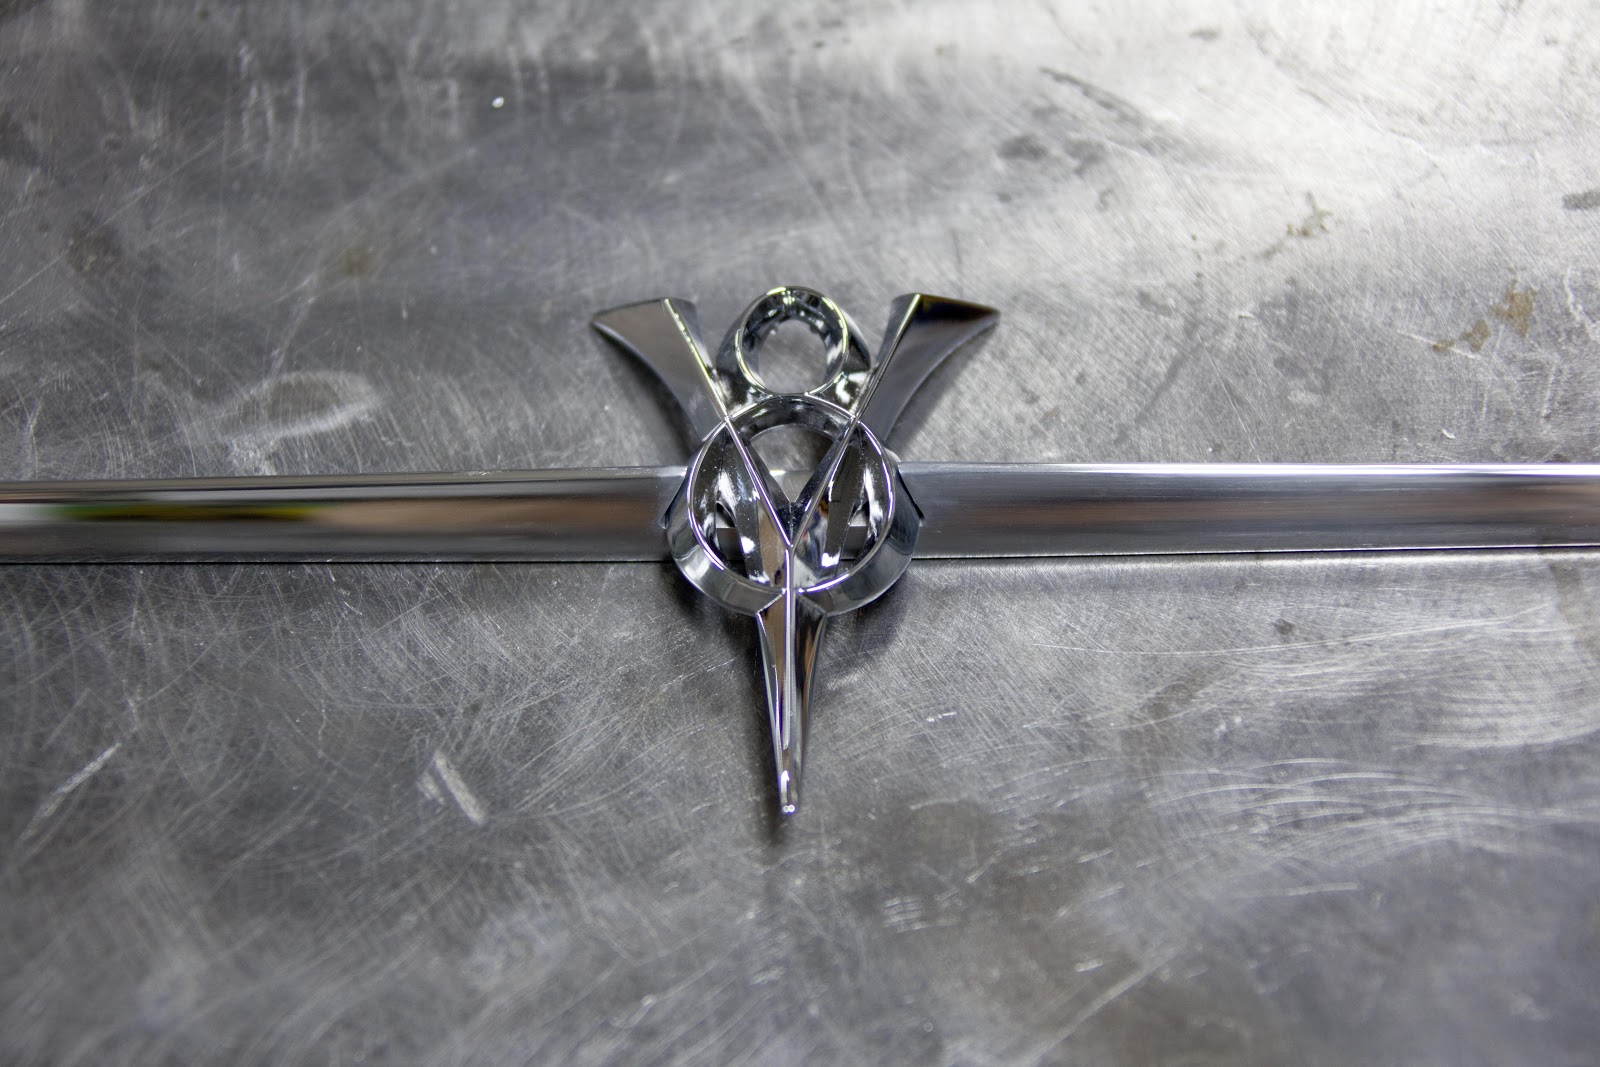
We inserted a Ford hood emblem into the trim piece. All hand filed to fit into the trim.
All finished up and ready to be shipped off to be chromed.

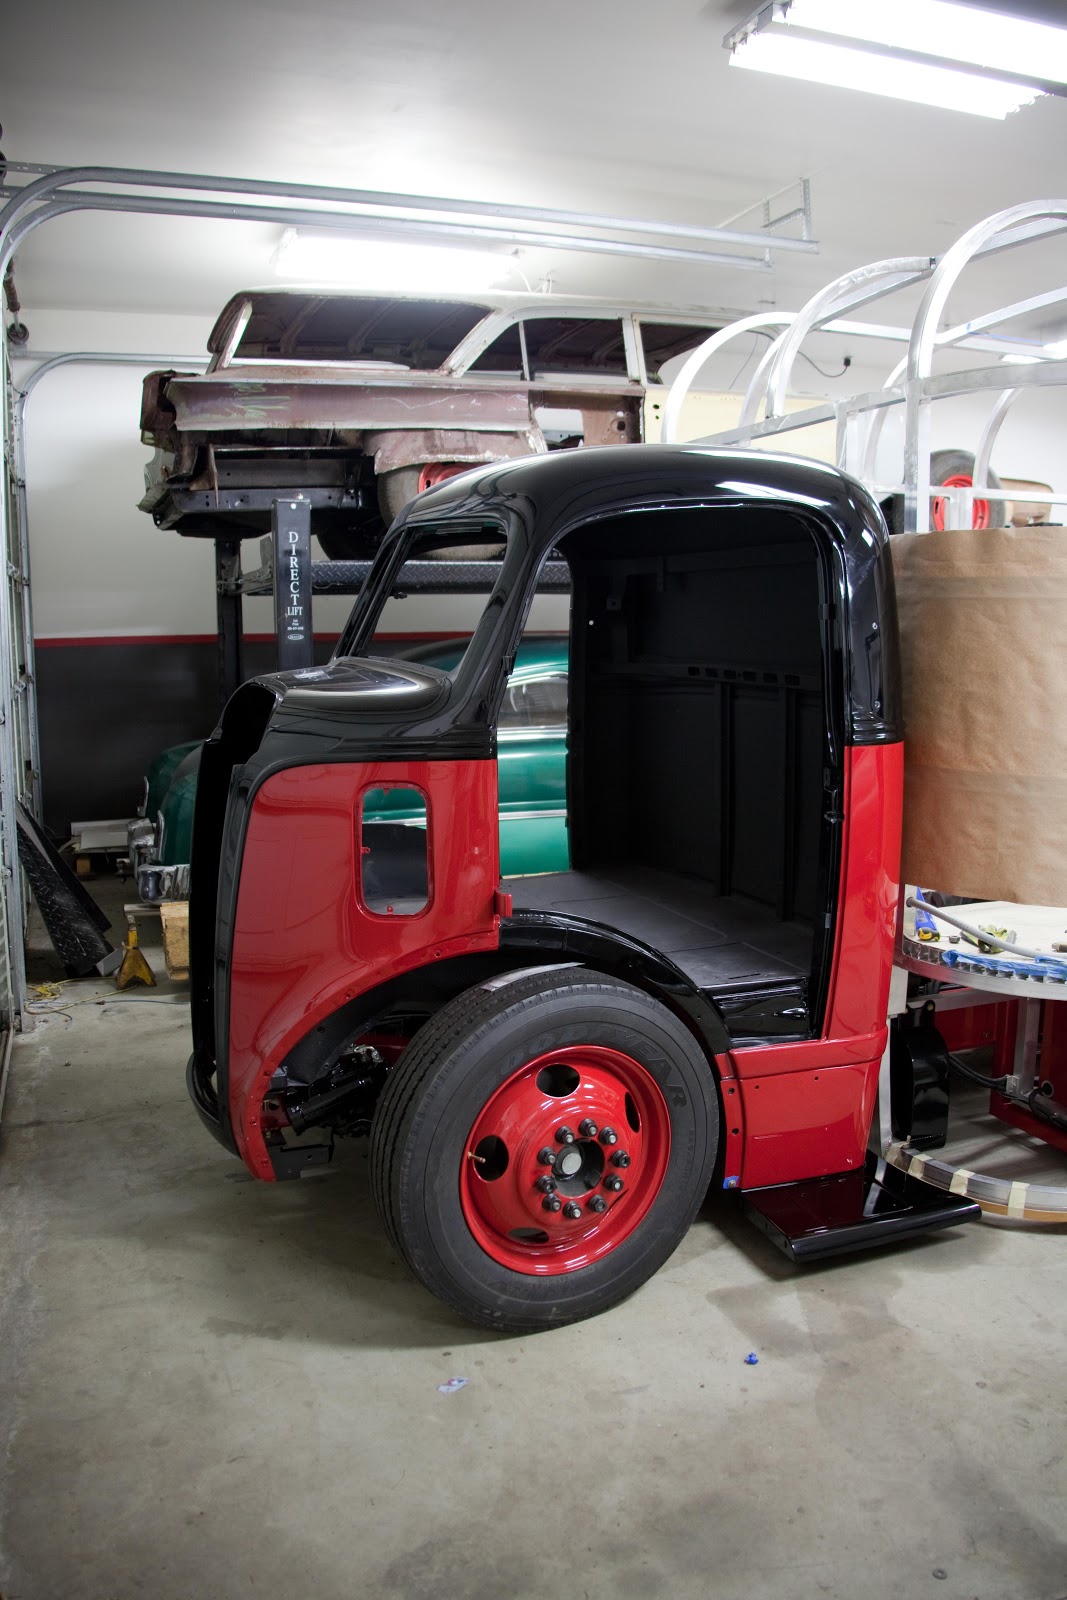
The cabs back to the shop and is ready to be fitted to frame. The cab will go on the frame to match up the body lines that will be put into the box. Then it will come off again to do the bodywork and paint on the truck box.

We made special brackets and used a gantry crane to assist us on putting the cab on the frame.

We made it onto the frame but decided that we will use one more body to help next time. I will say it was a little stressful.
Side view with lower apron and running broad to see how we did on matching up the box to the cab. The only thing we would change is that we ended up with about 1" between the cab and box and it would be nice to have another 1.5".
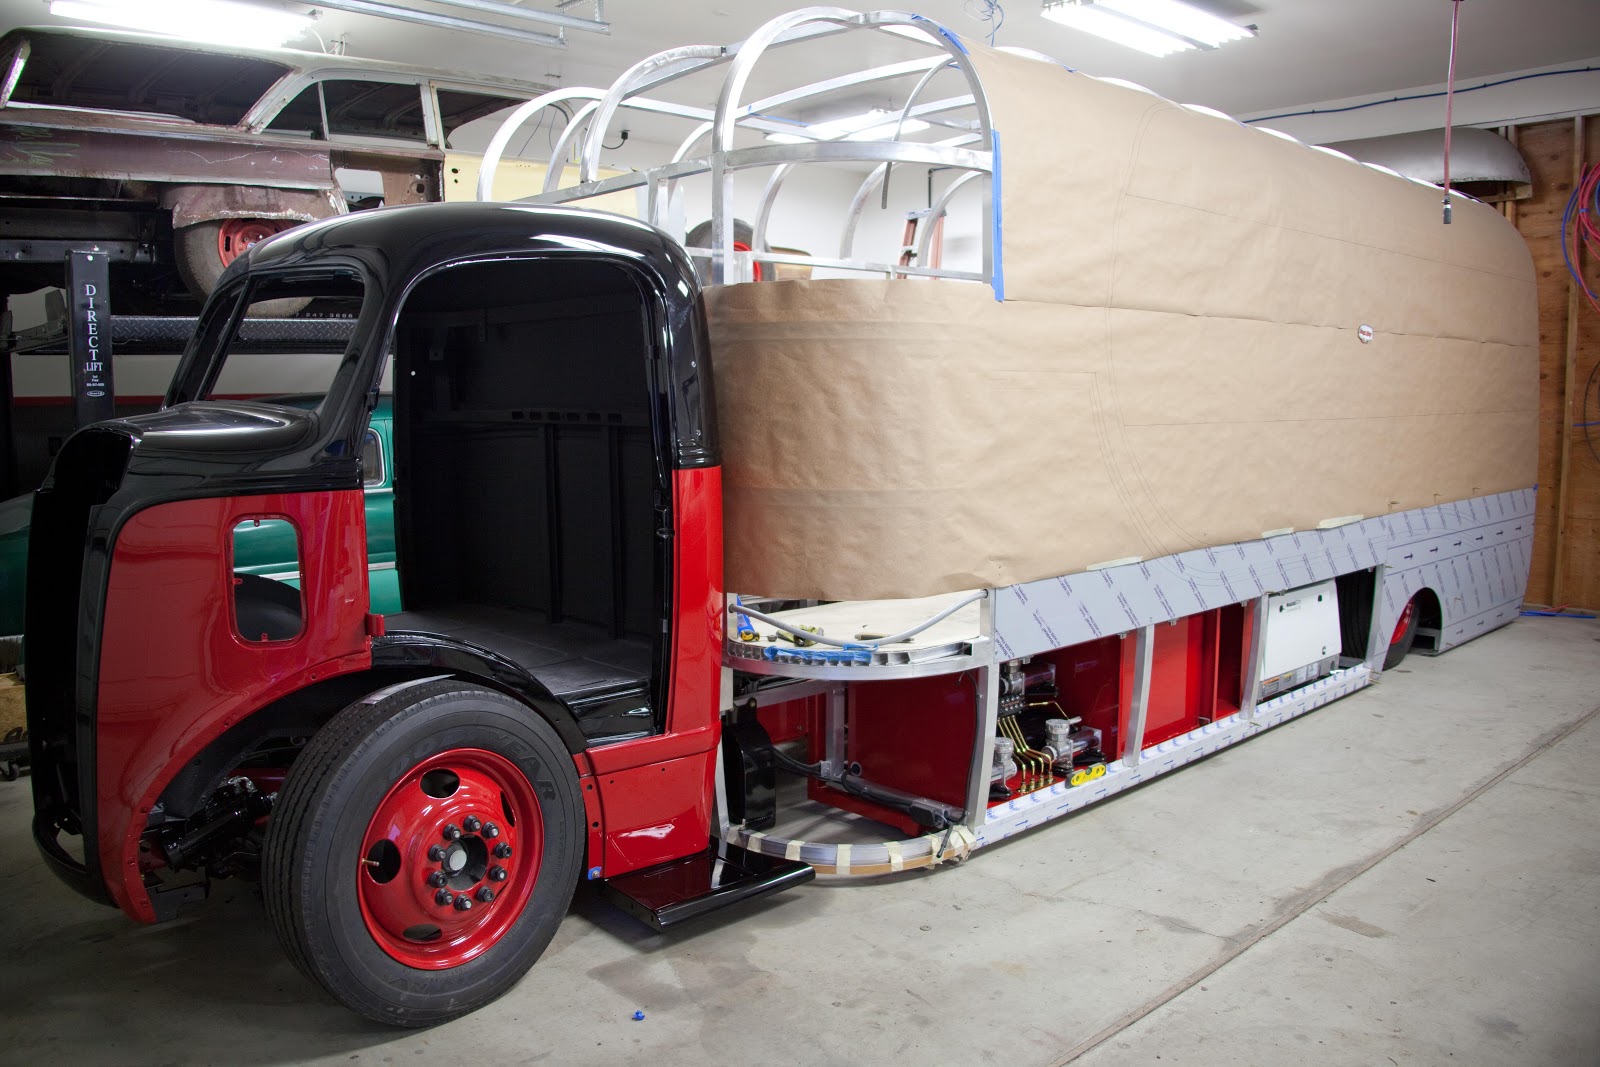
We are very happy how the portion are working out between the cab and box.

Starting to work on making a buck for the front box corners.

Used 1/2" MDF to make the buck and had to make it look cool so we added some windows to it. The windows also help to see how your metal is fitting to your buck.
We used a 20" radius for the corners of the cab.

The finished buck.

Making a paper pattern off the buck for the sheet metal that will be formed.

The folds in the paper give us a guide on where to do the shrinking on the panel.
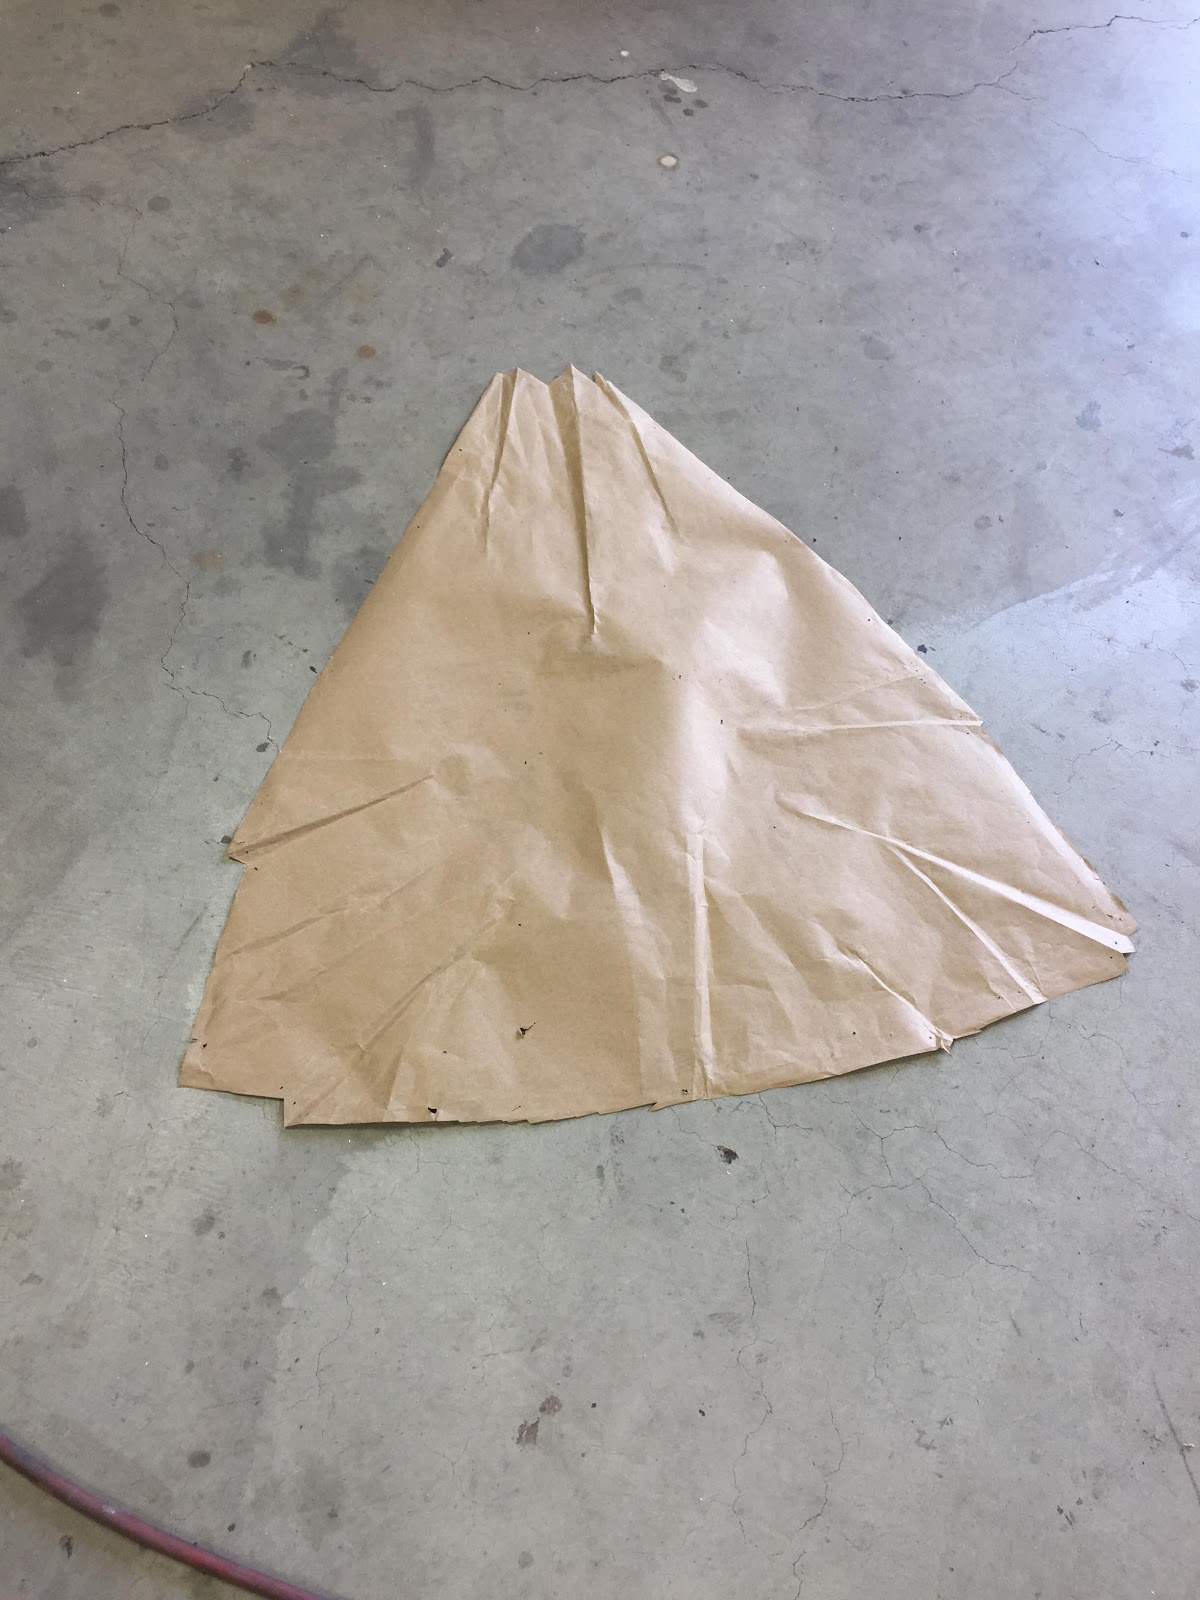
The paper in the flat. This is what we will use as our template to cut the aluminum.
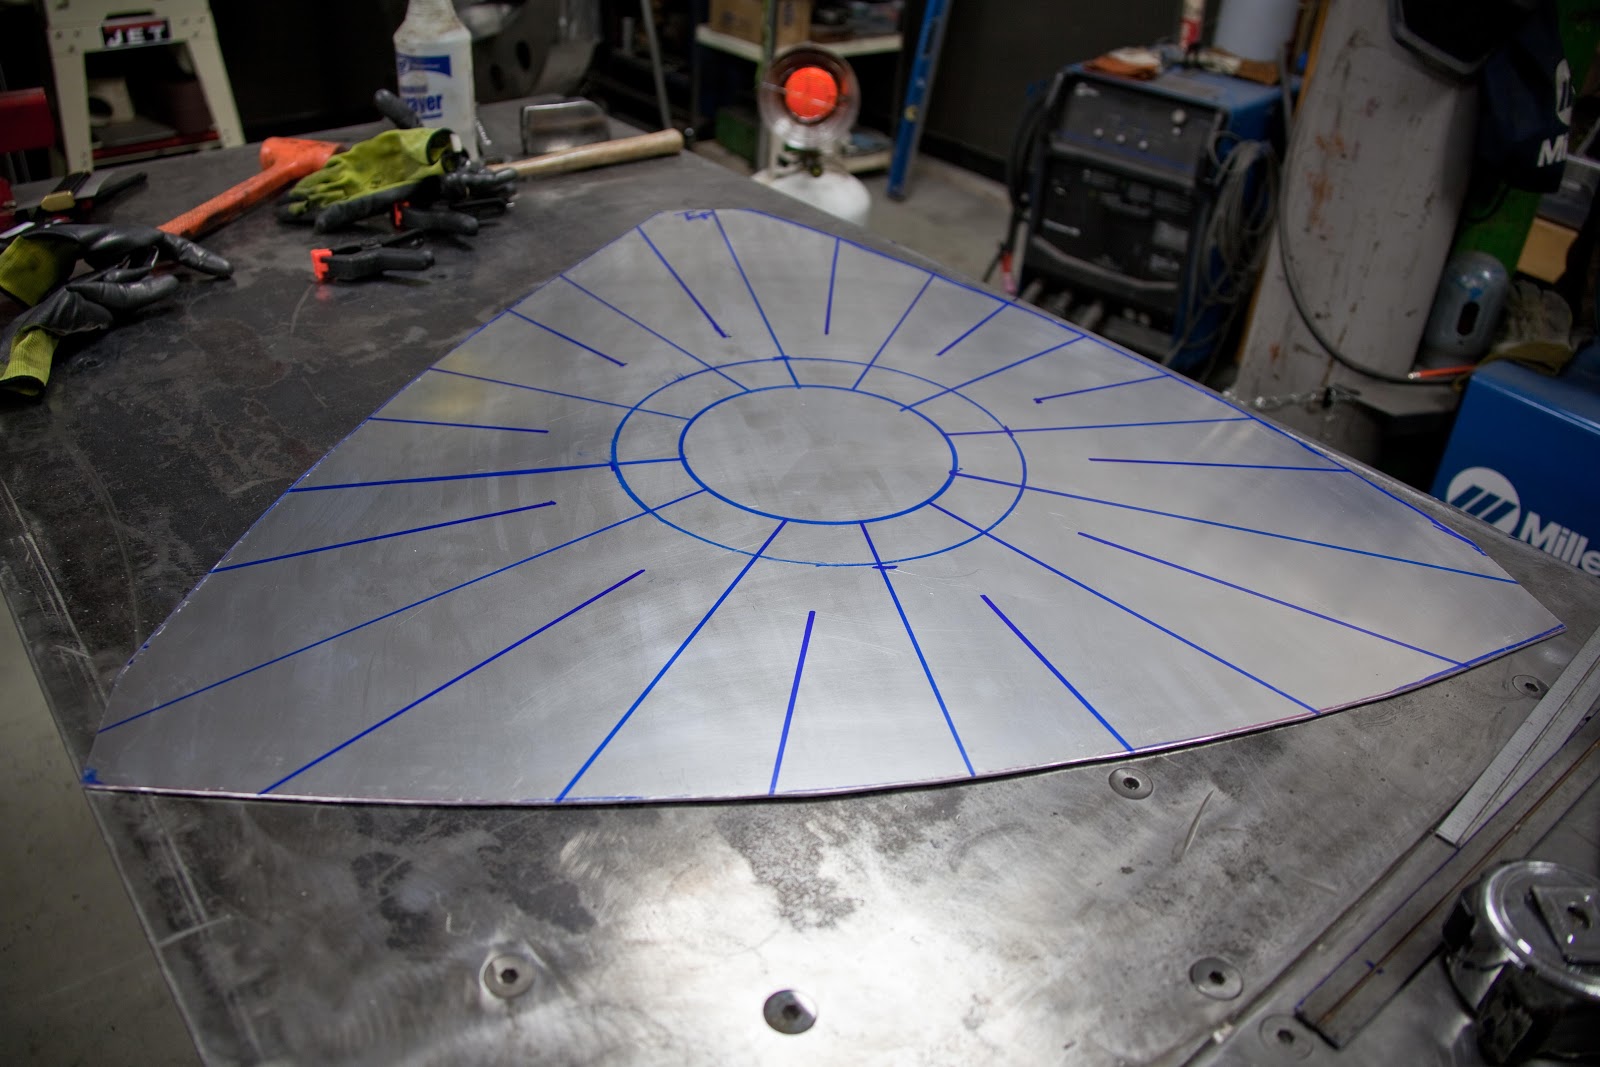
We are using .080 aluminum for all the exterior panels. We also laid out all our shrinking lines on the aluminum from the pattern.

The Pullmax at work with the shrinking dies.
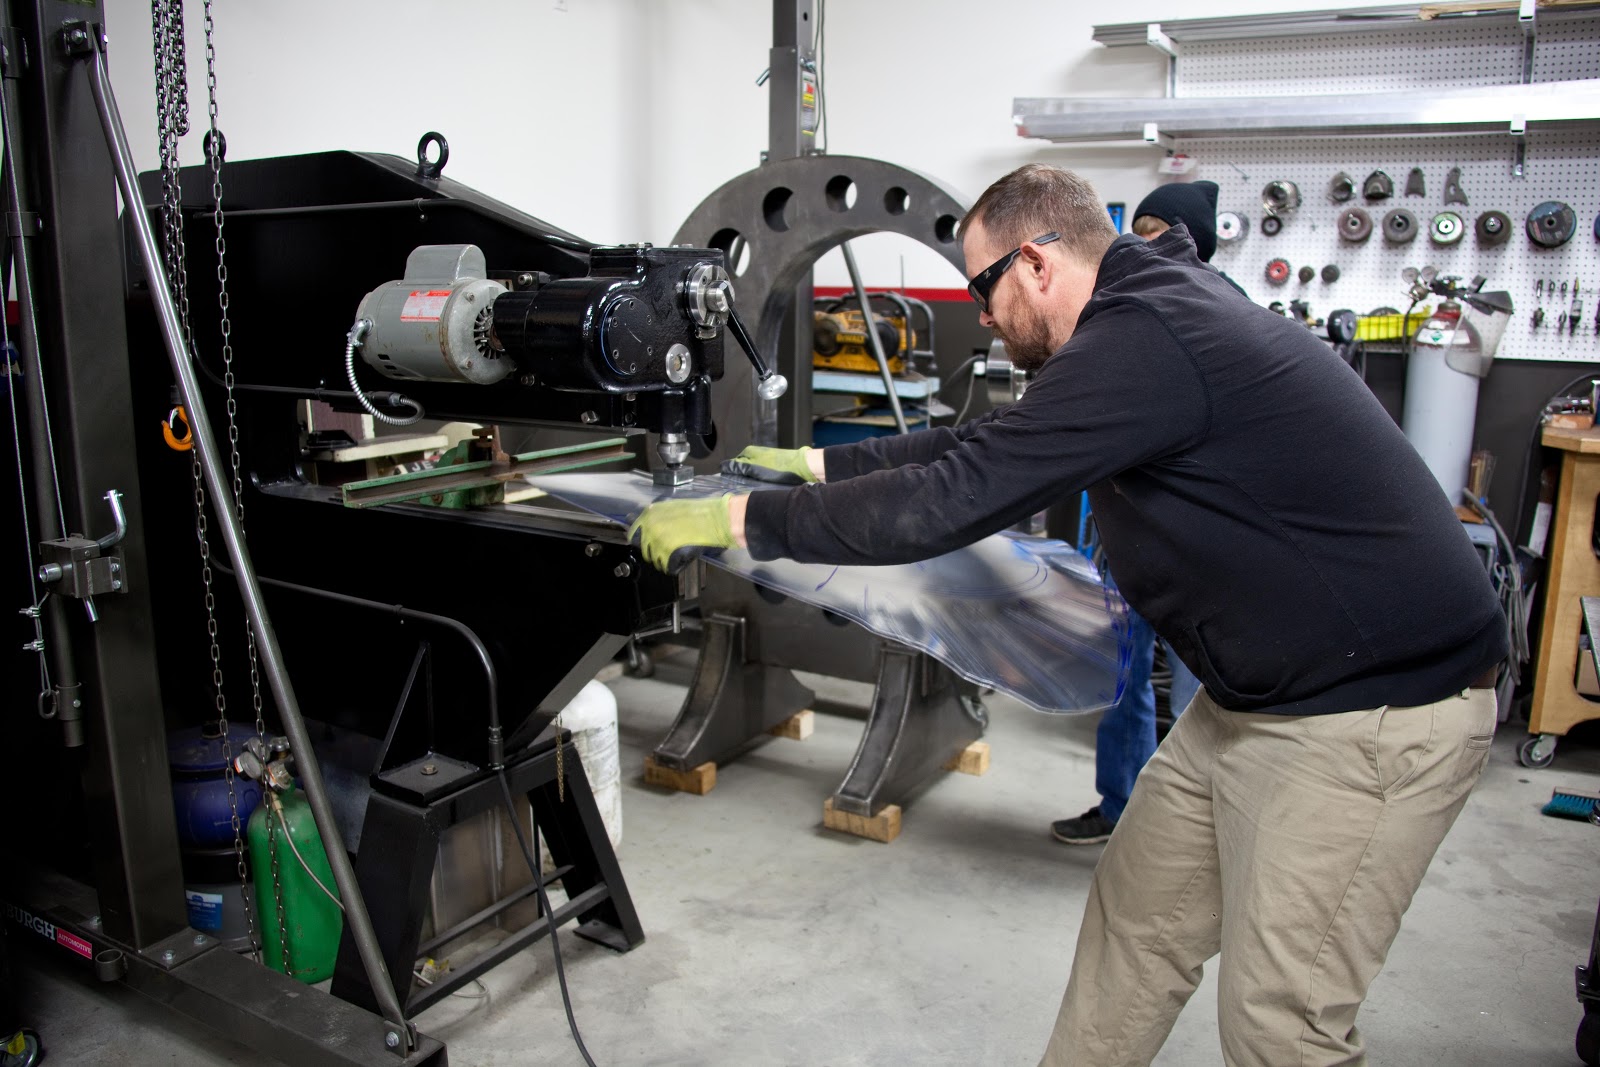
Chris hard at work on the panel.
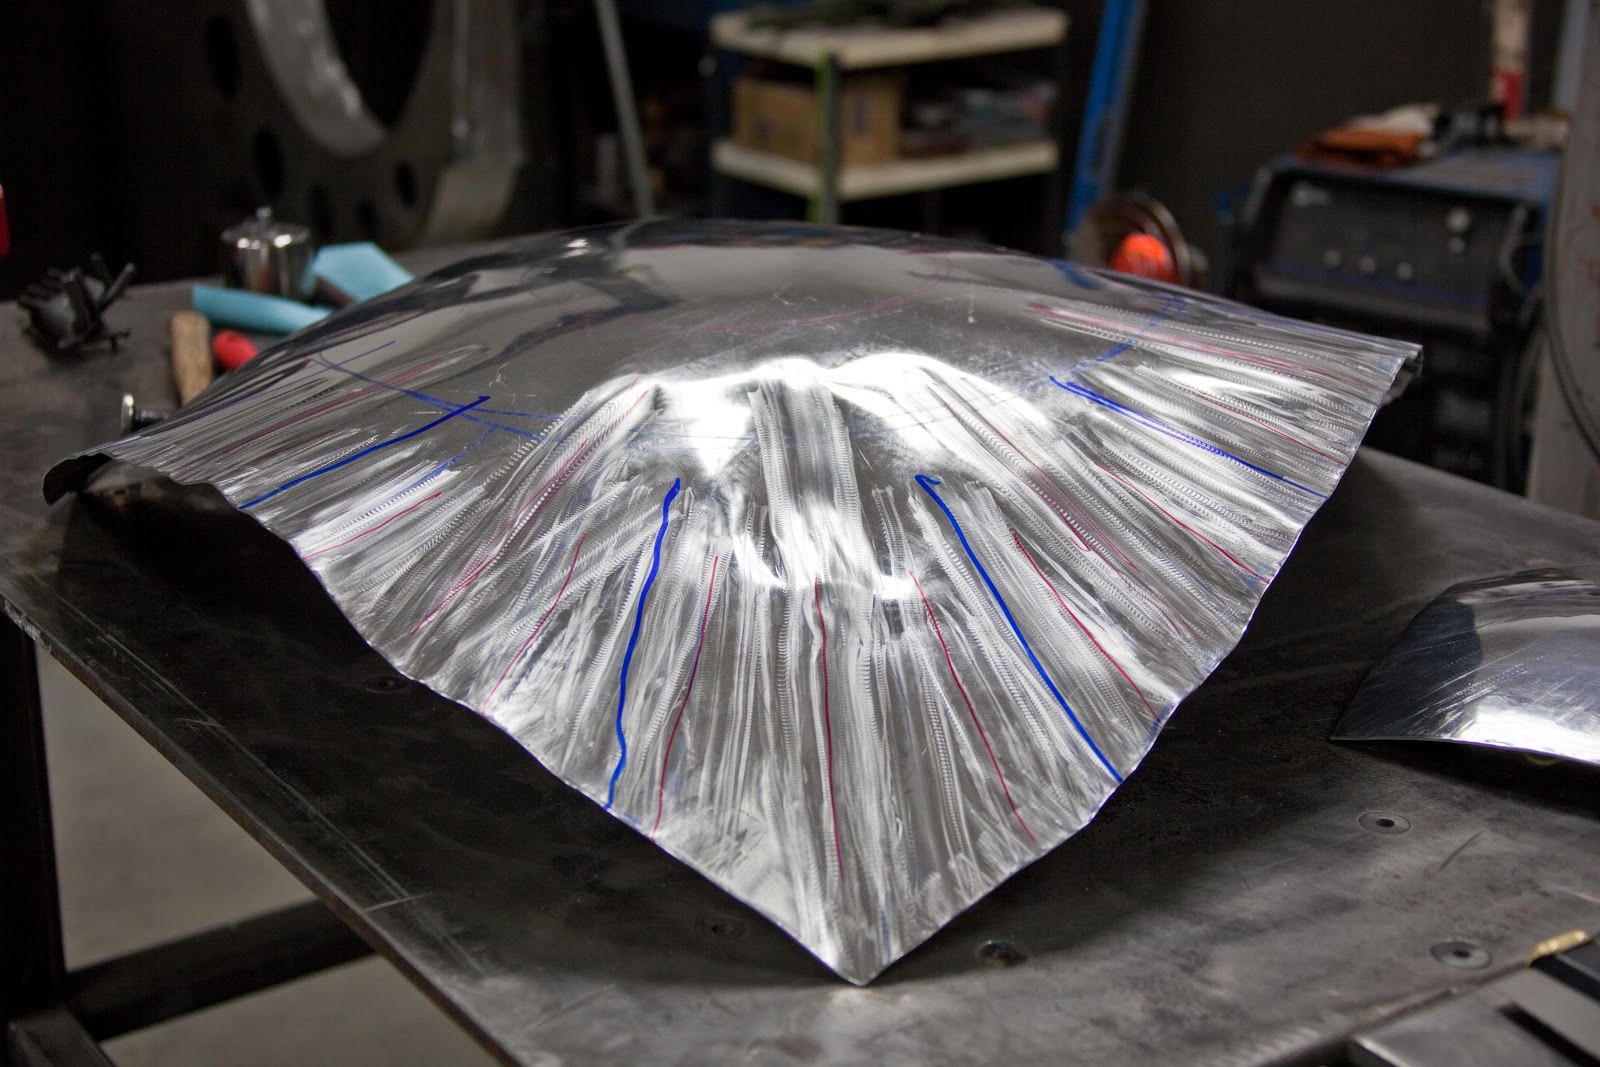
Not much to look at and you wonder if it will ever be a usable part.

Next up is the English Wheel that will smooth and do the final shaping.

Here is the new English Wheel that Chris just finish up. Its time now for him to do his magic.

I got so caught up in watching Chris on the English Wheel I forgot to take pictures of how we got to this point. Well it was a lot of wheeling and shrinking the outer edge and fitting to buck to get it to this point. It is real close but needs to be cleaned up some more.


We stop at this point but will do some more adjustment to the panel after we fit the side and top panels. We made the bottom pattern and will work on that next.

Here is the bottom panel with the rough 20" radius on top and 18.5 radius on the bottom. The panel also will have a slight contour shape that we will achieve with the English wheel.

We use a slip roller to get the radius in the part.

You can see the contour that was put in the panel. We layout lines on the panel to help with the tracking of the English wheel. This really helps out when your just starting out on using a English wheel. You can make a really bumpy panel fast without a good tracking pattern.
We been working on some other aspects of the project so that we can continue to move forward. Took measurement and cut material for the other 20" radius's that we need to complete the box. These will be all simple 20" radius's that we are having rolled. Also been tuning in the dies and practicing on our skills for the body lines. Once we have the the body lines master we can finish up the panels that go to cargo doors and then get the final measurement for the doors. Lots more in the works will keep you posted and Thanks for watching.