This is what the front of the grill looked like before we started this project. My goal was to try to replicate the style of the early Ford grills for a custom look.
A lot of planning and work went into finding the look that we wanted. From taking the one piece stock grill and making it into a custom hood and making the grill a separate piece.
We also went to the trouble of making a wood mock up of the grill to get a visual look.
This is the wood grill in place. We only made a few adjustments from the wood mock up to make the final grill.
From the wood grill we made another mock up out of steel to fine tune the measurement and make the final fit to the cab.
After filling in the new sides to the grill we were ready to send off the metal and wood mock up to have plans made up for the final build.
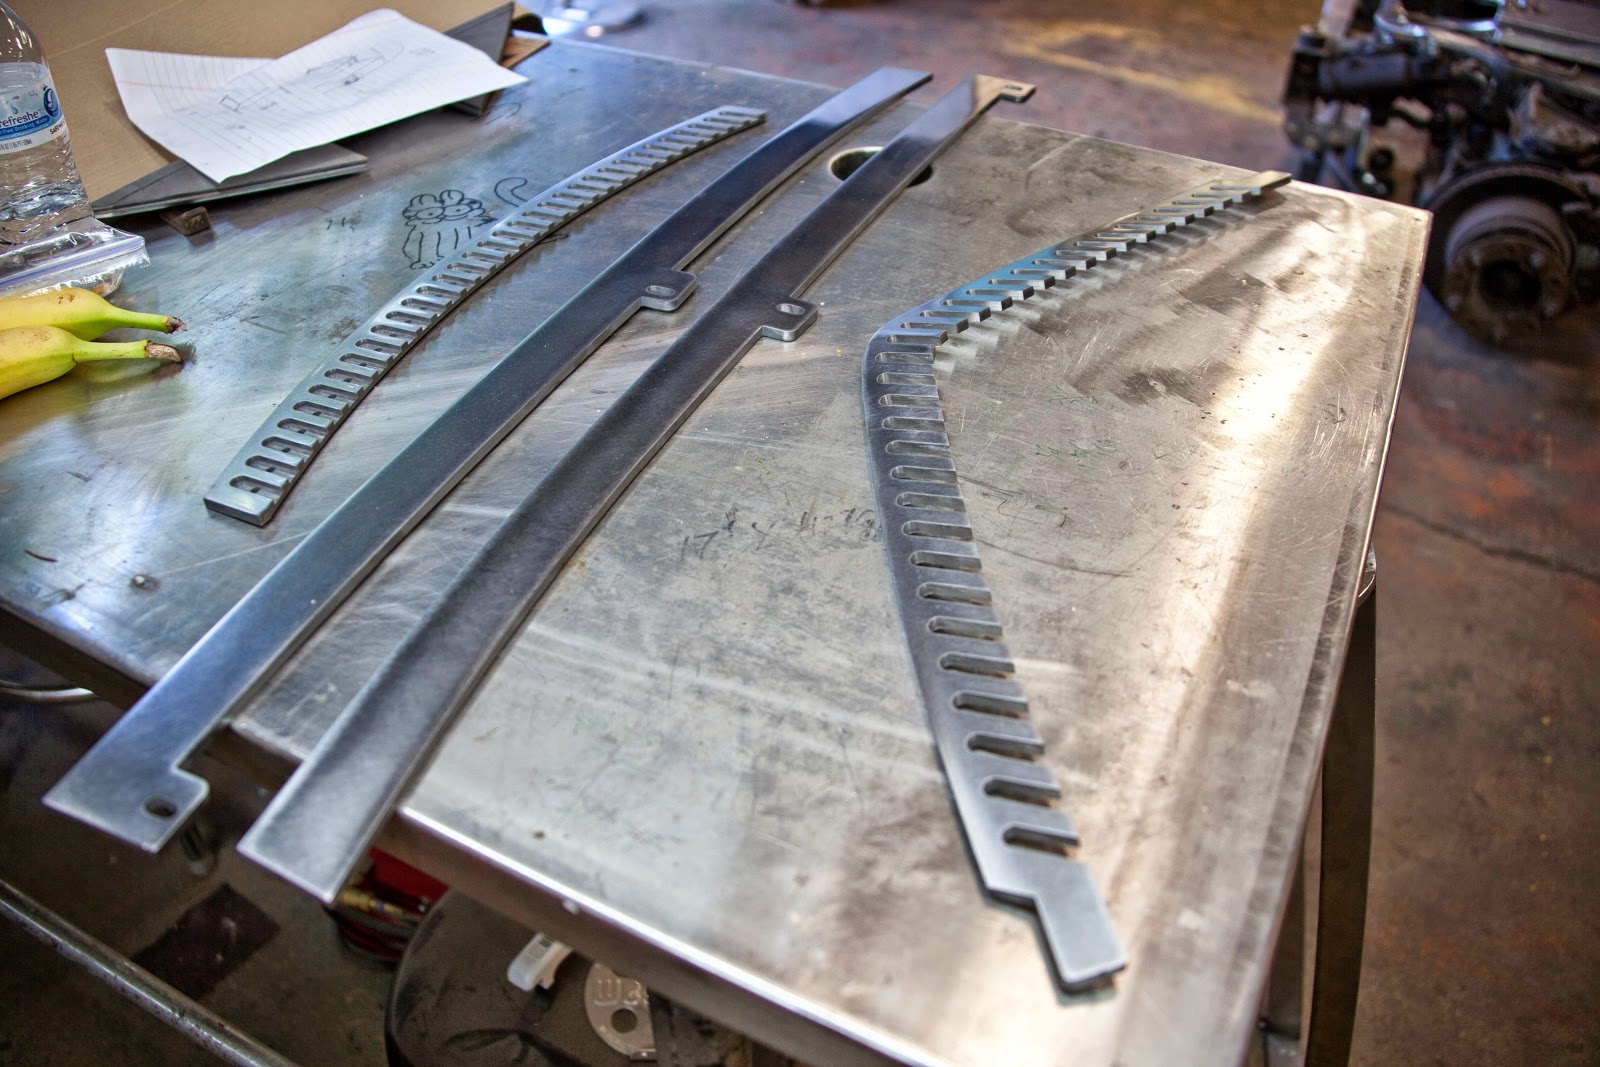
These are the parts that make up the outside perimeter of the grill. The parts were laser cut and then the upper and lower parts were machined for the bars to fit in.
Here we have all 33 bars that were also laser cut. Each bar is a different length and have to be bull nosed on the front side.
To achieve the bull nose Chris sprayed all the parts with a blue primer and then scribe out two 45 degrees angle the length of the bars on both sides. Then sanded to those lines. After that he then scribe out 22 degrees on the two 45 degree angles and sanded to those lines. This will get you almost to a consistent bull nose with just a little more sanding.
This is Chris working on the bull nose part of the project. Only 32 more to go.
Chris made a jig to hold the bars to do the final sanding of the bull nose. We used 80 grit emery cloth to achieve a nice clean bull nose.
After Chris was done it was my turn to sand the side down to a smooth finish. Started with 80 grit and worked my way down to 800 grit.
Some of the bars that have been sanded.
Took a router and some foam insulation and made a holder to transport the sanded parts to the polisher. We had everything polished before we started to assembled the grill to help out for the chroming process.
We finally have all our parts back from the polisher and have started to assembly the outside perimeter of the grill.
The bottom of the grill that will hold the bars. The holes are for Chris to plug weld the bars into place
We have BARS!
Chris tig welding the backside of the bars into place
Just when you think you have it, something goes wrong. The height of the center of grill was off making eight of the bars to short. So close:(
After two weeks of redoing eight of the bars we are back in business. We cut wood blocks for spacers to make sure are spacing and bars don't move while Chris does his final welding of the bars.
The bars tac in and ready for the final welds
Ready for some finish work.
After some sanding.
The hood latch is rough in and is ready to be finished out.
Now it's in the hands of Bob and his crew at Silver Creek Auto Body to fit and finish up the final body work around the grill and then it can go off to be chrome plated.
Man what a journey. At times I didn't think we were going to be able to make this grill happen, but we kept at it and the out come is what we had envisioned. Chris and I are relieved that this part of the project is complete and we are ready to get back on finishing up the frame and running gear. Then it will be time for the box.


No comments:
Post a Comment