Wednesday, March 13, 2019

Started Installing Siding

Masked off the truck around the areas that we will be working on.

Always fun working around fresh paint.

We found the prefect fit for are molding that we're using between the polished aluminium and the body. In are search we found a molding usually used for fender flairs. We had to go back and grind the back of all the aluminium the same thickness so that the molding would be consistent looking between all the panels.   
  
Looking at the back side of the panel. The molding had a self adhesive backing witch helped keep it in place while installing the siding. The first panel we were able to put the molding on at the table. The other two were a little more trickier because we had to install the molding on the siding with it on the truck.
  
Front side

Installed on the truck.

The molding did a great job of contouring to the siding and making a nice tight seal.

I was able to buy the molding in a hundred foot roll so that we would have one continuous seal all the way around the truck without a seam. It ended up to be about 40 feet per side.
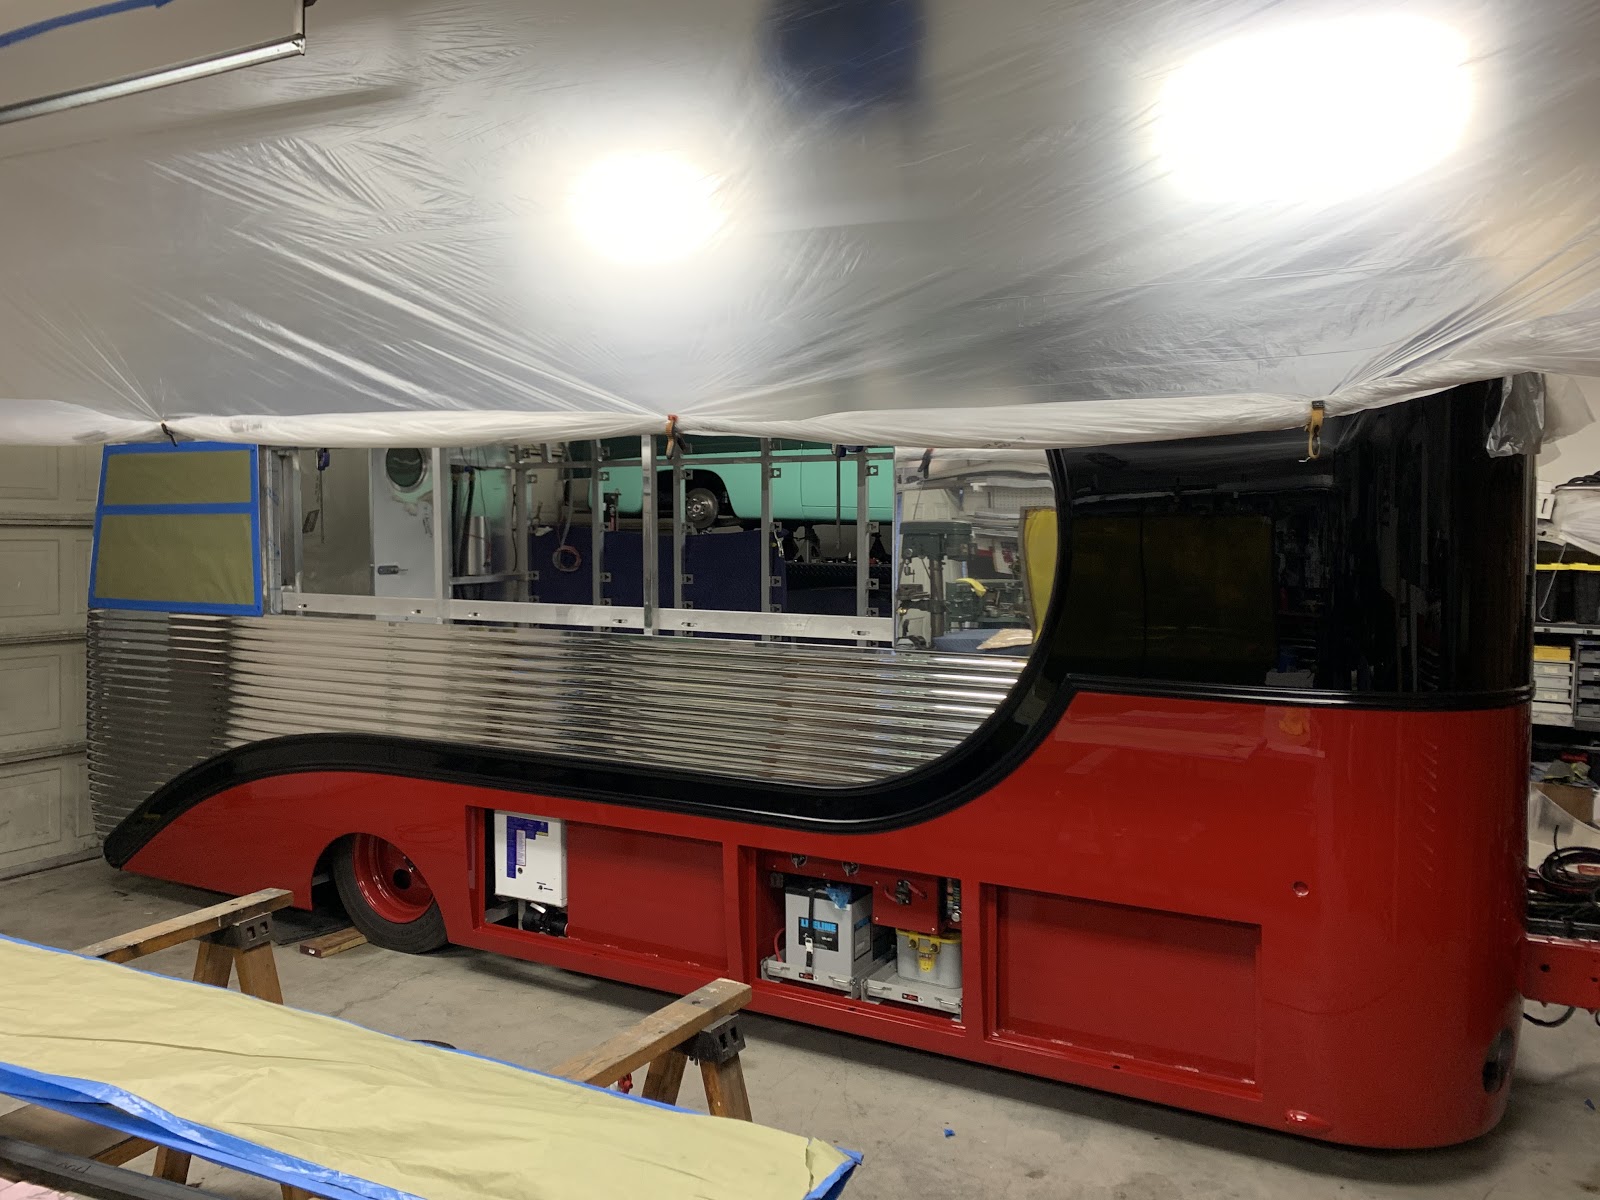
A better look without the paper and tape.
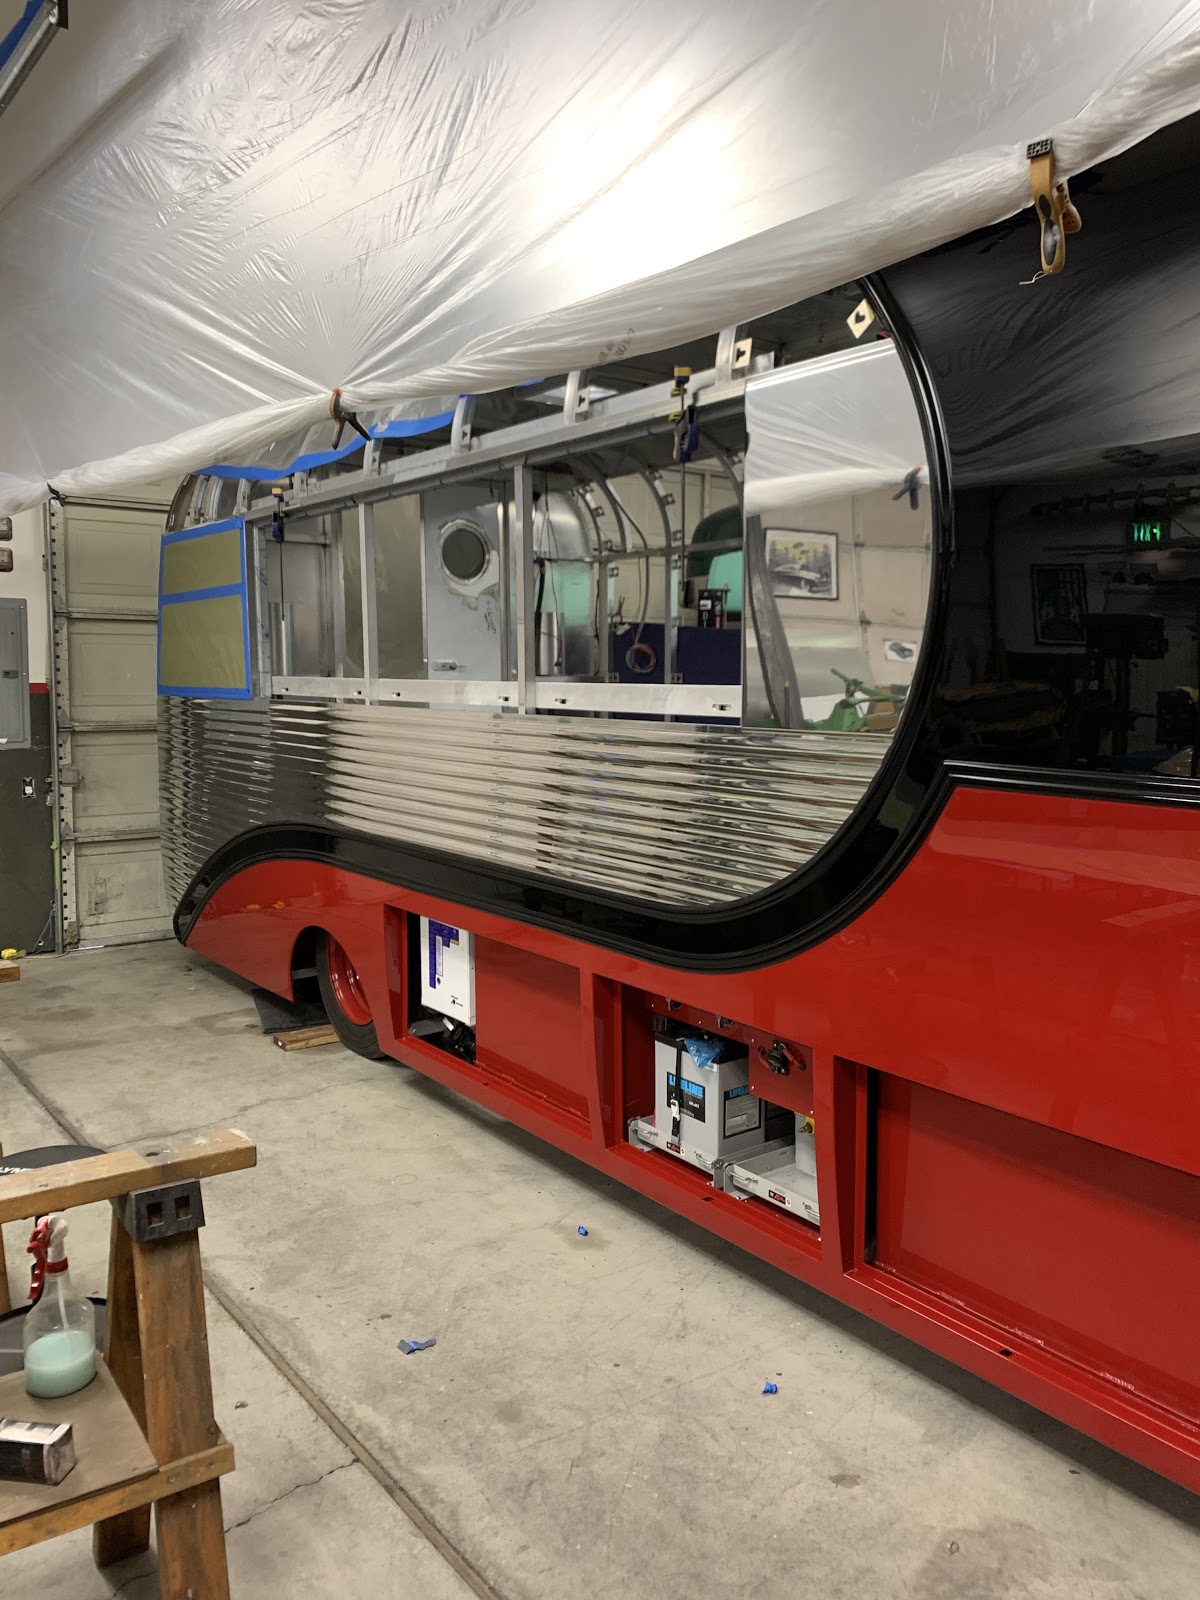
The top siding will be installed after we finish out the service window frame.

The lower window seal installed and ready to be welded in.

Top window frame.

When all welded up and finished out it will all look like one piece.

Ready for some finish work.

Some grinding, sanding, and polish work to be done.

Sunday, February 24, 2019

Polishing Siding and Picked up the Box


It's been awhile but we are finally back at it.   


Got the call that the truck box will be done soon. Decided that we should get started on polishing the side panels. This is the first cut on the siding.

Wanted to get the polishing done before we brought the box back to the shop. This process is very messy and didn't want this stuff on the box. We also made a make shift polishing both to protect Chris's shop. It worked out pretty good except for the floors and ceiling. We had to take one full day just to get the floors cleaned.

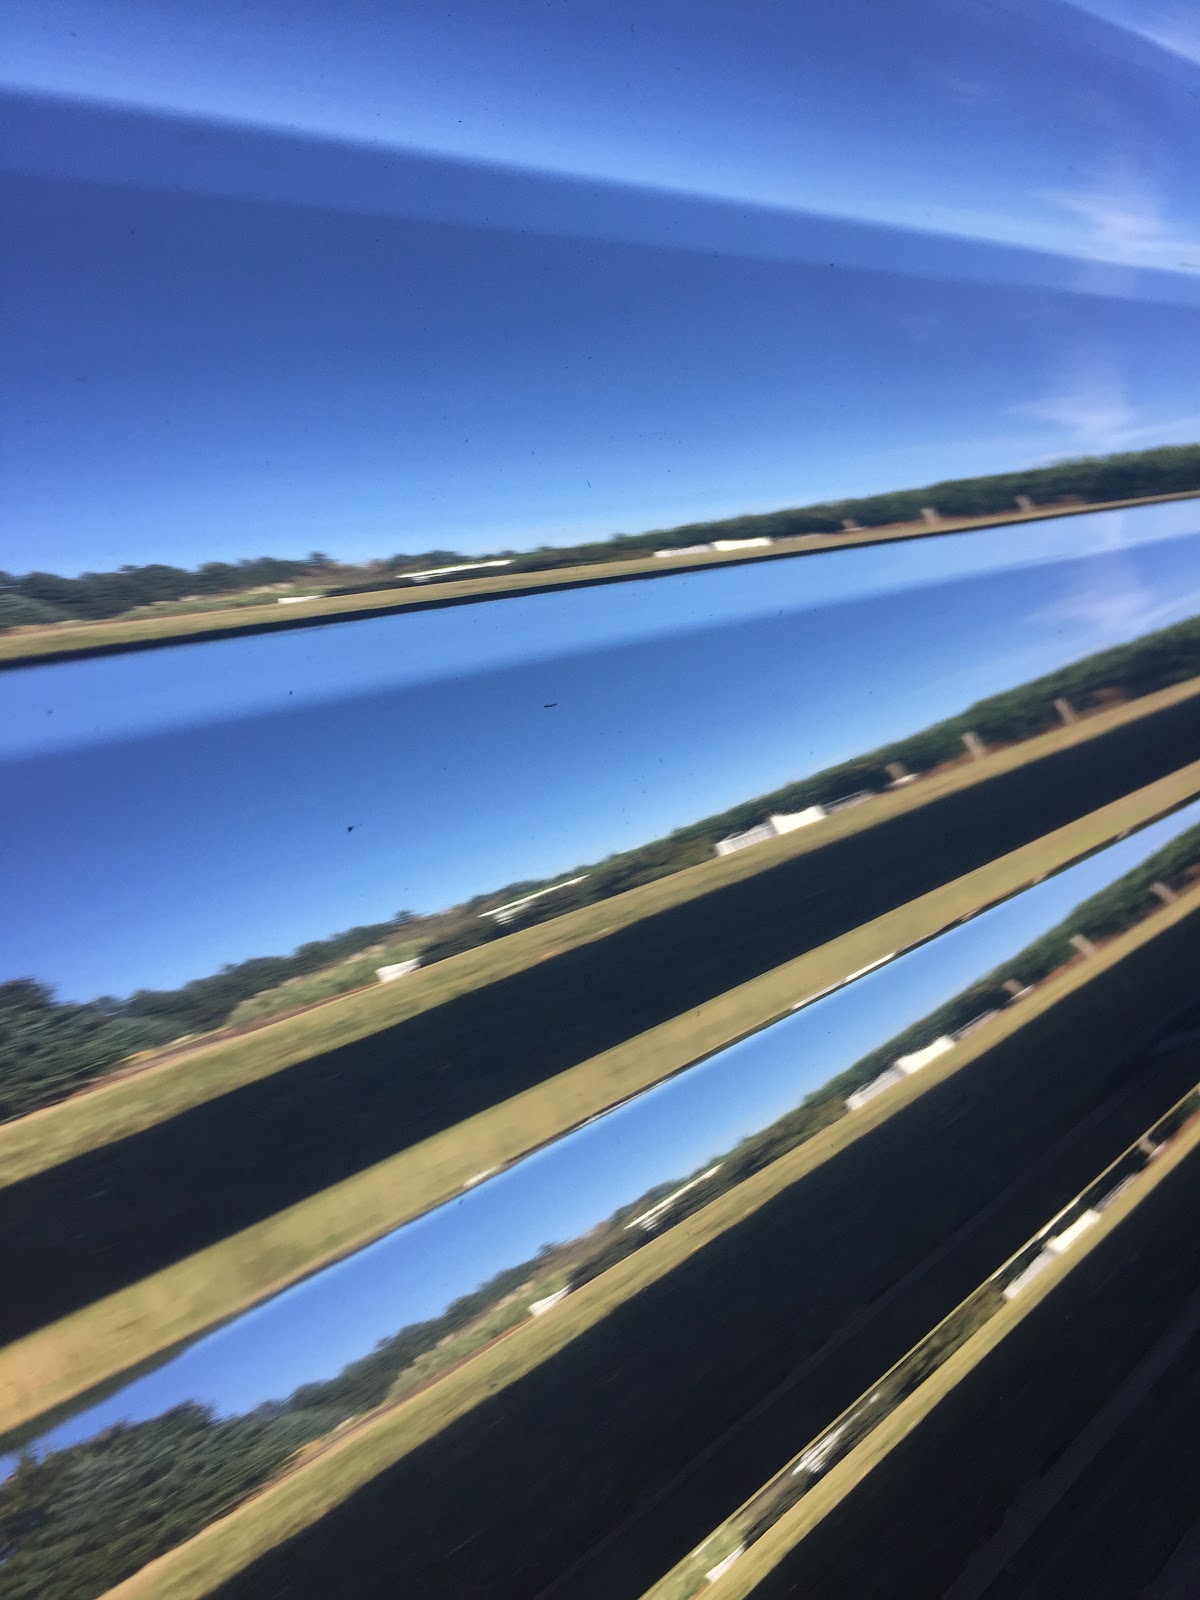
This is the siding before we started. We spent almost two weeks just on the polishing and still need to fine tune the final step. It's been a little frustrating 
on trying to get it just right, but we are closing in on it. 

Chris working on the second cut of center flat panel.

Sixteen feet of pure fun said no one!

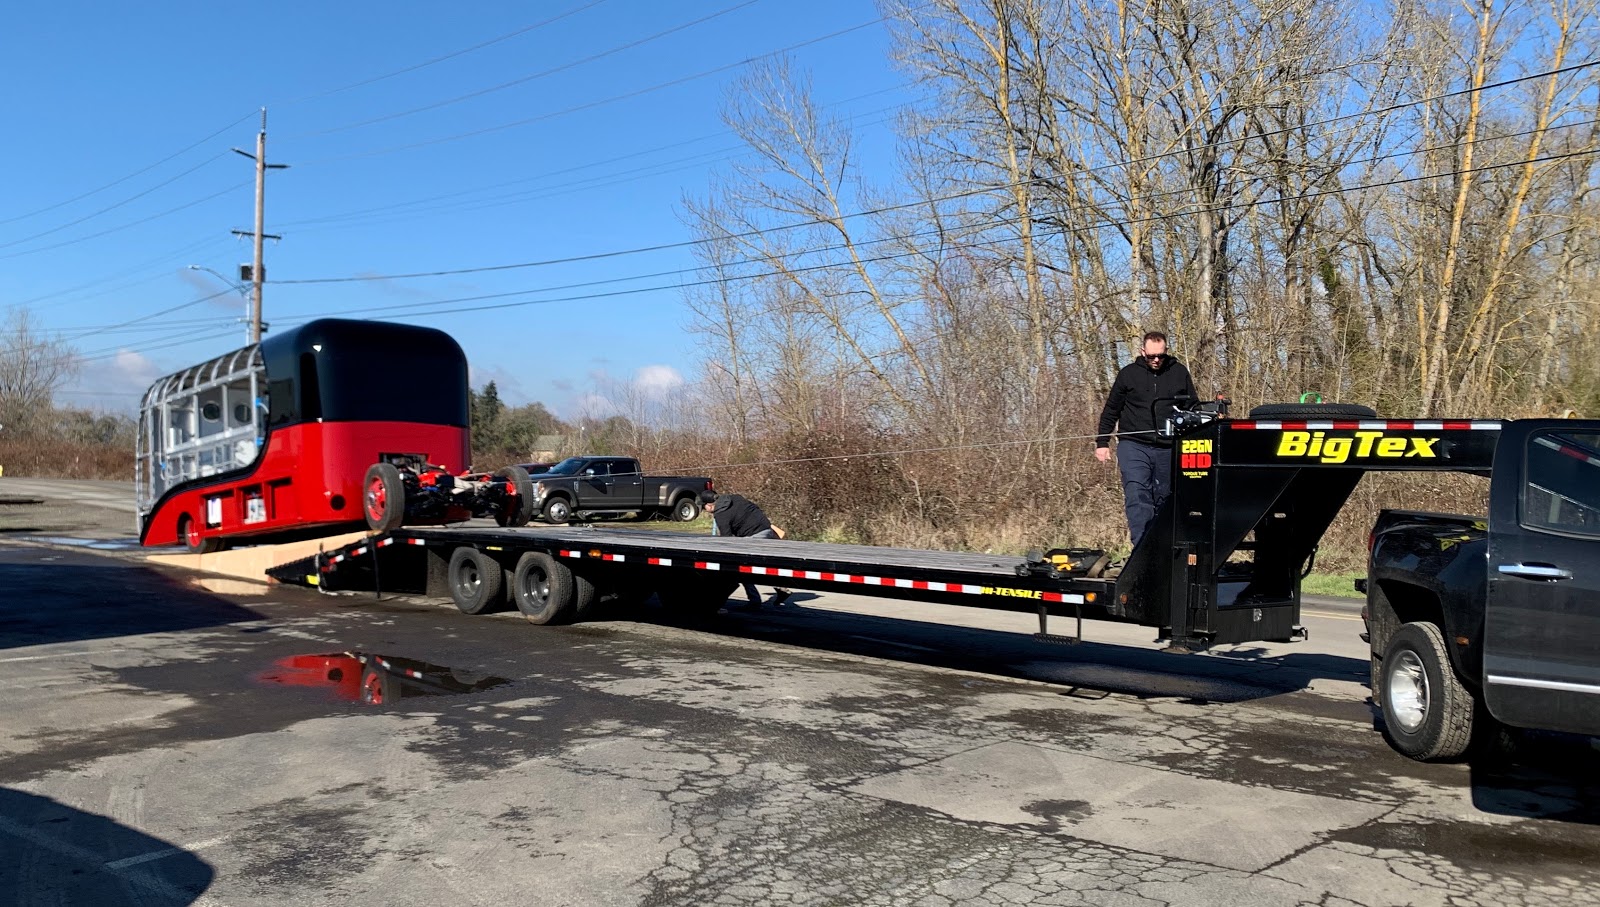
Since the first trip to drop off the box to the body shop wasn't fun at all. I decided that we needed to do things a little different to make the trip safer. So we purchased a new trailer that would handle the weight and length of the box. Being that the ramps on the dove tail didn't have the right approach angle I used google sketchup to draw out some new ramps so that the box would not drag in the back and drag in the middle. I used the plans and made the new ramps out of wood. It took three eight section to make it all work
.    
We finally had a break in the weather to pick up the box from Silver Creek Auto Body. Hers's the new setup that we're using. The new ramps are sitting on the bed of the trailer. 

Chris also made some additions to the trailer to accept a winch to pull the truck up onto the trailer.

The ramps and winch worked out great. Chris and I put a lot of time and energy into making this trip as easy as possible. We were both very excited not to have any issues loading and unloading the box.
   
View of the ramp setup and the box on the trailer.

Tided downed and ready to make the thirdly-five mile trip to Chris's shop.

The trip to Chris's went great. The truck and trailer handle the load without any problems.


Now we just need to get it into the shop. Lucky we had some of Chris friends show up to give us a hand. I would like to Thank all of you that were involved in loading, unloading, and pushing this thing around making it seamless and most of all safe and without incident.  


Nice and shinny in its new home. First up is to do the final fit and install the siding. Exciting things to come soon.


Sunday, September 30, 2018

The Box is Painted


 We have a painted box with four gallons of primer, two gallons of red, three gallons of black, and two and a half gallons of clear. 

 The first coat of primer. Started with 220 sandpaper for the first coat of primer. After that we re-primed the whole truck again and cut it with 320 then we spot primed the areas that needed more work. The last cut was with 400.


Here were some of the areas that needed some more primer and work.
Mostly the areas around the body lines needed the most attention.

 I'm pretty excited how the top of the box came out. Tom did a awesome job on getting it flat.


 The day before paint and some time in the sun. Time for some cleanup.

 We had a couple of small areas of primer that still needed some work before paint.
Here we have Lucas and Josh who were in charge of cleanup.

 We were going back-and-forth on if we should seal it or sand down to 600 before paint.
We went with the sealer and this meant that there was a small window to get paint on the truck.

 The box is two toned so to make the window of time to get paint on they painted the black portion with one coat and then went back and sprayed the red.

 The box with the top painted with one coat of black.

 Spraying the red.

 The red was sprayed for its final color and took three coats to get complete coverage.


 The red is over sprayed into the black and will be masked off the next day when they spray the final coats of black.

 With two guys spraying clear it did make a lot of over spray. I was the lucky one in the office taking picture though the window. It took four guys to make this all happen. Two painters Bob and Joel, Josh to move scaffolding and keep air hose from getting all tangled up, and Kevin who mix paint and kept the paint cups full.

 Before clear

 After clear

 Before clear

 After clear

Big THANK YOU to Tom who was responsible for the body work and getting the 20 foot panels so straight, to Silver Creek Auto Body and crew for a outstanding paint job, and to Chris Chapman for all the fab work to make this dream become a reality from paper to the real deal.

 The last step is for the cut and polish and then its back to Chris and I to finish the rest.

Other things that have been getting done is the interior work. Rick been working his magic on the door panels.


 Got the polisher out and did some work on two of the panels

 Still want to work on my final step of the polishing process. Looks good till direct sunlight and then I see the super fine scratches left by the final polish.

Also trying to finish up the last touches on the other sign. Just down to sandblasting part.