
As promised a little more in depth pictures of the hinge assembly. This is the back side of the block that holds the hinge in place and the black piece is the adjustable part that will allow us to make the adjustment.

We added a bar across the back to keep the black piece in place when we install it into the tubing.

Layed out the spot that the hinge assembly will be placed.

Cutout and ready for placement.

Made a jig to hold the blocks in place for welding.

Welded in .

The tubing installed into the door cavity.

Showing the adjustment that we have in the hinge. All the way up.

The adjustment all the way down. This has given us plenty of adjustment in the doors to get the door caps close.

The rest of the parts of the cargo doors ready for assembly.

The side part of cargo door being fitted.

The part before fitment.

We also added two support brackets in the doors.

The final welding up of the cargo doors.

We needed to make a adjusting striker for the latch for the cargo doors.

Welding up the parts for latch.

The parts that made the finished pieces.

Need to polished them up before we install them.

Started to fit the cargo doors. We made spacers for between the door hinges to get the gaps fits.

The first fit for the cargo doors. Need to do some final finish work to make the doors fit but are really close.

Back doors all done and installed.

View from the back side.

Propane tank in place and making mock up brackets. Did some work on the tanks to get them ready for paint.

Back view of the box. Started to do the patterns to finish up the sides of the back of the box

Siding is going on. We made bracket to attach to the frame work of the box and glued elevator bolts to the side of the siding. The brackets are slotted so that we can slide on and off the siding. This will let the painter get the paint under where the siding is in contact with the panels. After paint we will also weld the siding to the frame for extra insurance.

A look at the brackets from the inside.

The brackets have worked out great for fitting the siding to the truck. Theirs been a lot of taking on and off to get the siding to fit the body lines.
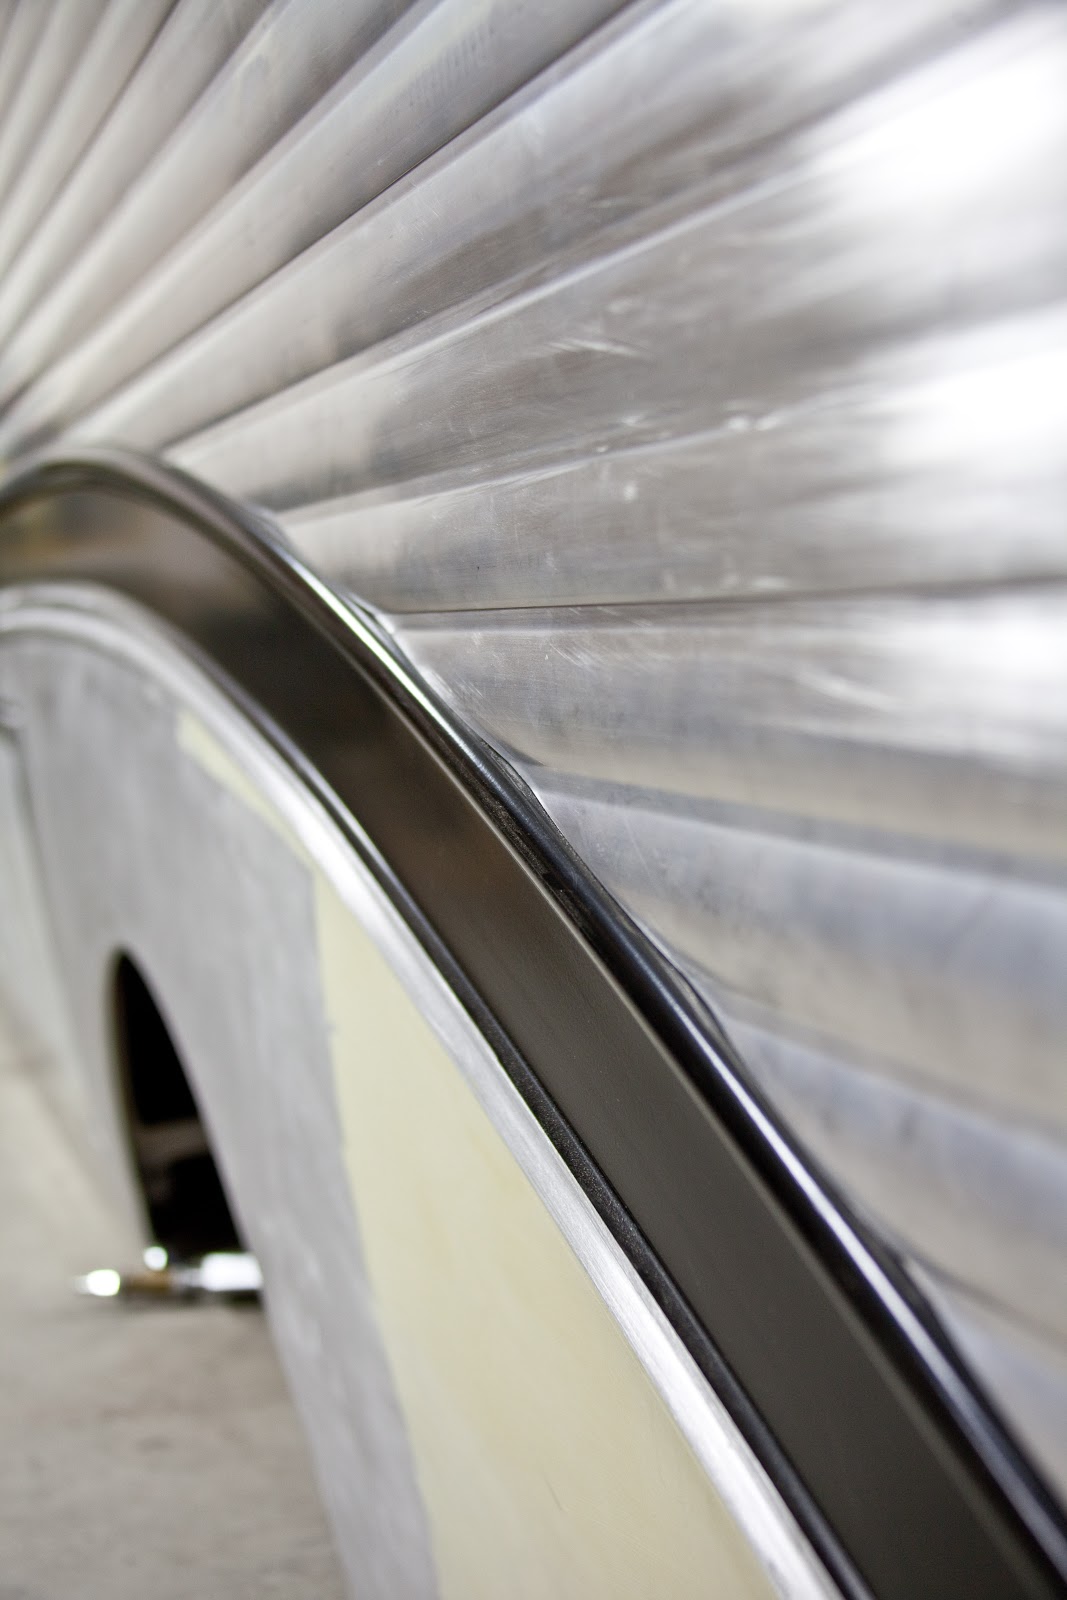
Some of the fit of the siding to the body line.

More of the siding.

The siding still needs to be fitted to the back of the truck. We have a rough shape but will do the final fit when we get the inside panel done.

We needed to figure out how we were going to get the flat panel to fit the extruded siding. It took some time but we worked it out. We took 3/8 material and machine a slot in it and attached it to the panel. We plan on giving the outside panel a soft radius to match up with the siding.

When we made the adjustments to fit the panel to the bottom we created a problem at the top that we needed to address. First we had to shim the frame with 5/16 material and then offset the flat panel 1/8 so that the siding on top will fit the panel.
 8
8
This is a test piece that we used to make sure that our measurements all work out.

We came close to nailing it, but will need to trim off some of the leg on the back side so it will fit.

This is where the flat panel meets the body line and where the top siding will come together.

Test fitting the flat panel on the side where the serving window will be.

The other side of the opening.

Still need to fit the top and bottom piece to complete the opening.

Practice on a little spot on the siding the rest will be polished like this.

Had a chance to project the logo on the side of the panel to get a look at what it will look like. Plan on making the logo a badge that will attach to the truck.

A look at one of the test fit of all the siding on the truck. One of many and more to come to get it right.

A little fun in photoshop. A few more weeks of fine tuning and this thing will be heading to paint. After that we will get it back to complete the inside and assemble the rest of the truck.


