Sunday, April 24, 2016

Finishing Up on Body Lines and Hanging the Stacks and (Some Bathroom Work?)


Even though we been making progress on the truck we took some time off the truck to help my mom with a remodel on her bathroom. They have two bathtubs with built in showers and with their aging it has become hard for them to maneuver around while taking showers. So Chris and I removed the old tub and shower and put in a walk in shower for them. Which actual turned into a full re-do on the bathroom. About one more week of work and we will be back on the truck.


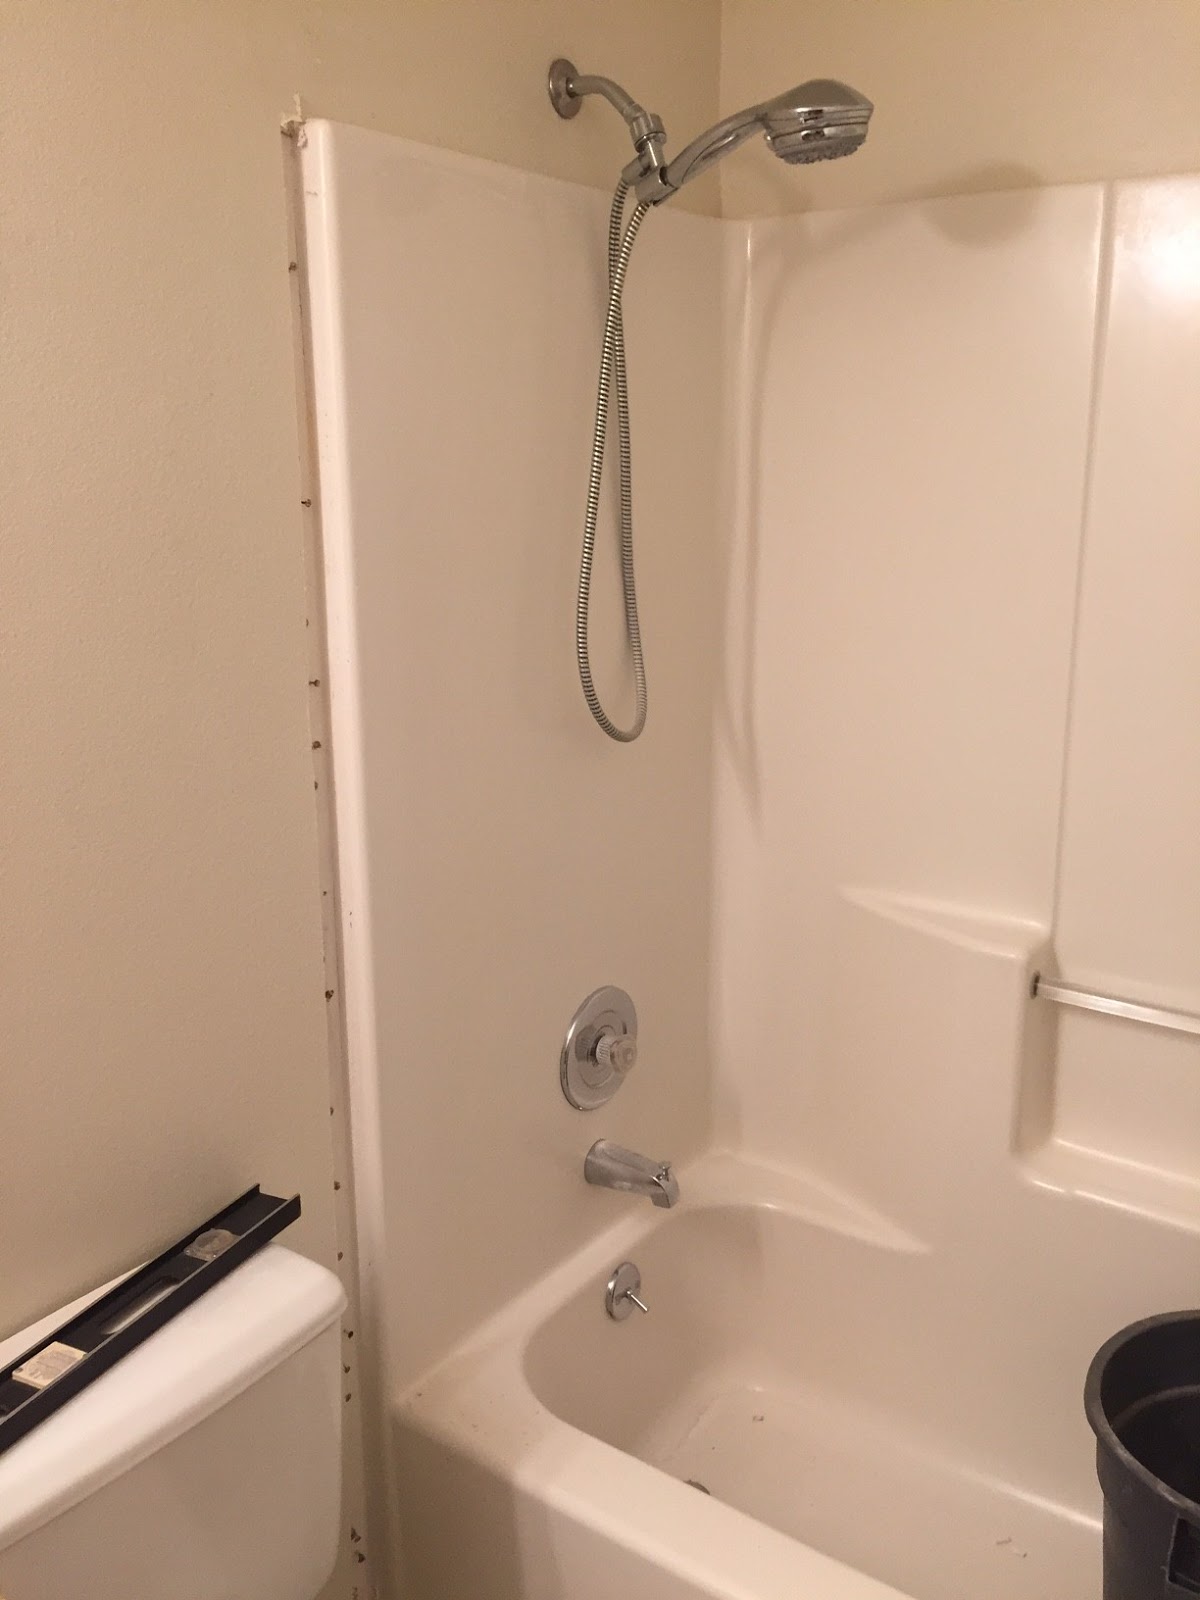
Okay I know that they are not pictures of the truck but it is proof that we have been working.

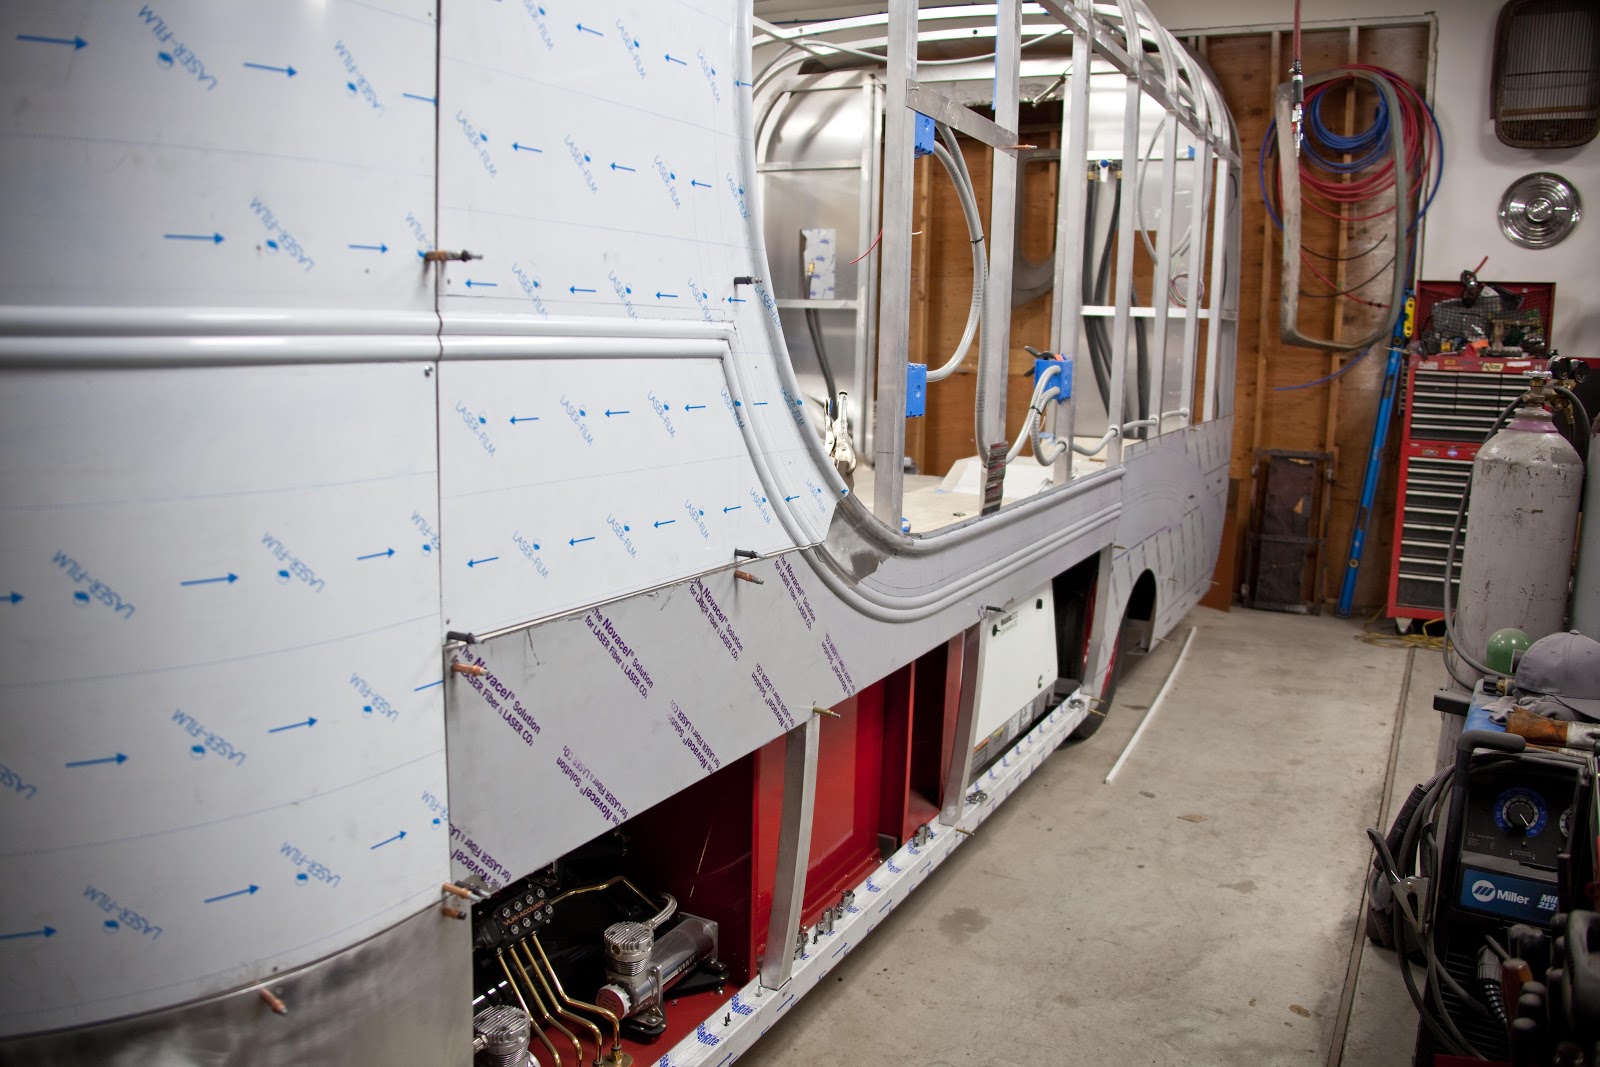
 Finishing up the last of the lower body lines. Need to complete the lower end of the back panel that will need to be hand formed. We also need to add a rolled lip on the wheel well before we can start to weld it to the truck.

 The panels have lined up very nicely. Just need to work on the top panels and we will be done with the body lines.
 The exhaust pipes came in and now it time to make some brackets for the truck. We are using the stock brackets from the pipes, but need to make custom ones for them to mount to the truck box.

They have a slight curve in them to match up with the truck box.
  
 All finished up and ready to be mounted to the truck. These will be chrome plated to match the stock brackets.

 Used the frame tubing and added some plating for the bracket to mount to.

 Top bracket mounting structure.

 Skins back on with the bracket attached.

 Top and bottom brackets. Next up is to locate and cut the holes that the pipes will go thru.

 Front view of the pipes installed.

 We used 7" exhaust for are set up. Here you can see the hole that we cut out of the lower panel.
The exhaust will be used for the pizza ovens. I can smell pizza already.
  
 Man I cant wait to see this thing all together. It's looking pretty tough even with out all the parts on it.

 The last of the body lines will run the length of a 12' panel. We came up with a make shift table to hold the sheet while we fed it thru the Pullmax. It sounded like this would be the easiest panel to do, well not so much.

 It takes about twenty runs though the Pullmax to get the final profile. Moving a 5 x 12 sheet of .08 aluminum is not a easy task. The first panel we did we had three people and by the time we were done we were done.   
 The second panel we enlisted one more helper which help out, but was still a workout.

The top part of the panel has part of the 20" radius in it. Since we don't have a 12' brake we had it sourced out to be bump around to the shape that we need.

 While we wait till the panels get done we moved on to the gas fillers.

 We started out with some 90 degree mandrel bent tubing, 5/8 tubing, and a pop-up gas filler. One of the pop-up gas filler will be welded into back panel for the back gas tank and the other will be welded up front for the side gas tank.

This is the back panel where the gas cap will be added. It's also where one of propane tank will be mounted.

Filler in place and is ready to be welded in. Will update with the finished part.

Saturday, March 5, 2016

Side View Cameras and More Box Panels


Well we had to do some going backwards on how we planned on doing the side cameras. We thought that we would make a continuation of the running boards to house the cameras, but the part look like we just thru a box on the side of the panel. It was big and took away the curvature of the box. This left us with a gap between the running board and the box that we need to fix.  

Here is the gap that we want to close up.

 It was painful to take the paint off the finished running board. 

 Added in about a inch and a half and tweak the outside edge to match the box.

 Now all we need is some paint. 

 How we needed to come up with a new plan to house the cameras. We came up with making some blisters like you see on some 32 fords and aircraft. So we took some of the stuff that we learned from a workshop that we took from Ron Corvell. 

 To start we made positive mold out of some clay that was bake to make it hard. Didn't get pictures of it before it got destroy when making the negative part of the mold which you see here in this picture. Next we took MDF and used a router to cut out the shape. Went down a little deeper then the positive mold depth but kept the exact outside shape of the mold.  Next we drill holes in the bottom of the mold so that when we filled up the mold with body filler and press the positive mold in the excess material had a place to go. We used packing tape on the positive mold so it would not stick to the bondo, it work pretty well but had to come out in a few piece. When done you have a negative mold for hammer forming that's pictured above. The MDF in the background is made to the same shape as the part to hold the metal in place when forming the part.

 The metal would be sandwich between the mold and the top MDF part. Then you just start hammering away.

 This is what the part looks like after your done hammering. Okay maybe we had to do some filing and sanding to get to this point.

 When your done you have two parts the same. 

 Mounted and cut out the hole for the camera in the box.

 Its mounted low on the box. The camera has a very wide angle of view and can pick up at least two lines of traffic.
  
 The blister in place with the hole cut out for the camera.

 Getting ready for the weld.

 All welded in

 We are really happy how this turn out and it looks way better then the first choice.

Even though we lost two days on the first parts it was worth it in the end.

Back on body lines. We spent some time on test panels to make sure that we had our technique down before starting on the ones that count. Finished up the final layouts on the panels before getting started.
  
 Making sure that all the lines are matching up.

 The outside body line has to be right on because it is also the back gauge for the die.

Double checking out everything before we get start.

 We use a backstop for the double body line.

This was the die setup for the outer body line. We add a backstop to the top and extended piece to the bottom to help keep the material 90 degrees to the dies.
  
The finish piece after we ran both body lines. No pictures of the process haven't figure out how to hold a camera and help out Chris with the panels. We even enlist Chris's wife to help out with the panels.   

 We did have some shrinking and movement in the panels causing some oil can spots. So some hammer and dollie work will need to be done. In the end we have a usable part and the body lines match up well.

 The back gauge and body line done.

 Getting ready to run the outer body line.

 We were able to get a real nice line with the help of the backstop and Chris steady hands.

 Just finished up the outer body line.

 A profile look at the body lines.


The parts on the truck for test fitting. Real happy on how the body lines are matching up on the all the panels. Laying out the last side panel for the truck and then the top panels for the roof and then we should be done with the body lines.