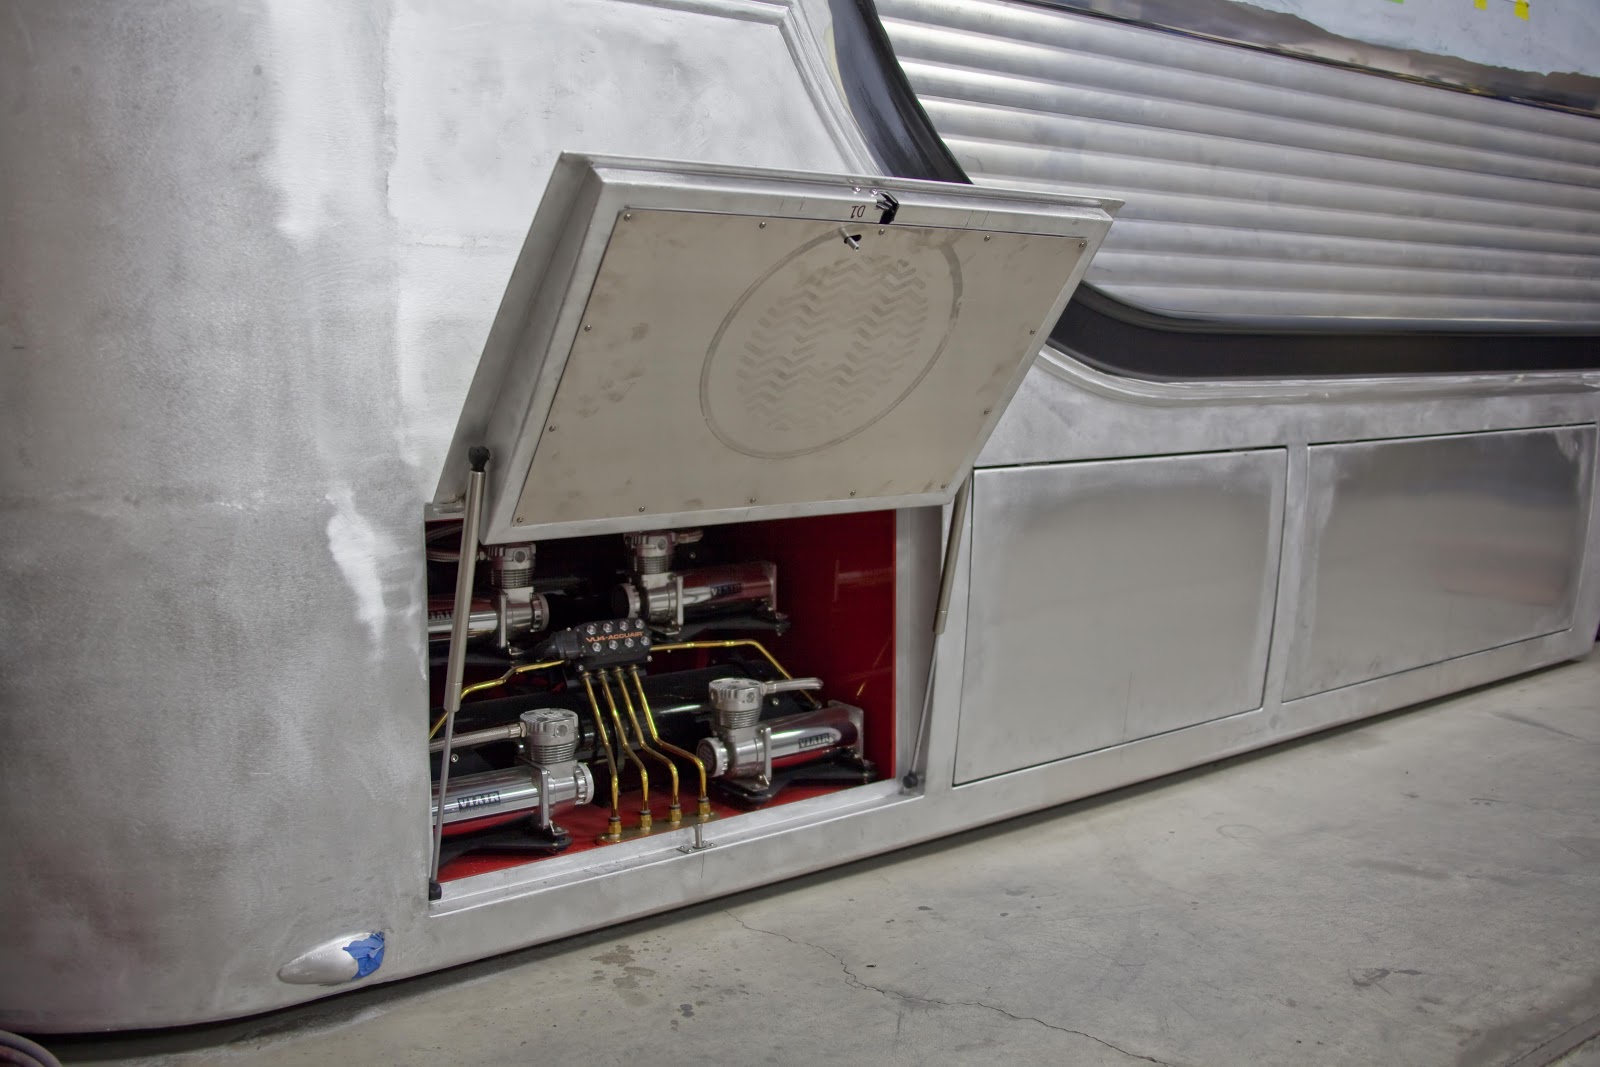
A lot of time has gone by since the last update, and want to assure everyone that things are still moving along on the project. The body work is done on the box and is waiting for it first coat of primer. Will get blocked and then a second coat of primer and blocked before paint. Hoping to have it back from paint in June.

Okay we decided to go a different route on the pizza truck no just kidding. Since the last update I found this little gem and couldn't pass it up. This one was like my first car that I owned as a kid and have wanted one to drive around town for fun. My kids told me that I was going through my mid life crisis and then they informed me no that can't be, because I was already passed that stage.They sure know how to hurt a guy. I don't care it sure fun to drive.

This is one of the first emblems for the side of the box. This is after I sanded and polished the out side perimeter. Before I started it had the same tooling marks as the inside of the sign.This was my first step of many before the process was finished.

Here is a closer look at what the tooling marks looked like. I wanted the center of the sign to have a cast look. After trying different methods sand blasting was the best choice. I used a very aggressive grit to achieve the look I was looking for. Even with the aggressive sand blasting I still had to sand the inside of the sign before I sand blasted so that tooling marks disappeared.

This was my first run at it, but decided that I wanted a heaver texture. I taped it back up and shot it one more time with 36 grit media.
.

Taping off the sign to get ready for polishing the tops of the letters. After taping I blocked sanded the tops of the letters to get a nice flat edge. Then polished the edge.

Still working on the tops of the letters.

Before I unmasked the work.


Tops Polished up nicely.
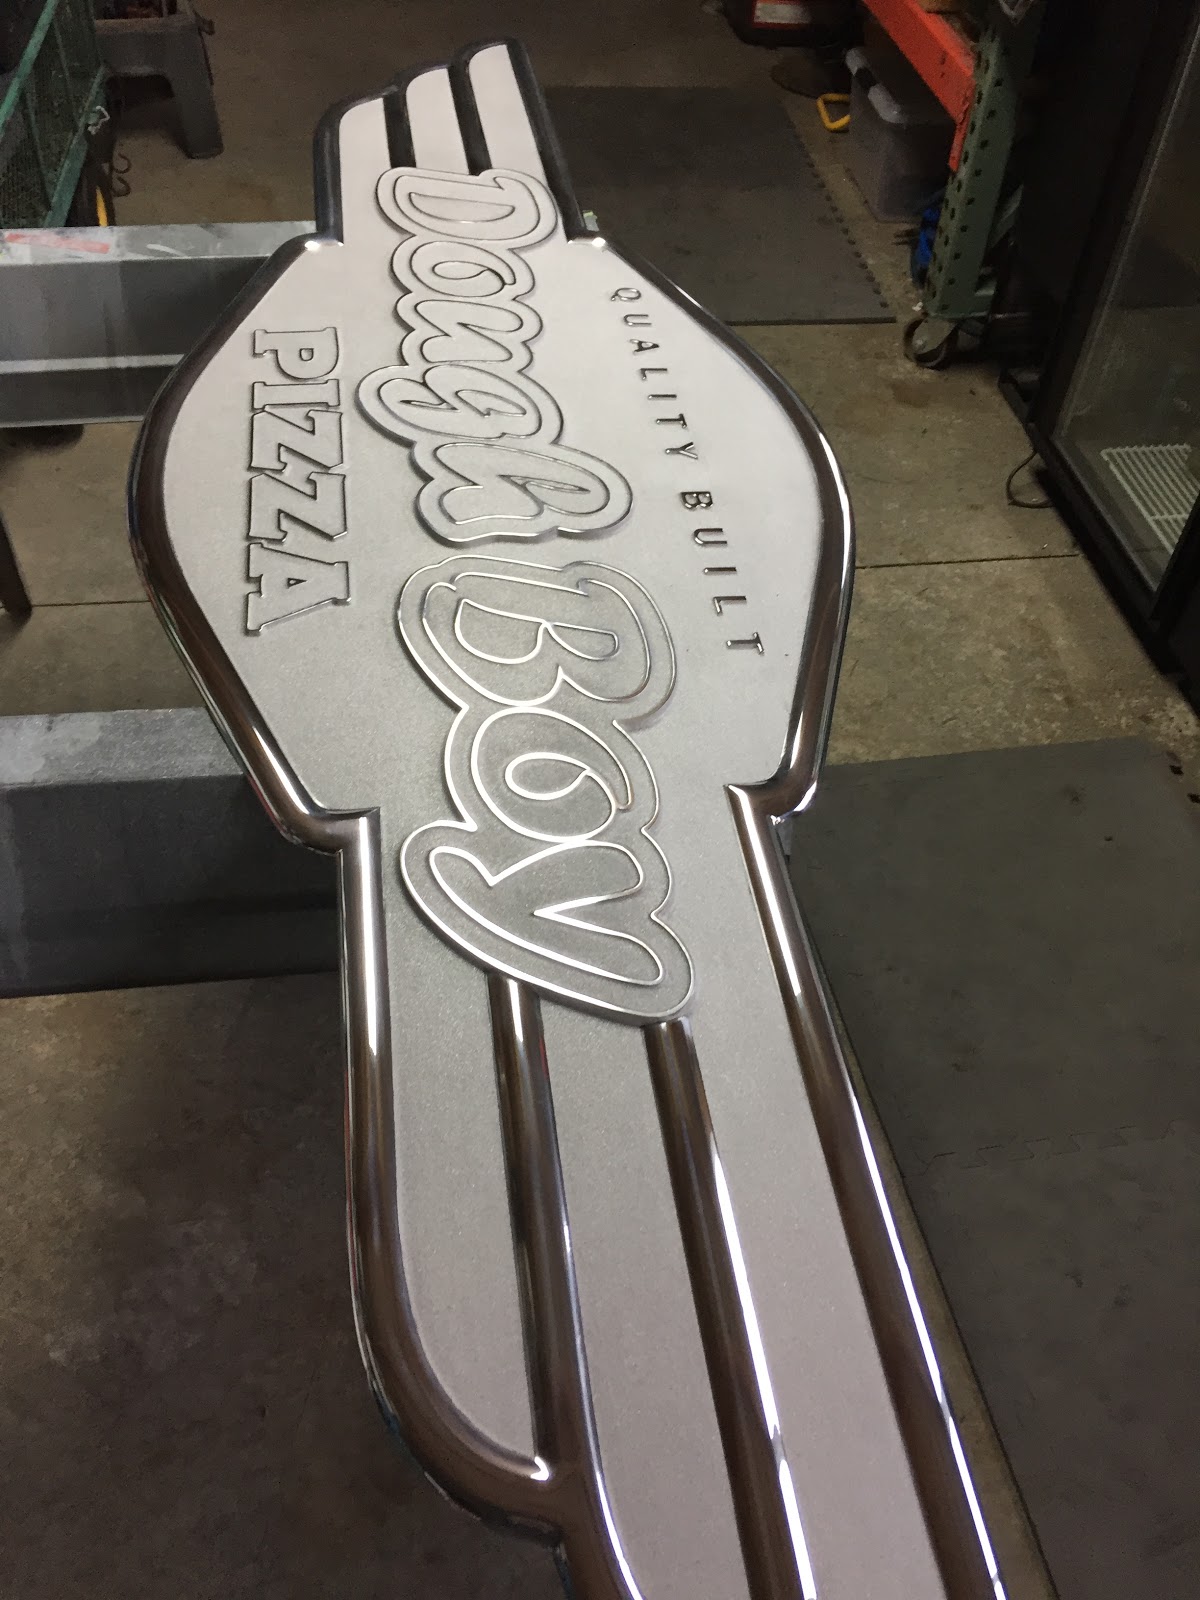

The inside of the Dough Boy and Pizza will be painted the colors of the truck with the tops of the letting polished. So now I need to re-mask for paint. Almost done. No wait I still have one more to do(UGH). Second one should go better I learned a lot on the first one.

It's mid December and Chris and I are on the way to Idaho to meet a potential upholstery shop for the truck. We have been searching for a upholstery shop since day one but have had no luck. I was following a lot of shops on instagram, but most of the ones I liked where back east. Then one day on the Hog Ring they posted some pictures of some work done by Stitchwurx. So I went and looked at his instagram page and liked what I saw, and the bonus was he was close to us. (Well six hours) I called him up and talked about the project and sent him some pictures. While talking to him he seemed to be very interested and excited about the project and I had a good feeling about how are conversation went. So we made the plan to meet.

So the two weeks before are trip the weather was beautiful and of course the day of the trip this is what we got. The good thing was it started while we were over half way there. By the time we reached Idaho we had six inches of snow. We made it to Rick's shop with no problems and had a great meeting with him. He showed us around the shop and the current project that he was working on. We talked about two hours and by the time we were done we knew that we found the right guy. He had a opening in March and we took the spot. We left and got to run in snow for the first three hour and a couple of uhh I better slow down. We made it home safely and was a great trip.

On the way home from are trip to Idaho Chris and I looked at each and said crap we need to get busy putting the cab together. We only have two months to get it done. The next week we were picking up the cab from Silver Creek Auto Body. The cab has been ready for months and Bob was nice enough to store it for us. Ready for the move back to Chris shop.

First step is for the insulation of the sound skins. The truck was also sprayed with a sound deadening paint on the inside.

It's amazing what this stuff does to quite things down.

The nice thing is that I cleaned up about four shelves at home. The bad part is now it's out on four tables plus the floor.

Half of a table is just screws. After almost two years where do they all go?

I should have taken a lot more pictures, I got so caught up on getting things back together that there wasn't much time for pictures. As you can see we have the front glass and windows in. We took the glass to some glass shop but no one would touch them. So that left Chris and I to installed the glass in the frames. After getting the right setting tape things went fairly easy. Installed the A/C unit, vent doors and motors, wiper motors, and some of the wiring.

The cab has to be completely wired before it goes to Stitchwurx for the upholstery. To make this happen we used a plug-n-play type setup. We used a 30 pin connector between the firewall to connect the cab to the box of the truck.

Front glass installed. The glass has a slight tint to it and looks real good with the colors of the truck.


Put the dash together on bench to make it a little easy for assembly.

When designing the dash we tried to keep it period correct. We have push button start with a light switch and heater controls. The rest of the switches are under the dash out of sight.

Radio is hidden in the glove box.

Still need to install glove box door.

View of the wiring from behind the dash. Trust me I do have a note book full of wiring diagrams and notes and sometimes that even confusing.

Here's the 30 pin connector that we used. Still has more wires to be installed. We also have a two inch grommet with about 20 wires going through the firewall also.

Some of these wires go to the plug and some out the two inch grommet and some to the switch panel. I have it all under control I think.
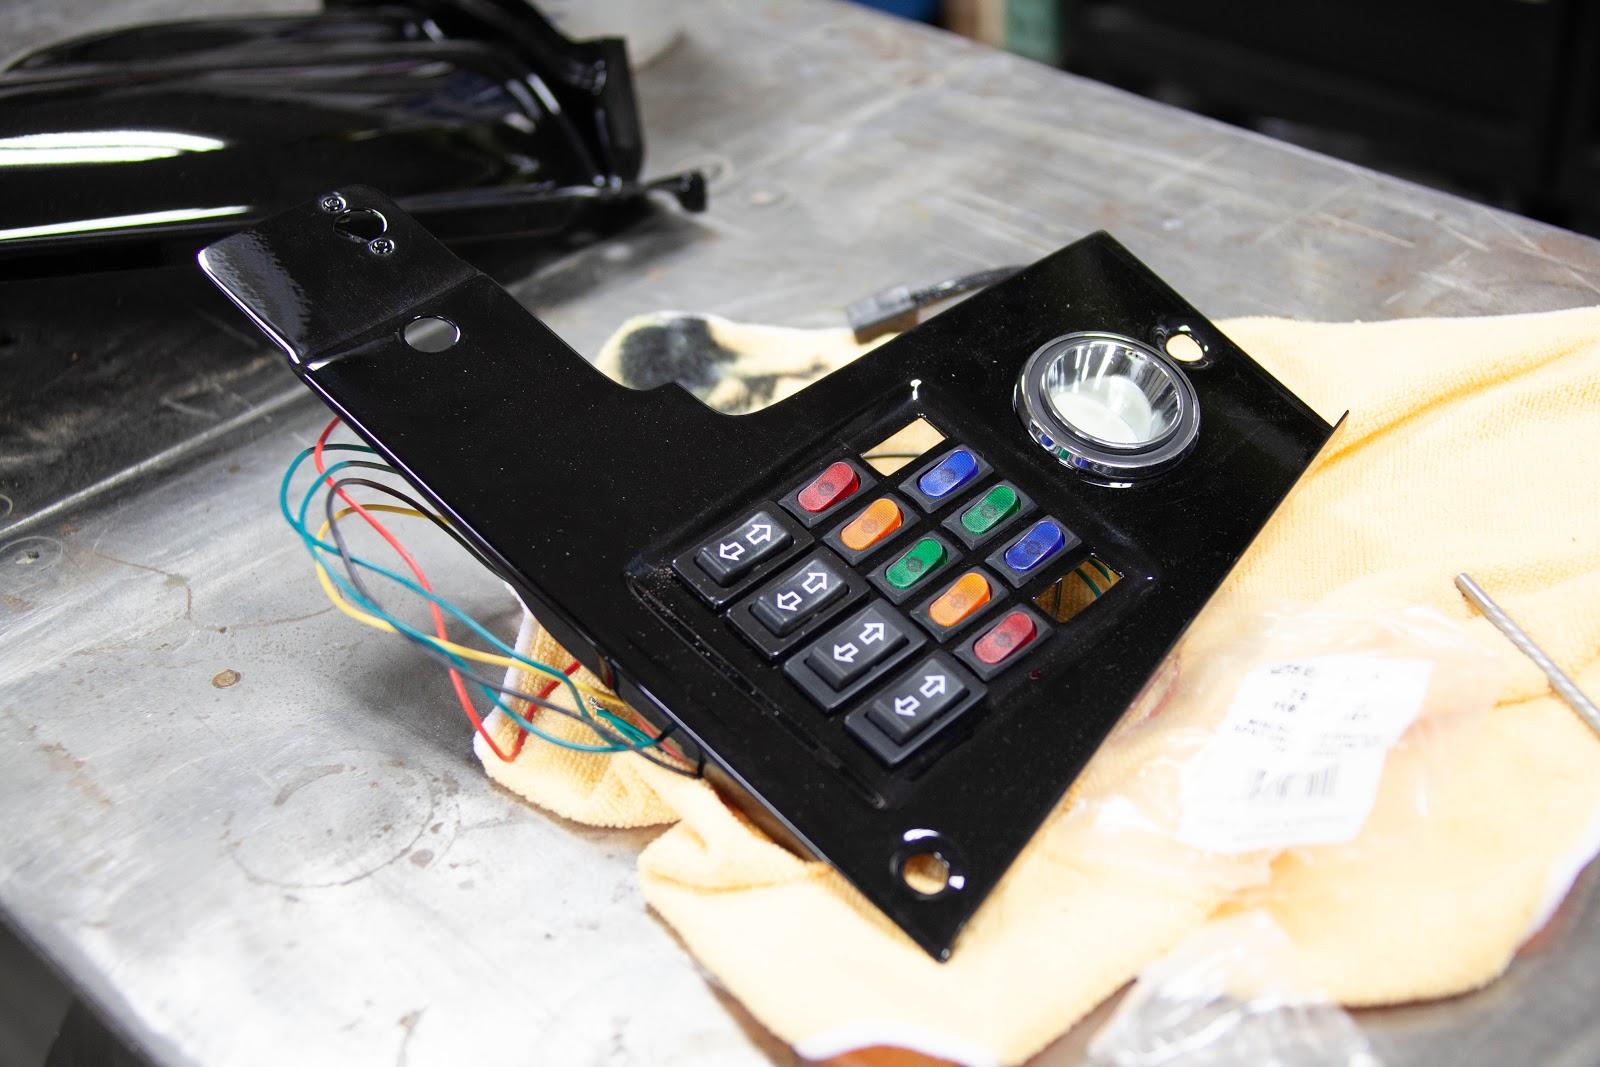
The under dash switch panel. At the last minute we decided to add the courtesy light to the panel.

More piece coming together.


The original vent screen for the side vents

This is how Rick from Stitchwurx got the truck. Time for him to work his magic.

Getting ready for the trip to Idaho. It fit real nice in the toy hauler.

This setup worked really nice and we were able to stay at a RV park just minutes away from Rick's place. We planned on staying in Idaho for a couple days to help Rick with some of the interior disassembly and go over some of plans for the interior.
.

Some sample piece Rick worked on just for kicks. If any of you are Instagram users you can follow Rick at Stitchwurx. He posts a lot of his work there and you can follow the progress of the truck.

This is how I gave Rick the back panel that goes behind the seat. He said it was a good starting point for him and was going to take it to the next level. It was a one piece unit that was heavy and hard to get in and out of the truck. Rick took it and made it two piece so that the amp stuff would stay in the truck and that the cover would attach to that.

When he said next level I think it's more like three or four.


In the truck and finishing up on the wiring. Next up is to start to work on the panel that goes over this part.
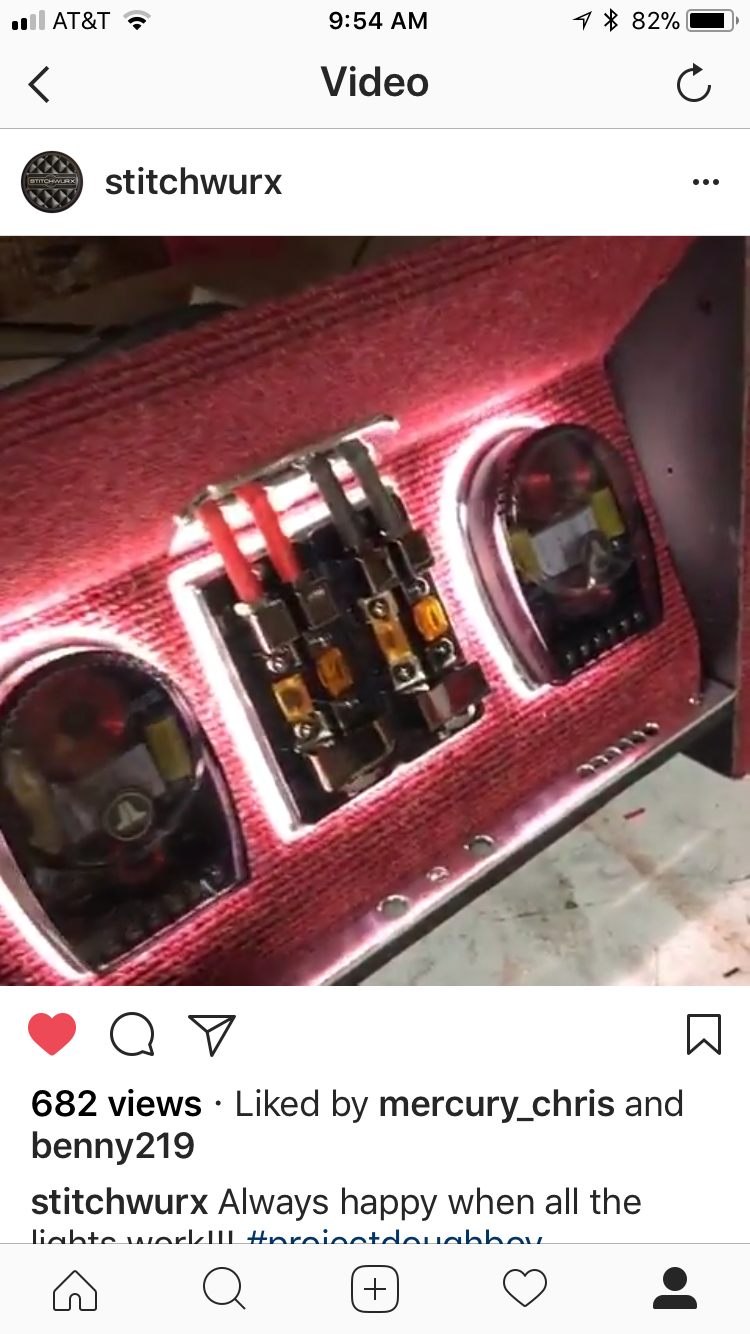
You can watch this video that Rick posted with the panel lit up on his Instagram page.
It's pretty amazing.

So we have the grill back also. you can see a video of it at mercury_chris on Instagram also. It's also pretty amazing. Well that's where we are as of today. Not much will happen till we get the box back from paint. Plan on working on the other sign for the truck and doing some polish work. Till next time, hopefully soon!!