Friday, September 9, 2016

Rear Panel Work

Started to work on the rear panels of the truck this week. This is the rear panel that will house the taillights. It will be a polished finish when done.

We used a 1/8" router bit to round off the sharp edges where the taillight will go.

The rear panel was bump with a break to get the radius that we needed for it to fit the truck. It took some time to get the break lines out of the panel. We started out with 80 grit to get it flat then worked are way down from there. (180,240,380,400,600) 

Have about 10 hours into at this point.

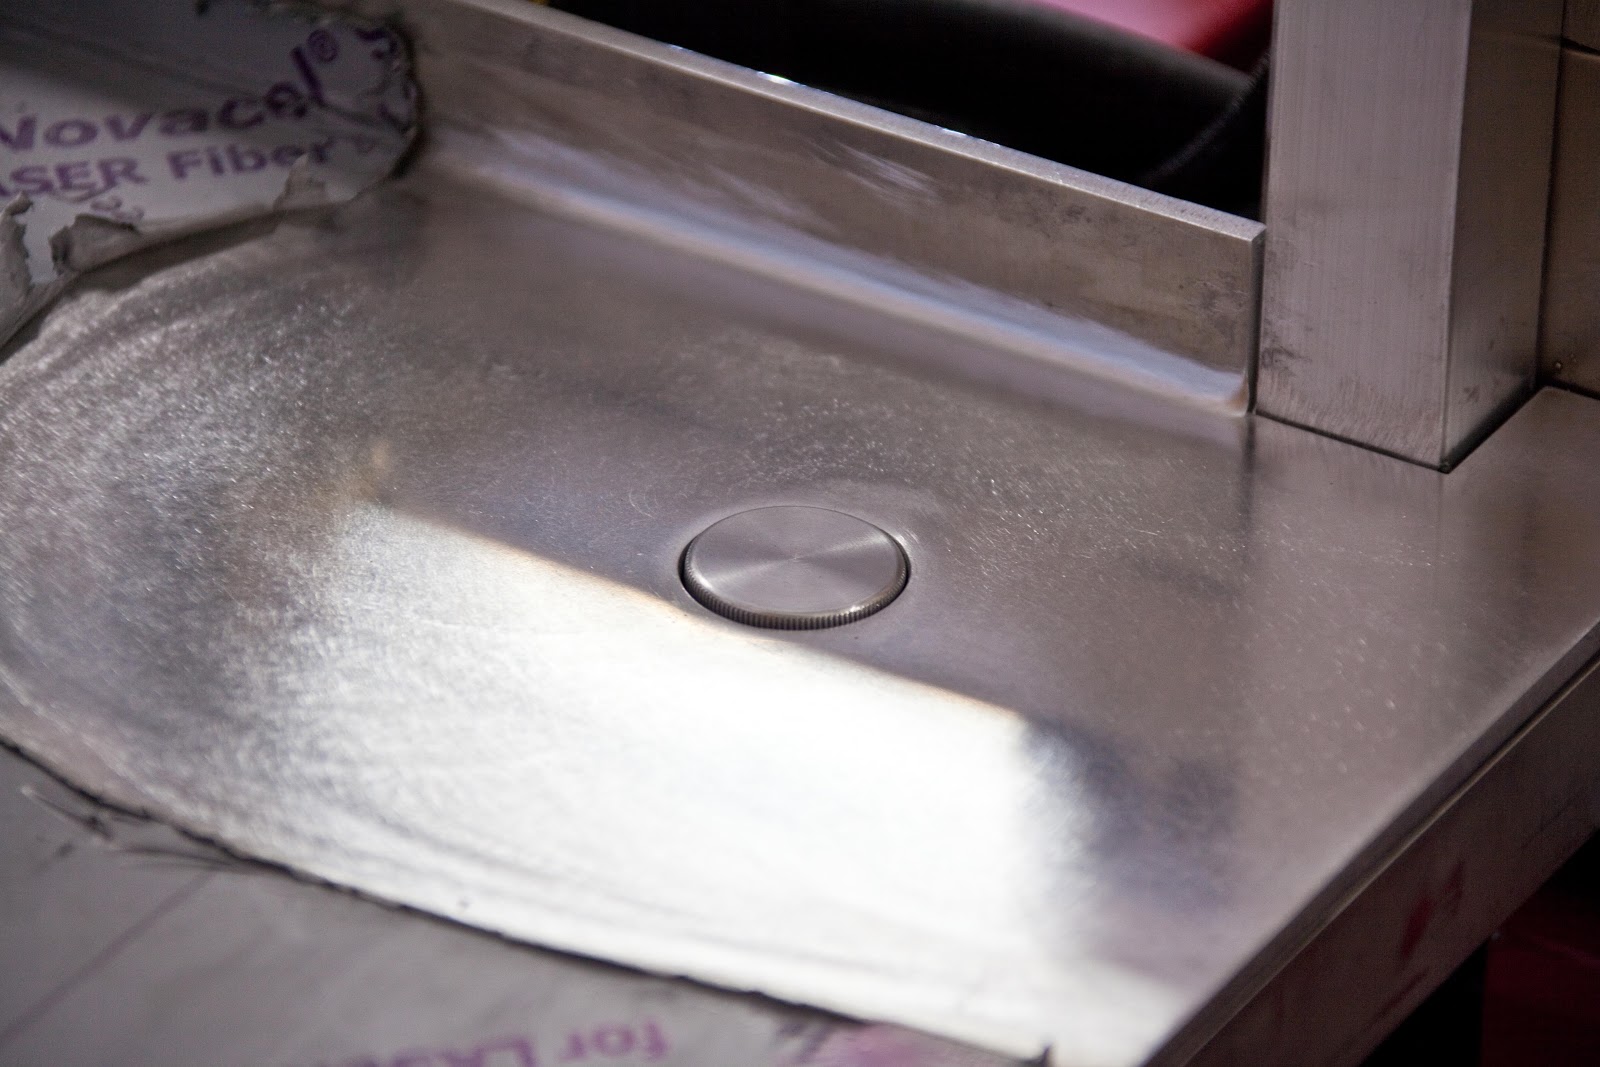
This is the start of the first cut with the polisher. Found that I need to go back and do a little more work in sanding department.

I'm thinking this might not have been a wise decision, but man it looks good when it all done.

While I was working on the rear panel Chris was fabricating the rear steps.

The step formed and tact and ready for test fit into the opening.


Top panels and stairs in and being welded into place.

The weld will be rounded off to match the radius in the formed step.

Well I'm almost done with the front being polished. I did the second cut but need to work on my final cut on the panel. In the mean time Chris was ready for the panel so the final polish will wait till later. We are laying out the holes to be drilled for the trim work that we did for the taillights.

At this point you can see the trim piece in place and we have the studs in place to hold the taillight housing
.
We used a epoxy glue to attach the elevator bolts for the housing. 

Are custom taillight housing that we made from a 70-73 camaro.

Housing ready to be bolted in so we can turn it up and see what it looks like.

Don't look to closely to the polish work it's not completely done yet.


The middle section of the panel will be cut out for the stair opening. 

Ready to be dismantle and fitted to the truck.

We had to do some trimming for the panel to fit, but after that it was a great fit.

All clamp down and ready to be welded together.

Tuesday, August 30, 2016

Welding, Grinding, and Finish Work on the Box


 Got the call that are center caps were done. These are the tooling that were used to cast the parts. After casting was done they were machine for the lug nuts holes.

 Here is the part on the truck before it went to the polisher. We almost went with the cast parts because it looks very vintage, but in the end decided to go with the polished to match the beauty rings that will go on.
  
 The stock front on the motorhome had only 5 lug bolts but still use a 10 hole rim. We had the hub machined to add 5 more studs to make it match the rear 10 bolt that was stock.

 This is rear hub in its cast before polishing and before the chrome lug caps were put on. Well nine of them anyway.


 We had a extra cap made and had it sent out to be polished to see the outcome before we had the rest done. We were very pleased with the out come and the cost of the finished product. Haven't put on a trim ring yet to see the final look. Going to wait for the last moment of the build to give me that wow factor. Gives me something to look forward to.
  
 Chris started to weld all the panels together while I followed behind with the grinder.

 Chris used a spool gun and went thorough about ten spools. It took about two weeks to get the seams all welded and finished. Still have some spots that need grinding but for the most part it is done.


 After some grinding work.

 Made some scaffolding to make it easier to do the work on the top. That's Chris doing some finishing work on the welds.

 How that we have the panels all welded in place we can finish out the door opening.
These are the side panels for the door openings that will be welded in.

 The bottom and top door opening were formed in the panels that we have already installed.

 A close look on the door side panels welded in.


We have all the door opening welded in and almost have them finished out. This week we will be able to get final measurements for the doors and be able to draw them out. We will then send out the parts that will make up the doors to be formed. We are making final adjustments in the door hinges to make sure we have a good fit. The doors will have shaved handle and gas shocks to assist with the door opening. Our plan is to start on the rear steps and taillight panel while we wait for parts for the doors.

Friday, July 22, 2016

Okay Its Been a While


Okay I know it's been three mouths since the last post. I promise that we have been working on it in that time frame. Chris and I took off over a little more then a month to take care of some personal project that needed done and took some vacation time. It was nice to step back and take a break and work on some other things other then the truck. Not a lot of exciting things on the truck to post that we have accomplished in the last three months, but we have been able to button up the odd and ends that needed to be done. 


 Finished up the rear gas cap and filler. This will also be where one of the propane tanks will be placed.


 We used a pop-up gas cap that you see used on motorcycle tanks.


 A look at the custom filler from the bottom that goes to the tank.


 All installed and ready for some gas.


 Getting ready to finish up on the body lines on the lower panel.


 Making the transition from the two body lines to single a one.


 Welded up and ready to be finished.


Getting ready to piece in the new part.


 It's in 


 Well this side is done one more to go.


 We wanted the rear lip to look like the front fender lip. Chris used 5/8 rod and shaped it to the opening.


 Chris doing his magic.


 The return detail that the inter fender will attach to.


 The finish product that makes it look more ridged.


 Well if you haven't notice the cab has gone missing. We needed to remove it so that we could finish up the rest of the metal work on the box. Have the center and top cap done.


 Chris making the final adjustment to the corners to fit up with the rest of the body panels. If your wondering why the body line doesn't go all the way through to the other side it's because the cab was to close to box. I took the measurement at the bottom and didn't count that the cabs widest point is the center where the body line is. Lucky you will never see it because the stacks cover the space between the cab and box.


The front parts fabricated and in place.


The last panel being fitted was the 12' long panel. After we were satisfied on all the panels and how all the body lines lined up we went through and fasten the panels down with screws and washers. We decided to weld and use a auto grade aluminium epoxy glue between the welds. Where the screws were is where we plugged welded to the frame. Most of where the seams come together are on a frame structure and are fused just with the weld and not the epoxy. So now Chris is welding up the box and next up will be to make the cargo doors.


 I wasn't real pleased with the Alcoa center caps and decided to look into having some custom center caps made. This is what we came up with for a replacement. It should give the wheels more of the vintage look that I'm looking for.


 If your looking for a great casting manufacturing company you should give Jessie a call at Meticulous Detail MFG. in Portland. These still need to be machined and polished but I,m pretty excited about how there turning out so far.


The ones in the front are for the front and the tall one will be for the rear. Hope your enjoying the progress of the project. I will try and not let three months past without a post and thanks for watching.