Thursday, May 22, 2014

The Grill Surround


This is the start to fill in the side panels to the new grill. We used 1/4" material for the grill surround and will be filled in with 3/8" bars. 

We lowered the gravel pan down 1"and need to do some work on the bumper bracket openings to match up with the gravel pan.

This is one of the new side insert that will fill in the body to the grill.

Starting the welding in process. A lot lot lot of some tack welds. The first of many.

The new grill will part of the body unlike the original.


The bottom gravel pan will also become part of the grill surround. We also decided to lower the bumper brackets. 


The gravel pan with a new body line that matches the sides and the bumper brackets lowered. With a lot lot lot more tack welds.


Close up


We didn't like the straight body line on the top so we decided to add some curve that would match the body line on the truck. 


This is the actual line that we used.

When Chris started to work on the new body line we ran into the factory lead seam. this is after he removed the lead. 


These are a series of shots of the new metal work to achieve the new body line. Also had to rework the lower corners of the new hood.
One side done one more to go.
Needed to do some work on the hood to close up some of the gaps.
The next pictures are of the new look. We are anxious to get the grill done to get the final look. 


Monday, May 5, 2014

More Work Done on the Dash

More work being done on the new dash trim. This will be the home for the clock. Our Friend Paul did the machine work on metal tubing to house the clock. Here Chris is welding it to the trim piece. 
All sanded and ready for a test fit on the dash. 
This is the dash trim before Chis started his work.
The finished parts  
When we test fitted the dash trim we noticed that we needed to do some more metal work on the dash. We felt that the dash had to have a better radius in the corners.
We are very pleased at how the dash and trim work turned out. We had to fill in the holes on the trim piece for the knobs because they did not line up to where we needed them.
Can"t wait to see it in chrome.
Had to see it with the gauges. We also put the A/C vents in behind the trim piece.
Okay not to toot are own horn but WOW!! We have just a couple of thing to finish on the dash and it will be complete. 

Sunday, March 23, 2014

Starting the Rear Suspension

Will be using the rear springs to keep the rear axle located in the correct  position and using airbags for the weight and spring rates. Reversed the rear springs and sway bar for a better fit.
Chris had to readjust the stock spring locating pins on axle to get the correct pinon angle for the drive shaft. Also where able to get the dive shaft measured and off to the drive-line guy.  
Flipped and remounted the spring brackets.
Here Chris has installed the bar axle brackets, bars, and lower airbag brackets. Everything is tact welded in place till all the adjustments and testing of the travel of the rear suspension are made. 
This is the front view of the suspension setup. The front bracket and the bar frame brackets that secure the suspension  to the frame. The pictures and setup of the rear suspension is the truck at its lowest point. The ride height will be between 4-6" from this point. The design and engineering of the suspension was done by One Up Offroad. 
This will be welded to the frame and the airbags will rest between the lower brackets that are connected to the bars and this bracket.
Here are some different views of the setup. 


Not rear suspension but Chris has been also working on the new center trim piece.

Sunday, February 23, 2014

Center Console

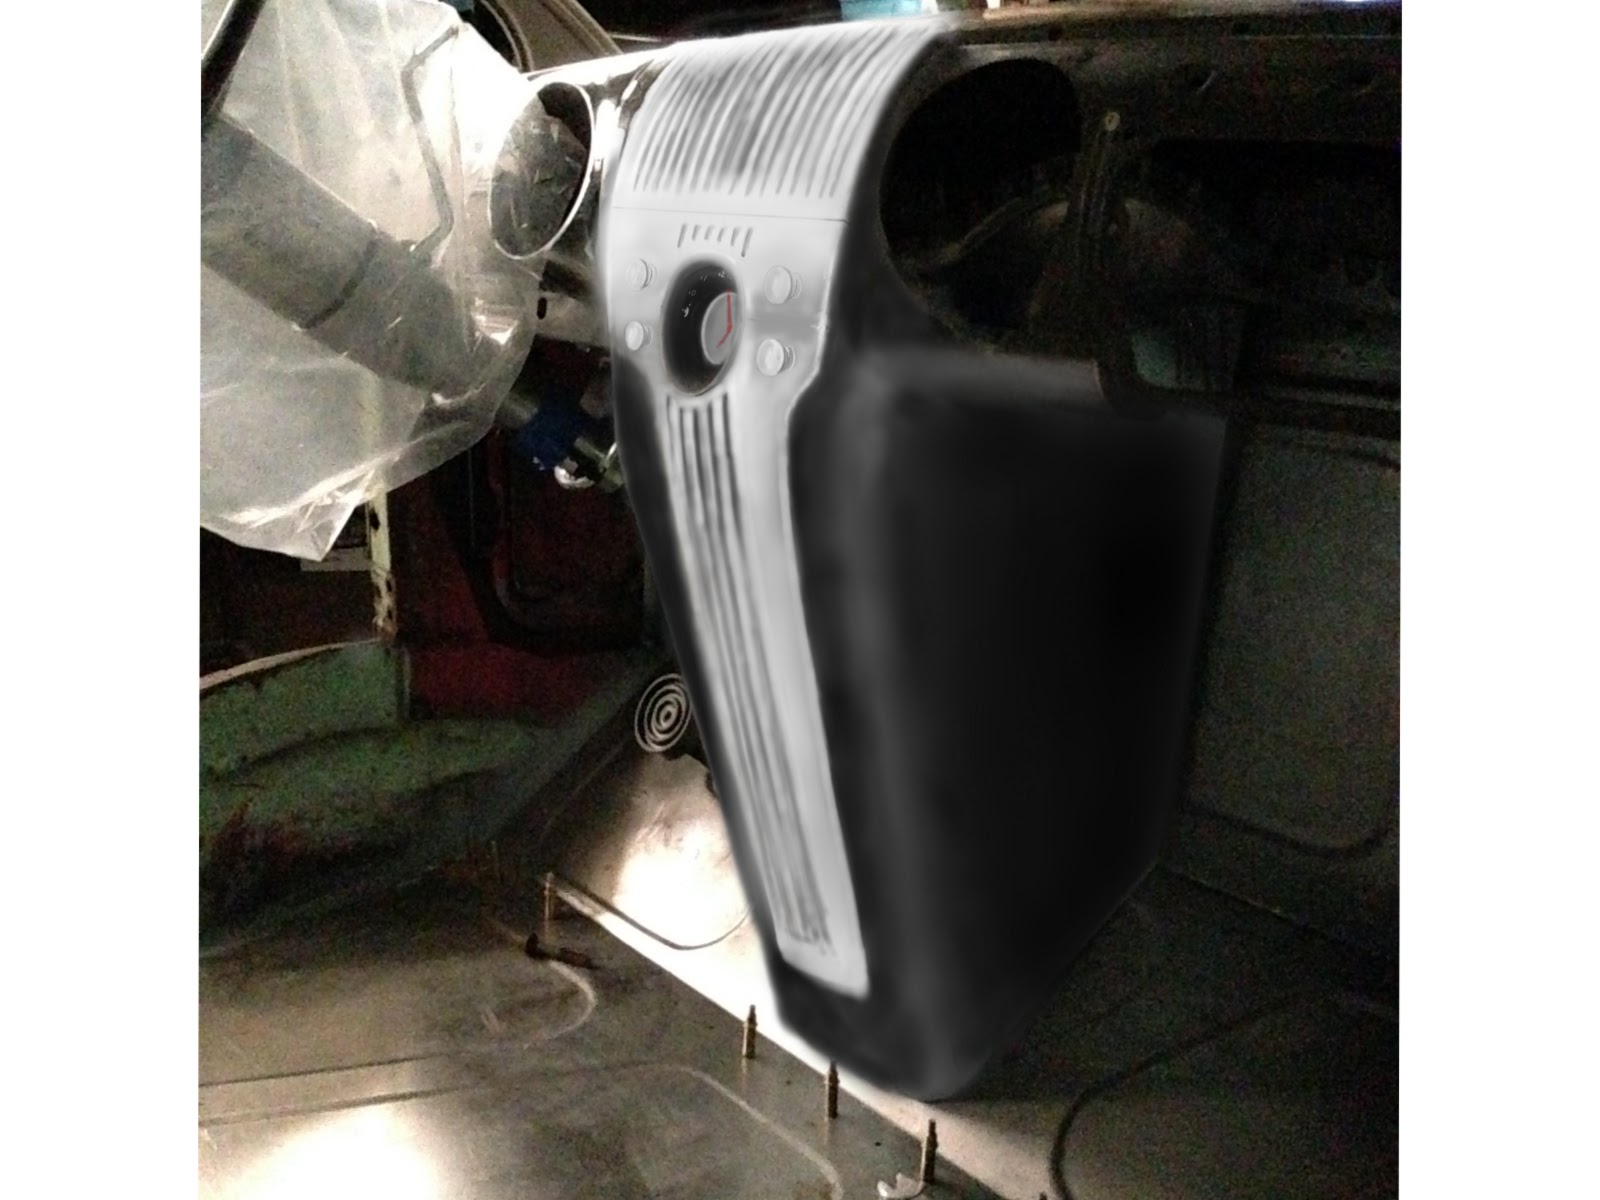
This is a photoshop drawing I made for Chris to give him a idea what I was looking for.

Got this inspiration from a early Lincoln. The center console will house the a/c vents, clock and controls for the vintage air. It will also hide the shifter cable and wiring.
Chris fitted and welded in the new metal   
The bottom piece will be butt jointed to the dash.

The lower half of the console

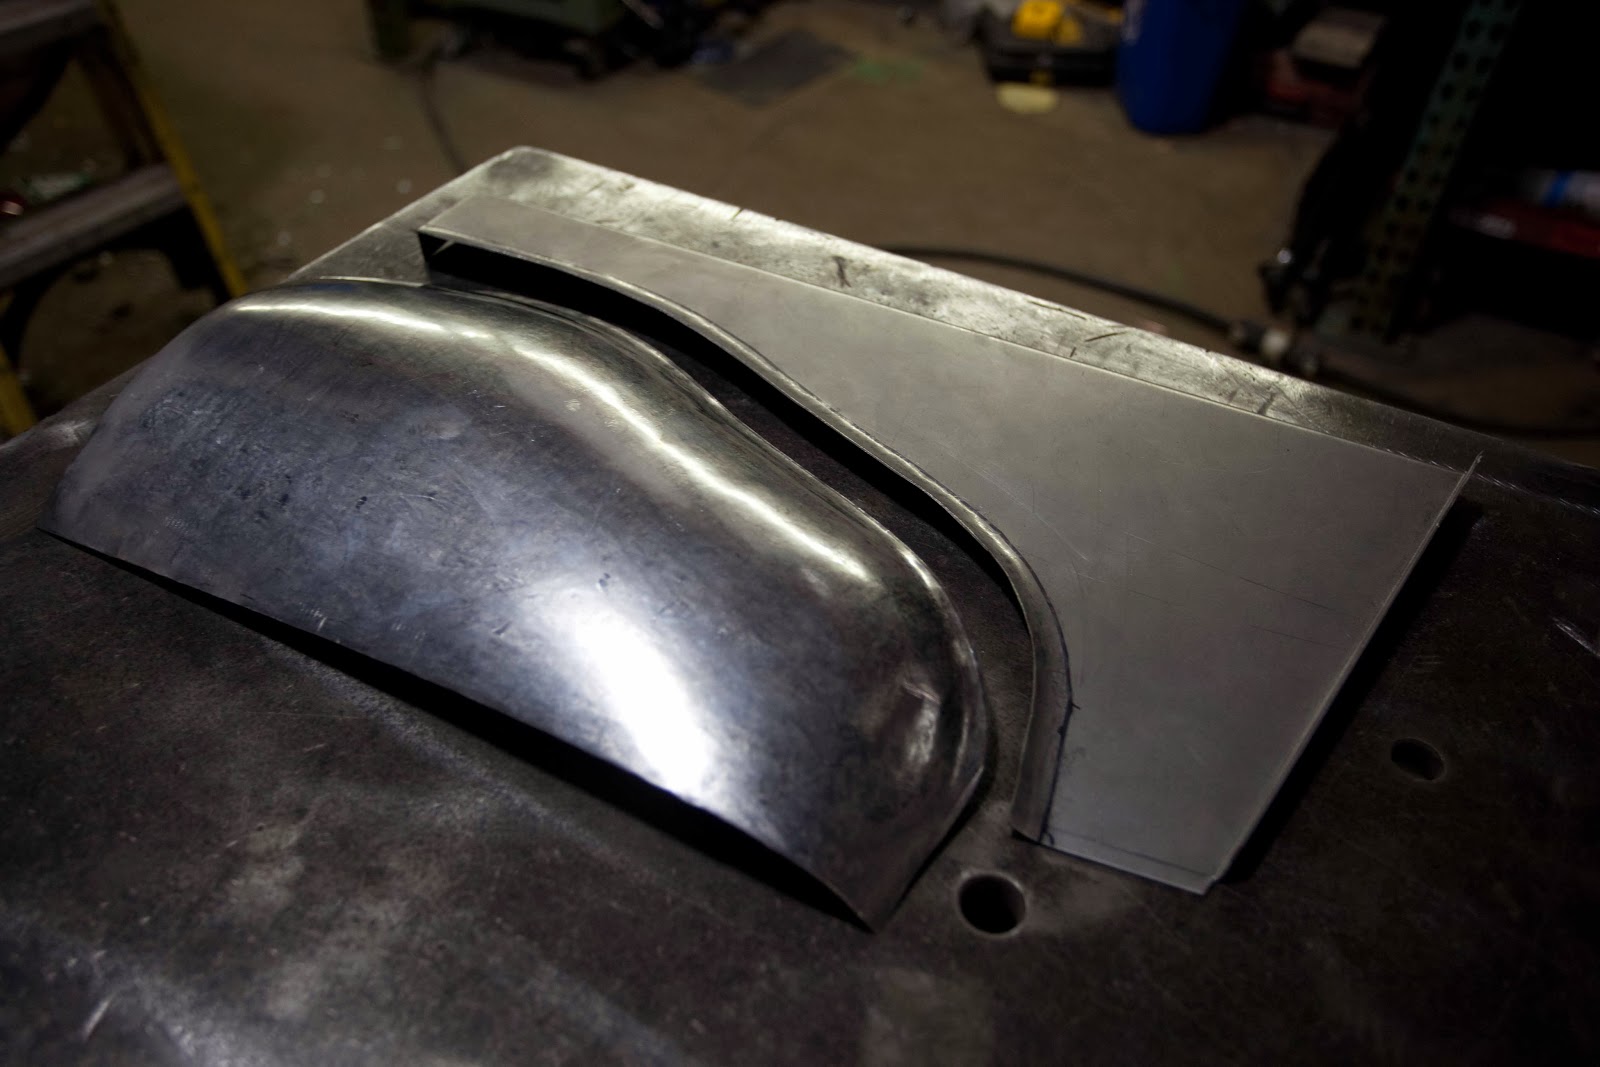
Some work to get the radius in the part.
Tack up and getting a test fit before the final welding.


Cleaned up and ready to cut in the spot for the clock.
Chris made a jig to hold the dash to make it easier to work on. The new home for the clock is in. Will be making a custom chrome piece to fill in the center of the dash and the console. The plan is to have it waterfall down and replicate the look of the front grill of the truck.

Didn't like how you could see the a/c unit and the steering column so Chris is making some part to close everything in. 

We will also have removable side panel to access the center console. 
The column cover to hide the shifter cable and steering shaft.


Both sides are done and ready for the removable side panels. The recessed part of the panel under the dash will be used for my rocker switches.
Side panels installed. We left about two inches of space from the dash panel to the firewall so that the a/c unit could pull air from the cab on both sides.

This will be the part that will be chromed and fitted for the center console. Chris and I design it and had it CNC out of 1/4" material. Chris will use a mechanical brake to form it to the shape that we need and do some fine tuning to make it fit.